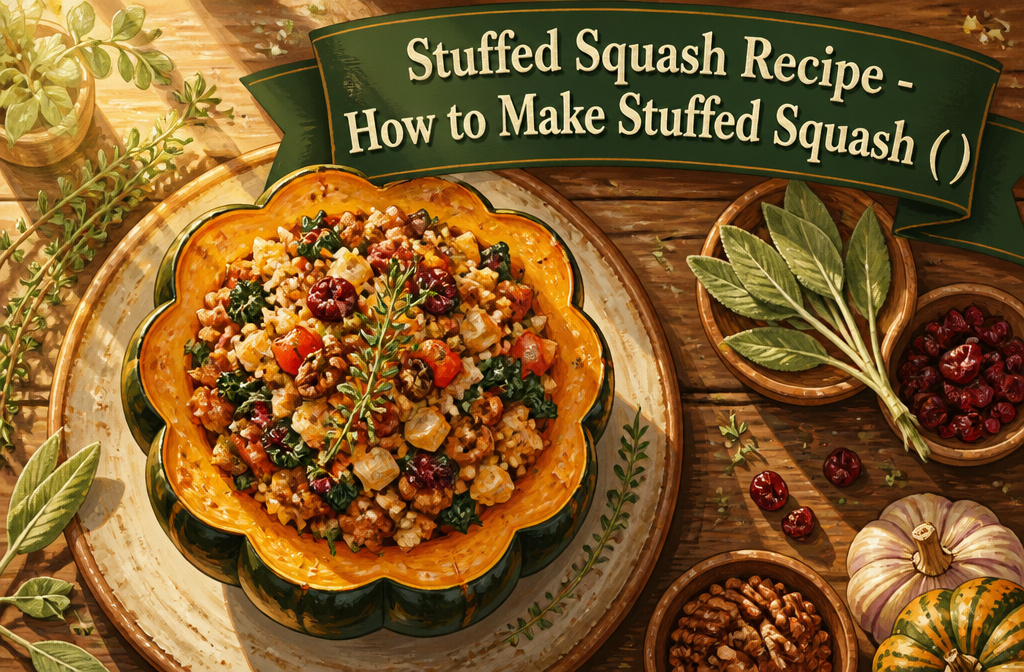
Stuffed squash is a two-stage roast where winter squash halves bake until tender, then get packed with a savory filling and returned to the oven. The catch is the first roast, which runs 30 to 50 minutes depending on size and variety; underdone squash tears when you try to scoop or stuff it. Acorn squash is the most practical weeknight choice because its natural bowl shape holds the filling upright and roasts in about 40 minutes.
Prepare the Squash for Roasting
A sharp knife matters more here than almost anywhere else in the recipe. The rind fights back, and a dull blade risks slipping toward your hand instead of cutting through.
-
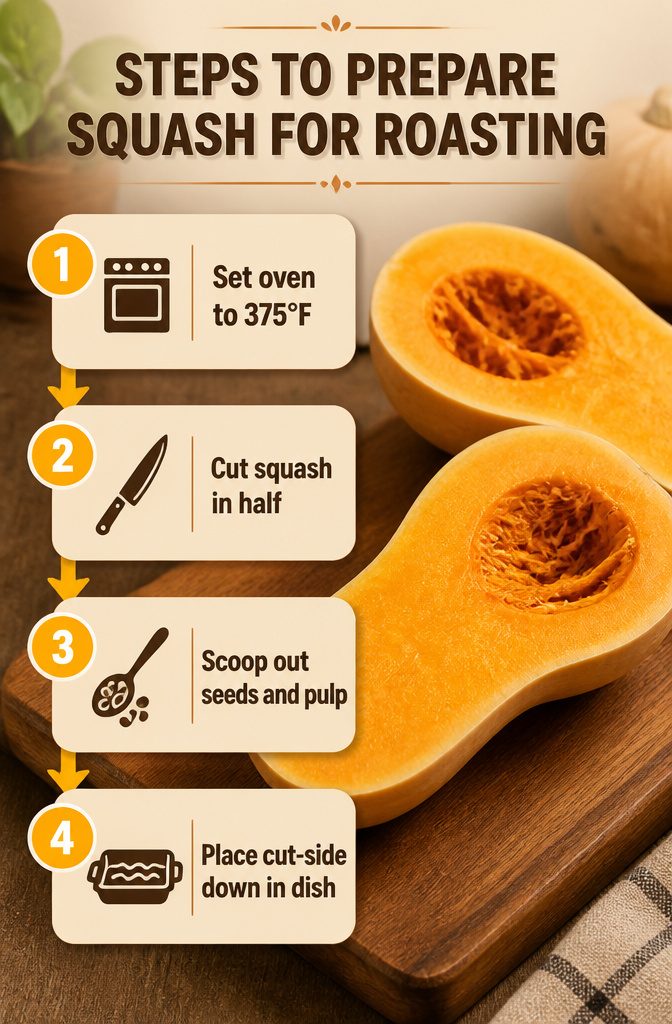
Set the oven to 375°F and slide the rack into the lower-middle position before you start wrestling with the squash.
-
Cut the squash in half from stem to root. Rock the knife through; most winter squash take real pressure. If the blade sticks partway through, rotate the squash and finish from the other side rather than forcing it.
-
Scoop out the seeds and stringy pulp with a spoon. A regular tablespoon works fine; you do not need anything specialized.
-
Place the halves cut-side-down in a baking dish. Pour in hot water to about ¼ inch depth. Cover loosely with foil.
Roast the Squash Until Tender
-
Set the oven to 375°F to 400°F and position the rack in the lower-middle slot.
-
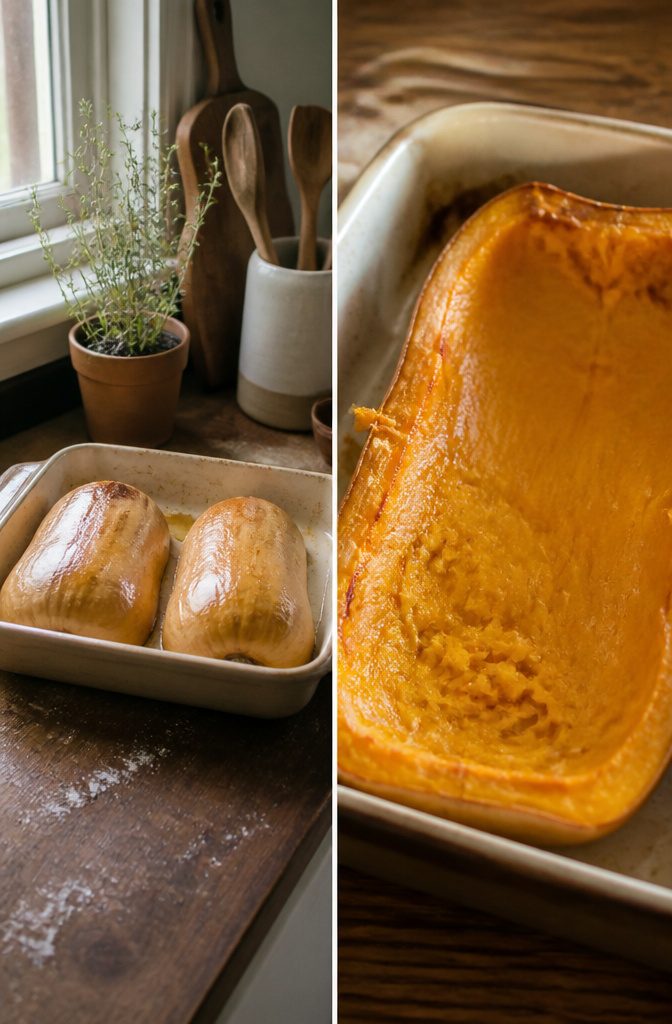
Place the squash halves cut-side-down in a baking dish, then pour in enough hot water to reach about 1/4 inch up the sides.
-
Cover the dish loosely with aluminum foil to trap steam without sealing it airtight.
-
Roast until very soft and tender when poked with a fork or paring knife, 30 to 50 minutes depending on the size and variety. I pull one half early if the knife meets any resistance at the thickest part; underdone squash tears when you try to scoop the flesh later.
-
While the squash roasts, prepare the filling so both components finish around the same time.
Cook the Filling
-
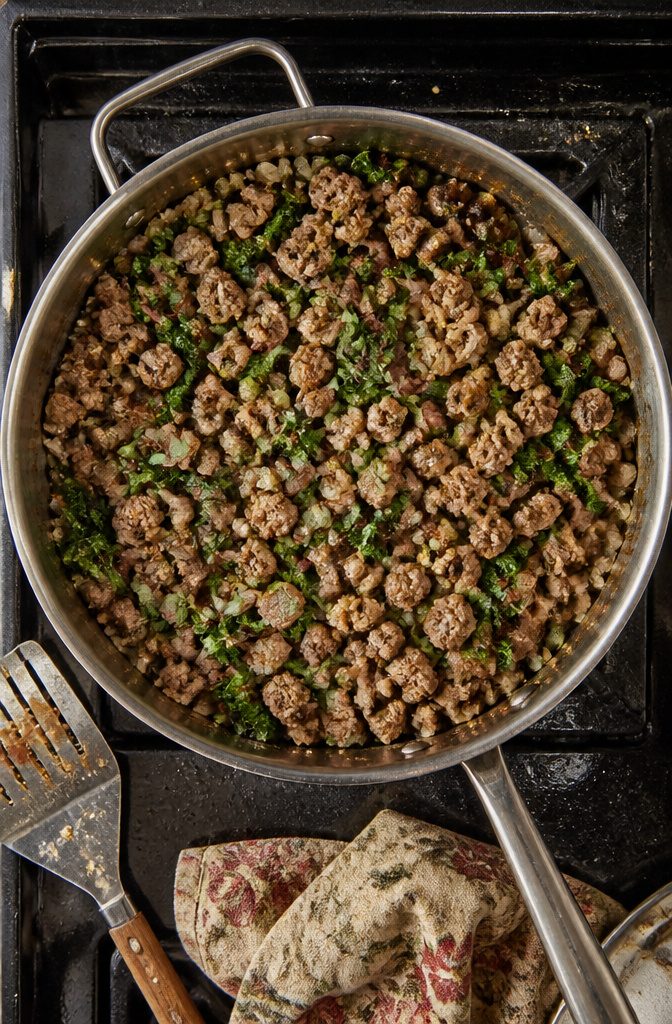
Start the protein in a hot skillet. I like a pound of spicy breakfast sausage, crumbled and browned for 5 to 6 minutes; ground beef or chicken work too, or skip meat and use crumbled tempeh. Set the cooked protein aside.
-
Cook the vegetables in the same skillet. A small diced onion, 6 ounces of chopped cremini mushrooms, and a few minced garlic cloves need 5 to 6 minutes over medium-high heat, stirring until the mushrooms release their moisture and the onion softens.
-
Add hearty greens if you have them. Two tablespoons of chopped fresh sage and a cup of sliced kale go in next; stir just until the kale wilts.
-
Fold in grains and nuts. Half a cup of cooked quinoa, barley, or farro plus a small handful of walnuts or pecans gives the filling body and keeps it from reading as meat-heavy.
-
Season boldly. I reach for thyme, cumin, and paprika most often, 1 to 3 teaspoons total; the exact mix depends on whether I want something smoky or more herby.
-
Combine everything in one bowl. The protein, vegetable mixture, grains, and nuts should total 2 to 3 cups, enough to generously fill two medium squash halves without packing too tight. Stir in half a cup to a cup of shredded cheese now if you want it melted through, or save it for the top later.
Stuff and Bake
-
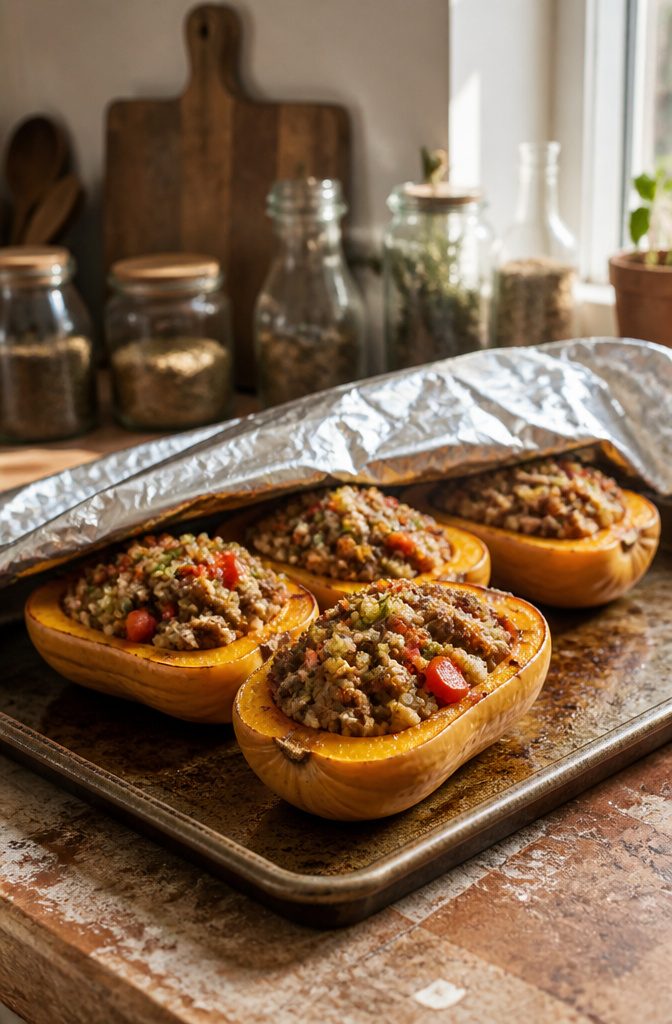
Flip the roasted squash halves so they sit hollow-side up on the baking sheet. A quick rub of olive oil across the cut edges keeps the flesh from drying out in the second bake.
-
Spoon the prepared filling into each cavity, packing it loosely but full. Cover the pan tightly with foil so the squash steams and heats through without collapsing.
-
Return the pan to a 400°F oven for 15 to 30 minutes, until the filling is bubbly at the edges and hot to the center. If you want a cheese topping, pull the foil for the last 5 to 10 minutes and scatter shredded cheese over each half so it melts and just starts to spot.
Acorn Squash
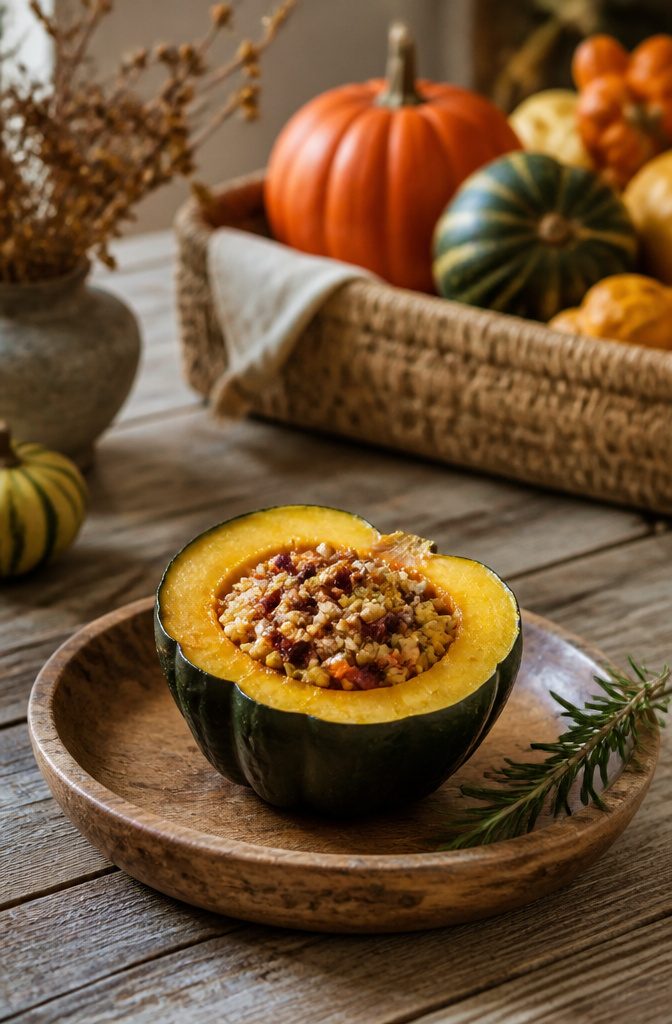
Acorn squash sits upright like a small bowl once halved, which makes it the most practical choice for stuffing. The ridged, dark green skin and deep yellow flesh hold their shape through roasting without collapsing into the filling. Flavor-wise, the flesh is mild and slightly sweet, more nutty than sugary, so it works with savory stuffings without turning dinner into dessert.
I have made stuffed squash with nearly every variety sold in fall, and acorn is the one I return to when I want a reliable weeknight dinner. One squash, about the size of a grapefruit or a little larger, feeds two people comfortably. The halves roast in about forty minutes, and the flesh scoops cleanly from the skin if you prefer to mash it into the filling, or stays firm enough to carve bite by bite if you do not.
The skin is edible once roasted, though most people I cook for leave it on the plate. Either way, the presentation is tidy, which matters more than I expected when I started serving these at small dinners.
Butternut Squash
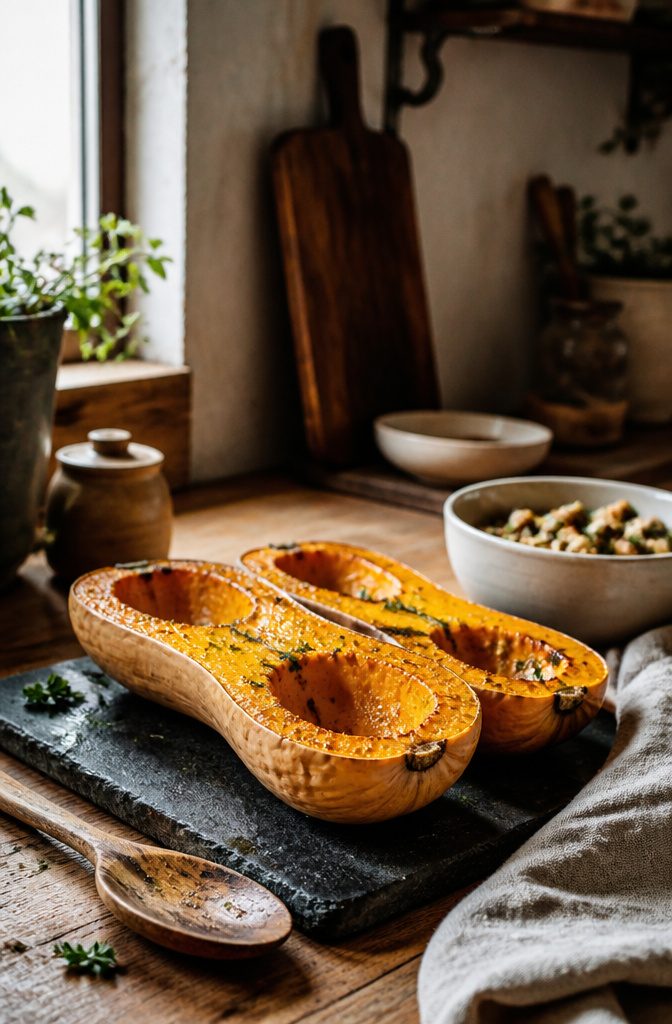
Butternut squash lands on my counter more often than any other winter squash, mostly for the sweetness that holds up against savory fillings. The elongated neck and rounded bulb give you two distinct stuffing zones: the neck slices into neat cylinders, while the halved bulb becomes a natural bowl with a seed cavity ready for filling. That thick rind is the tradeoff. It keeps the flesh intact through a long roast, but you will not want to eat it; The Pioneer Woman puts it plainly that the skin is totally edible yet tends to be tough and unpleasant, so you will want to avoid eating it. Plan to scoop the roasted flesh out, or halve the squash and treat the rind as a serving vessel you discard at the table. For weeknight cooking, the shape works in your favor: split lengthwise, seed, and roast cut-side down until a knife slides through without resistance, about 35 minutes at 400°F. The flesh comes out tender, the rind stays rigid enough to hold sausage-and-rice mixtures or a vegetarian blend of greens, nuts, and cheese.
Summer Squash and Zucchini
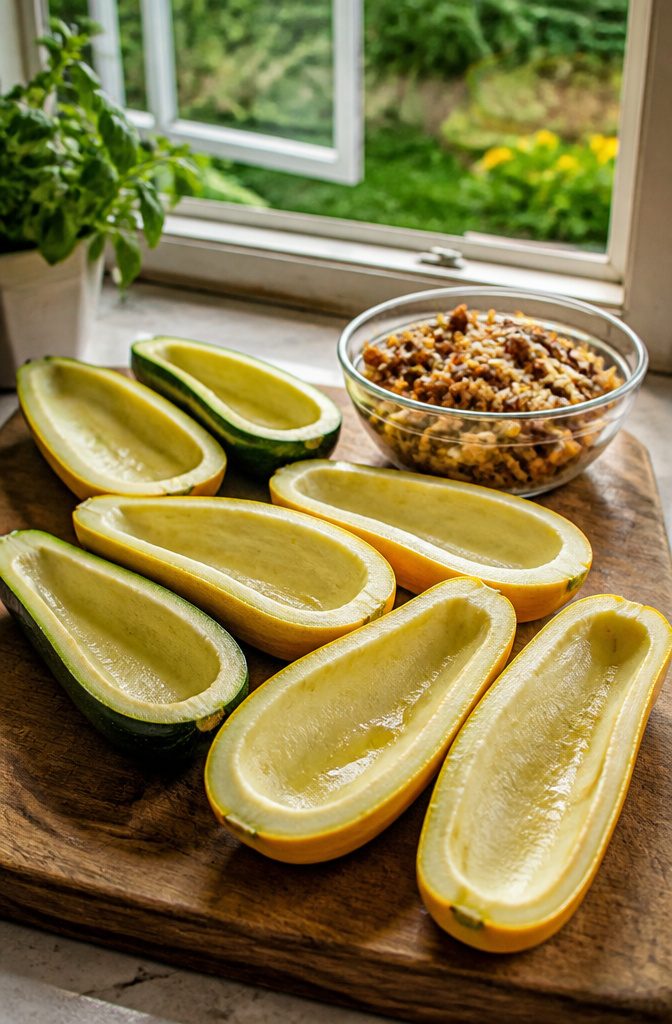
Summer squash and zucchini make a lighter, faster stuffed squash than the fall varieties most people picture. I slice them lengthwise, scoop out the centers, and fill them with the same sausage and cheese mixture that works in heavier dishes. The difference is the bake: 20 minutes covered at 375°F, then 10 minutes uncovered to crisp the top. The whole thing finishes in half an hour.
These feel less common because they do not anchor a holiday table the way acorn or butternut do. That is exactly why I like them for weeknight dinners when the garden is handing over more zucchini than I planned for. The flesh stays tender, not custardy, and the meal reads as vegetable-forward rather than starch-heavy.
What Filling Ingredients I Actually Use
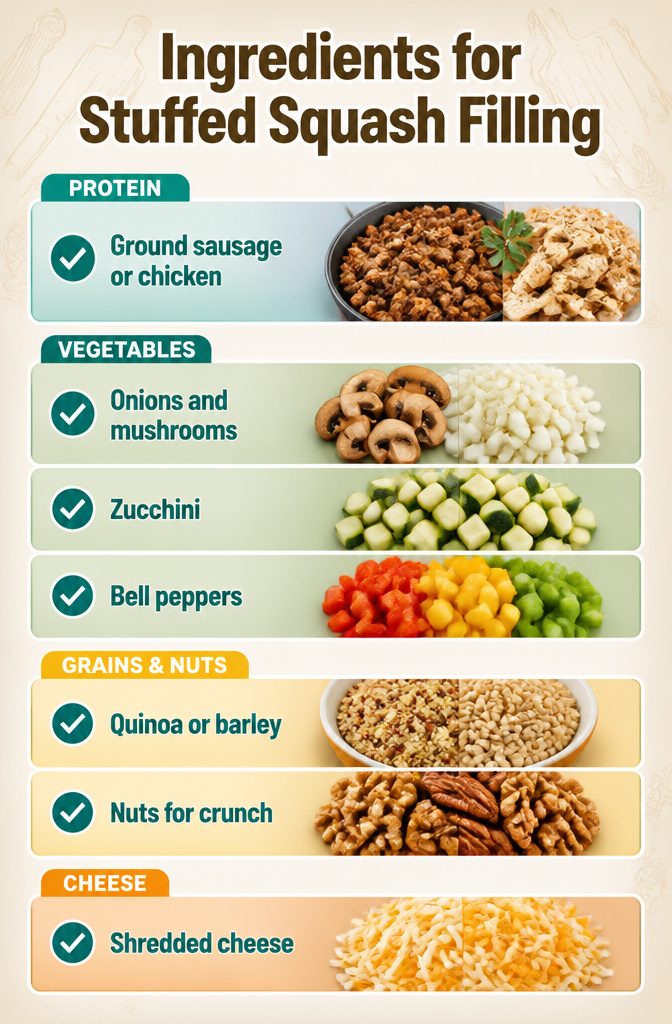
I keep the same rough proportions whether I am feeding two people or six: about ½ to 1 cup protein, 1 to 2 cups vegetables, ½ cup cooked grain or nuts, and ½ to 1 cup shredded cheese. That mix fills two medium acorn halves or one fat butternut with enough left to mound on top.
- Ground sausage is my default; it renders enough fat to carry the aromatics. Chicken works if I have leftover roast, and baked tofu holds up better than the soft supermarket blocks.
- Onions go in every batch. Mushrooms give a meaty chew, zucchini soaks up the sausage drippings, and bell peppers add sweetness that survives baking.
- Quinoa cooks fastest. Barley takes longer but keeps its bite through a second reheating. Plain white rice is fine; it just goes soft faster.
- Walnuts or pecans toast in the same skillet while the protein rests. They are not decorative; they keep the filling from turning porridge-like.
- Mozzarella melts into stretchy pockets. Feta stays sharp and crumbly. Cheddar splits if it gets too hot, so I save it for the last ten minutes.
- Thyme with sausage, cumin with chicken, paprika with anything. I have stopped measuring; a teaspoon or three, tasted before it goes into the squash.
How Long Stuffed Squash Actually Takes
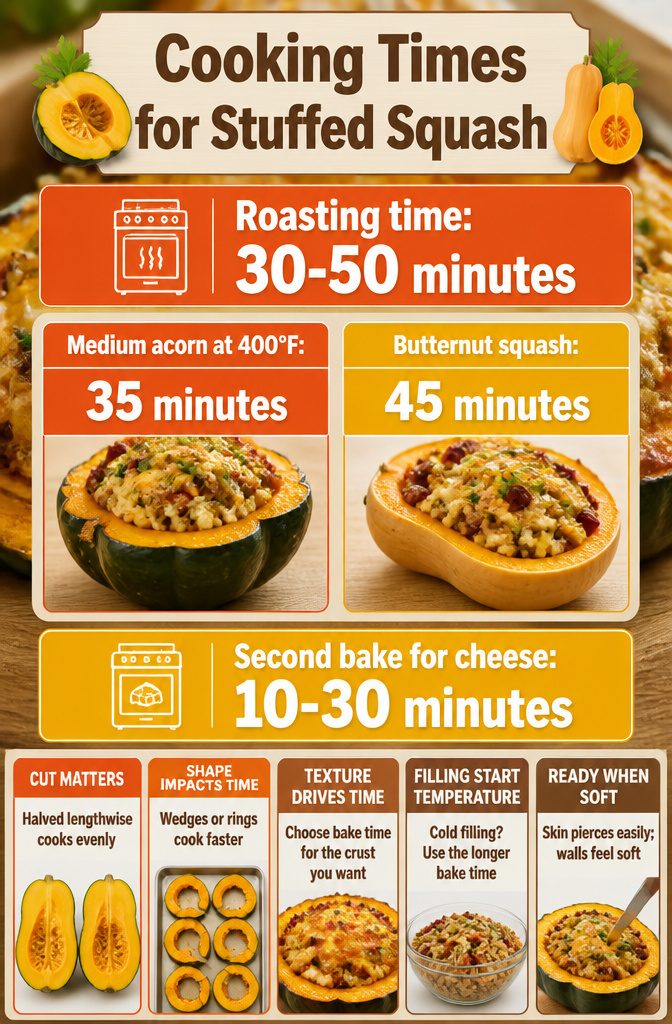
The first roast is where most of the clock goes. A medium acorn squash at 400°F takes about 35 minutes under foil until the flesh yields to a knife tip. A thicker butternut needs closer to 45 minutes, and you will know it is ready when the skin pierces easily and the walls feel soft to the press of a spoon handle.
That initial window, 30 to 50 minutes, depends almost entirely on the squash you picked and how you cut it. Halved lengthwise, the heat reaches both cavities evenly. Wedges or rings cook faster but leave you with trickier stuffing geometry.
Once the filling goes in, the second bake is shorter: 10 to 12 minutes if you just want the cheese melted and the center hot, or 20 to 30 minutes if you want a golden, bubbled crust. The variance here is about texture, not safety. A filling that went into the skillet cold needs the longer end to come fully through.
Make-Ahead Options
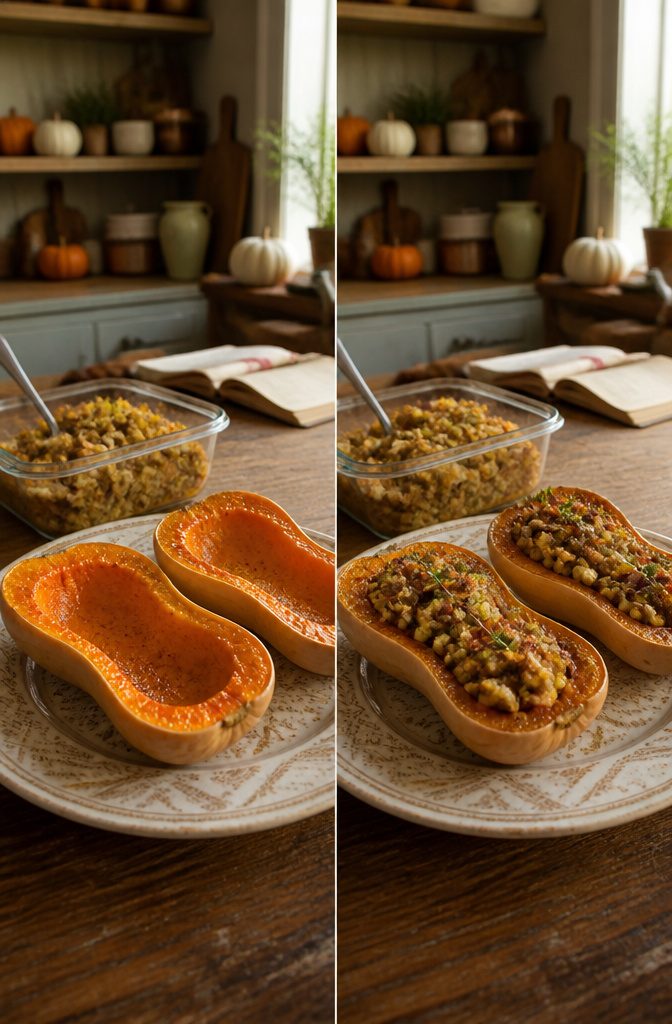
Both the squash and the filling can go into the refrigerator up to a day ahead, which makes the actual dinner hour far less crowded. The roasted squash halves hold their shape well once cooled, and a grain or meat filling tastes better after the flavors settle anyway. What does not hold up is the final bake itself. I would not stuff and bake the squash the day before and expect to reheat it later. The shells go limp, the top never crisps again, and the texture turns mealy.
If you are working ahead, roast the squash, scoop the flesh, and store the shells separately from the filling. The scraped flesh can go right into the stuffing mixture. An hour before serving, fill the shells, sprinkle on whatever cheese or topping you planned, and run them through the final 20 to 30 minutes at 400°F while you handle the rest of the meal. That last bake should happen when your guests are actually on their way.
Flavor Profiles That Work
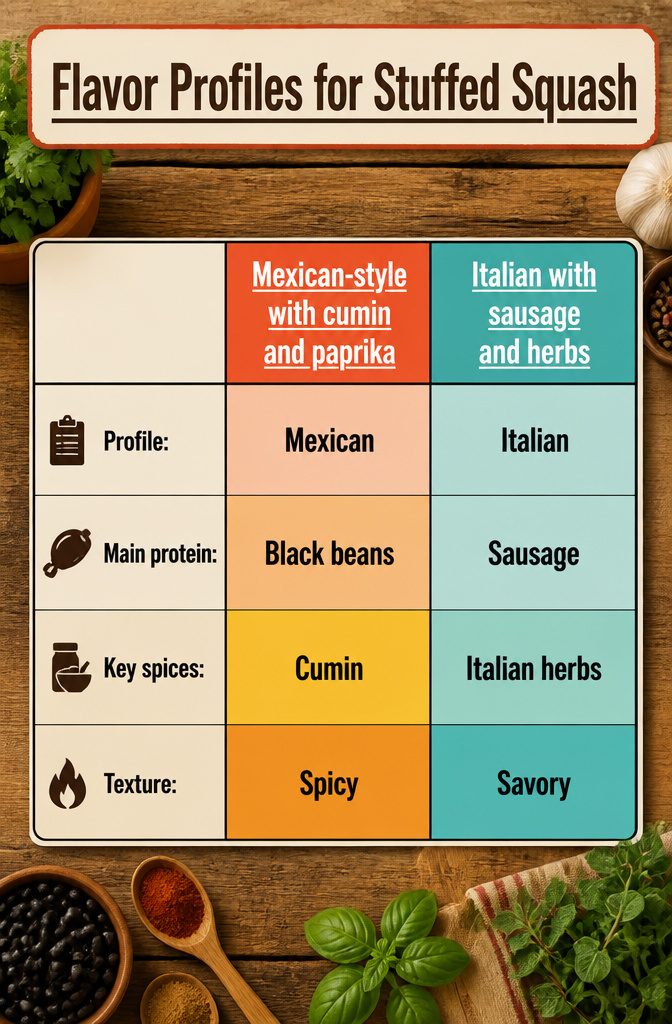
The two directions that keep landing on my counter are Mexican-style with cumin and paprika and Italian with sausage and herbs. Both work because squash itself is mostly a blank canvas, sweet and soft, so the filling has to bring the salt and heat.
When my sage and oregano are leggy and overgrown in late summer, I go Italian. Hot Italian sausage out of its casing, maybe half a pound of the spicy stuff mixed with regular if I want less heat, browned with onion and garlic. The sources I trust on this use dried Italian seasoning or swap in basil and oregano by eye, then bind it with egg, breadcrumbs, and mozzarella before it goes back into the roasted halves.
If the cilantro is bolting and I have a can of black beans on the shelf, cumin and smoked paprika are the move. Same squash, same roasting method, completely different dinner. The choice really does come down to what is in the garden or fridge that week, not some grand menu plan. A stuffed squash built from what you already have tastes better than one built from a shopping list.
What Squash Gives Back Nutritionally
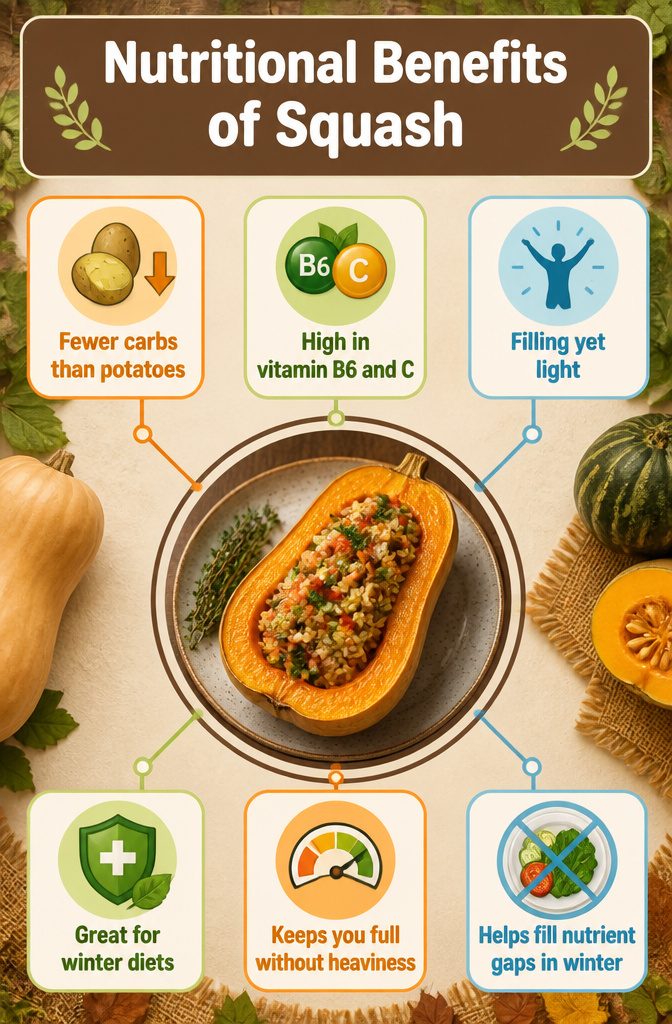
Squash lands on my table more for what it does than for what it lacks. A cup of the roasted flesh holds fewer carbs than a small potato, which matters when I am filling it with rice and still want dinner to feel light. The same serving carries a solid dose of vitamins B6 and C, the pair that tends to slip out of a winter diet once citrus season ends and the last garden peppers are gone.
I do not track macros closely, but I notice the difference in how I feel. A stuffed squash dinner keeps me full without the weighted-down sleepiness I get from heavier starches. That vitamin C content also means the meal is doing more than filling space on the plate; it is covering a gap that opens up naturally this time of year when fresh raw vegetables are scarce and expensive.
Frequently Asked Questions
How long does stuffed squash take to cook?
The first roast takes 30 to 50 minutes at 375°F to 400°F, depending on the squash size and variety. After stuffing, a second bake of 15 to 30 minutes at 400°F heats the filling through and melts any cheese topping.
What is the best squash for stuffing?
Acorn squash is the most practical choice because its halves sit upright like small bowls and hold their shape through roasting. Butternut squash works well too, especially for its sweetness against savory fillings, though its thick rind is not pleasant to eat.
Can I make stuffed squash ahead of time?
Yes, both the roasted squash halves and the filling can be refrigerated up to a day ahead. Store them separately, then fill and bake during the final 20 to 30 minutes before serving. The last bake should happen when guests are actually on their way, since pre-baked and reheated squash turns limp and mealy.