

A holiday swag is a teardrop-shaped bundle of evergreen branches hung on a door or wall, anchored by floral wire and finished with a bow. The trick that trips most beginners is timing the bow: fluff it before the swag is hung, and the weight of berries or pinecones will crush it lopsided by morning. The wire binding at the top, hidden later by that same bow, needs to be tight enough that a hard tug on the hanging loop does not shift a single stem.
Gather Materials
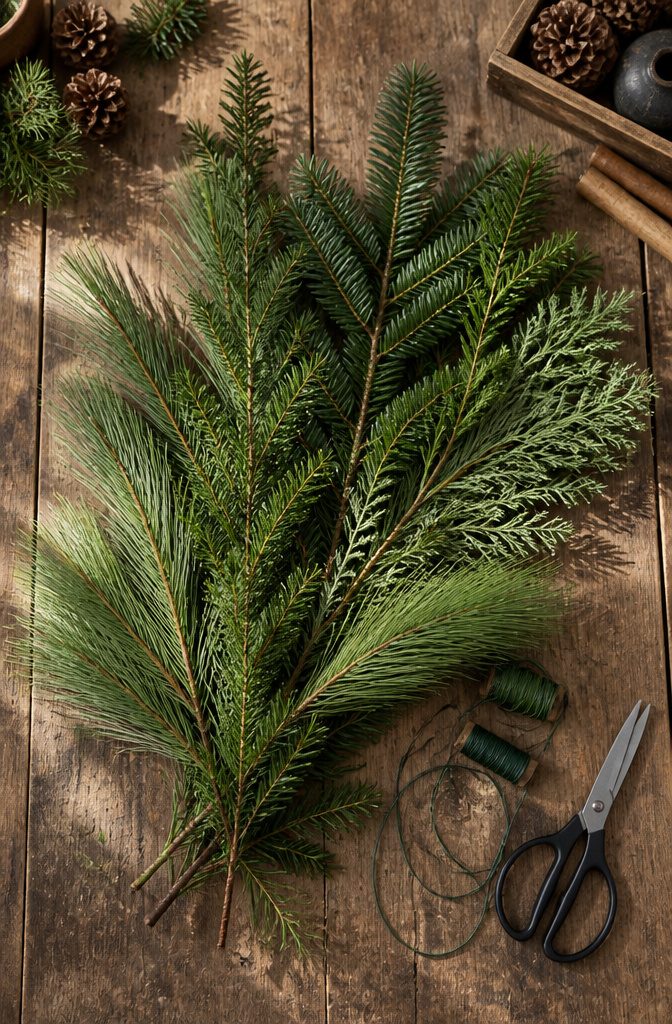
Three kinds of evergreen give a swag its shape and density. I start with balsam or another fir for the backbone, add white pine for soft draping tips, then finish with cedar or boxwood for texture. Eighteen to twenty-four inches is a workable length for the main branches, with shorter twelve-to-eighteen-inch pieces of accent greens tucked in later.
Floral wire holds everything together. 20- to 22-gauge craft wire is stiff enough to bind heavy stems without snapping when you twist it tight. Scissors and garden clippers both come in handy; the clippers slice through woody cedar, while scissors clean up stray needles.
For the bow, ribbon two and a half inches wide or wider covers the mechanics and reads from a distance. Wire-edged ribbon keeps its shape through rain and snow, and I reuse the same bows year to year. Berries, pinecones, or whatever fits your color scheme finish the piece.
Fresh cuttings from your yard work, but so does artificial greenery from a craft store. Faux stems survive the season without browning, and mixing real with synthetic stretches what you have. Tree lots often give away trimmed branches if you ask, and that leftover cedar from a neighbor’s pruning costs nothing.
Layer the Greenery
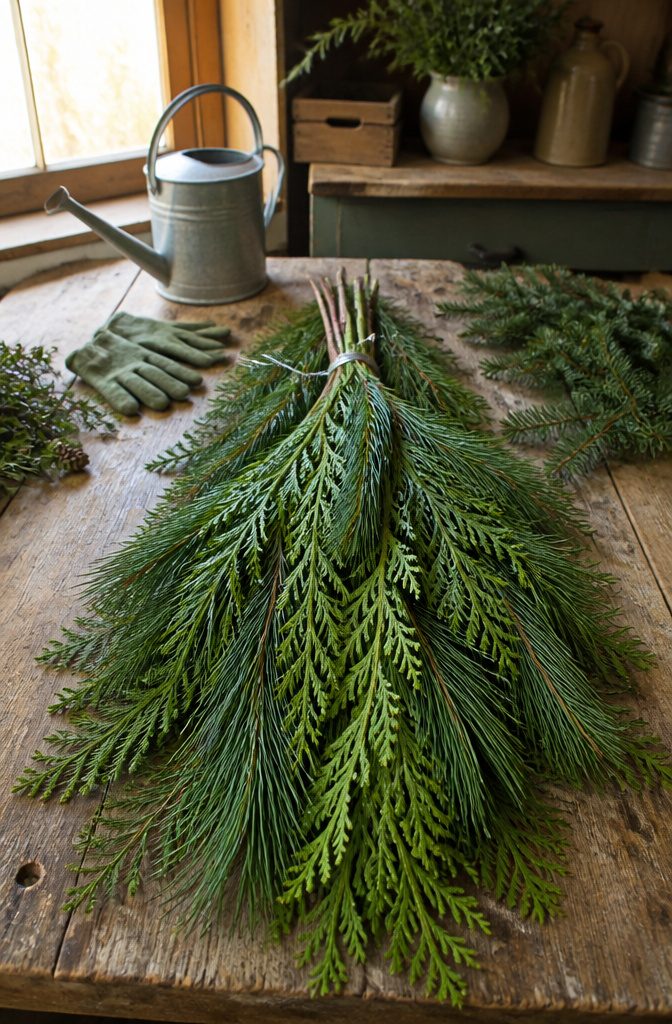
Lay the longest branches down first, their cut ends meeting at what will become the top of the swag. These form the backbone, so overlap them slightly and stagger them side by side rather than stacking them dead even. The next layer uses shorter branches, pine or cedar over fir, angled so they fan outward and widen the silhouette. A third layer, shorter still, might be boxwood or more cedar tucked in toward the top. Work from long to short every time; the graduated lengths build the classic teardrop shape without any one layer hiding what’s beneath it.
Hold everything at the overlap point, where the stems of the long branches cross the shorter ones, and wrap floral wire around five or six times. Pull it as tight as your hands allow. The wire sits at the pinch point, the same spot where a bow will eventually hide it. Slip extra stems of accent greenery under the wrapped wire rather than laying them on top; they lock in more firmly and survive winter wind better. If the swag feels loose in the middle, a second band of wire there beats hoping the top wrap holds it all.
Add Embellishments
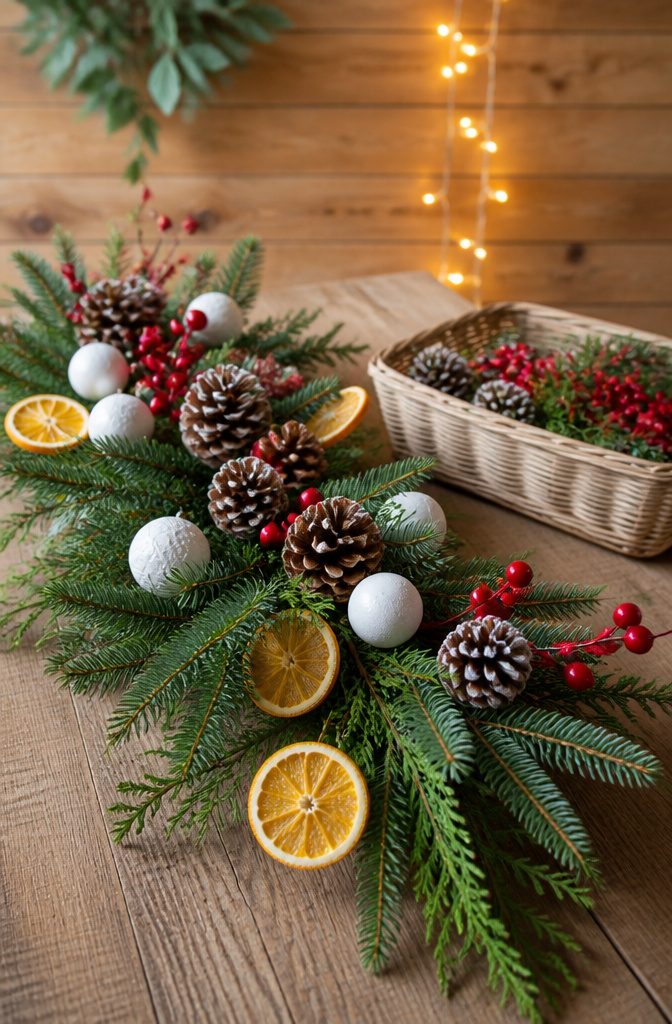
Berries, pinecones, and dried orange slices turn a plain bundle of branches into something your neighbors notice. I wire each piece individually, twisting 20-22 gauge craft wire around the stem or base before anchoring it to the central tie point. Hot glue works for lightweight synthetic picks; send the stem up into the greenery, add glue, and press it against the base until it sets. Natural decorations need the wire because glue fails outdoors in wet December air.
I broke apart a berry pick last year and lost half the beads to the driveway. Divide at the natural break, or don’t break it at all.
For a classic Christmas look, red berries and miniature white ornaments read traditional; swap in green miniature trees and gold ribbon and the same base greens feel more formal. Dried fruit and milkweed pods stretch the season past December. I have used the same balsam and white pine framework for a late-January swag by replacing red accents with bleached birch disks and white-painted cones, then again in March with pussywillow and forced forsythia branches. The evergreen skeleton stays; the embellishments tell you what month it is.
Make the Bow

Most instructions for holiday swags mention adding a bow as if the reader already knows how. The sources skip the actual tying and jump straight to attachment, which left me checking videos to fill the gap. What I found: floral wire beats twist ties or zip ties for holding a bow in place, because you can tighten it without crushing the ribbon loops and tuck the ends cleanly into the greenery.
Pipe cleaners work too, and some makers prefer them. The tradeoff is visibility. A pipe cleaner shows through sheer ribbon, while thin wire disappears. I use wire for anything light and save pipe cleaners for heavier outdoor bows where strength matters more than a hidden fastener.
Wait to fluff the bow until the swag is fully assembled and hanging. Every element you add shifts the balance, and a bow fluffed too early ends up lopsided or crushed against a bell cluster. Tighten the wire, leave the loops flat, then shape them last with the swag upright on your door.
Attach for Hanging
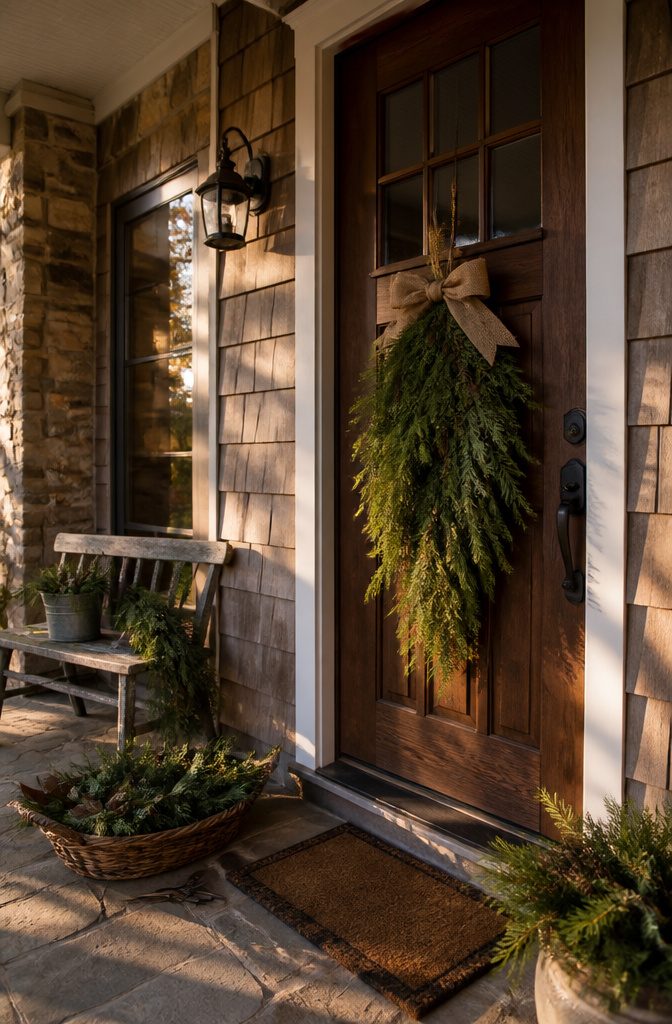
A sturdy hanging loop makes the difference between a swag that stays put and one that meets the porch floor by New Year’s. I tie a length of twine or florist’s wire into a loop at the center back of the swag, working it through the binding so the knot sits hidden against the greenery. Extra floral wire twisted through gives more security if the branches are heavy.
Hang the swag at eye level, roughly 60–66 inches from the ground, where the bow and fullest greenery draw the eye without blocking the door handle. For doors, a wreath hanger slips over the top with no holes needed. Walls and gates take a small nail or a Command strip hook; indoors, the same hardware works on stair railings if you add a zip tie or another loop of wire around the post.
Test the loop before you step back. A gentle tug should leave it firm, not shifting, with the weight pulling straight down through the binding rather than peeling individual stems loose.
Fresh Versus Faux Greenery
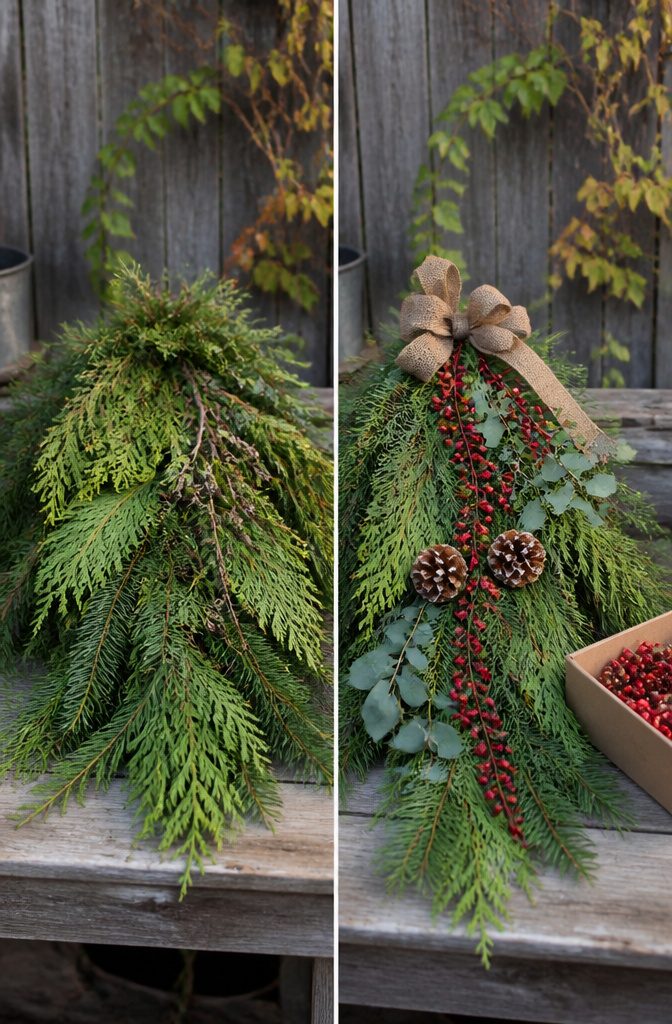
Fresh greenery carries the real scent of cedar and fir that fills a doorway when you walk through it, but by late January the needles brown and drop no matter how often you mist the bundle. Last year I hung a swag made from branches cut the same morning, and the crisp smell lasted maybe ten days before it turned to dust. Artificial stems solve that problem; a good polyethylene cedar branch looks surprisingly close to the living thing and survives ice storms without shedding. The fake version wins if your swag faces direct sun or you want to store it for next December. That said, nothing manufactured yet copies the soft variation in color you get from real needles, and the weight of fresh wood hangs straighter on a nail. I split the difference on my covered porch, using real spruce for the bulk and tucking in a few fake berries where the rain hits hardest. Choose fresh for scent and a two-week display, artificial for exposure and reuse, or mix them and let each cover the other’s weakness.
What the Swag Costs

A full holiday swag runs about $15 if you buy everything, and most of that is optional. The Dollar Tree mini trees used in a lot of builds are roughly $1.25 each, and three or four of them at about 18 inches tall form the backbone of the whole piece. Floral wire, a roll of wide ribbon, and any berry stems or pinecone picks you want round out the store-bought list.
Everything else can come from the yard. Fir, pine, cedar, balsam, boxwood, whatever grows in your zone and needs a trim anyway. I clip after a dry morning so the needles hold, and I skip anything that looks stressed or recently treated. Foraged pinecones and dried orange slices cost nothing but the time to gather or slice.
With a $500–$800 annual garden budget, this project is a single afternoon and a rounding error. The tools are the same ones already in the shed: garden clippers for live branches, scissors for ribbon, maybe tin snips if the wire gets stubborn. Store the swag frame afterward and the base materials last multiple seasons.
Seasonal Swag Variations

The same wire frame and paddle you use in December can carry you through the whole year with a swap of materials. In late March, I replace the evergreen with pussy willow and forced forsythia branches; the bare twigs look spare for a day or two, then the yellow pops against a front door still waiting for bulbs. By October, dried oat grass, hydrangea heads gone papery, and a few scarlet rose hips turn the same shape into something that reads harvest rather than holiday. Keep the base neutral, swap the bundles seasonally, and the swag earns its storage space. Cost stays low because you are foraging what is already fading in the yard rather than buying new each time. Winter is the only season that asks for purchase, and even then a single bundle of Fraser fir and a spool of plaid ribbon carry most of the weight.
Frequently Asked Questions
How do I hang a Christmas swag?
Hang the swag at eye level, about 60–66 inches from the ground, using a loop of twine or florist’s wire tied through the binding at the center back. For doors, a wreath hanger slips over the top with no holes needed; walls and gates take a small nail or Command strip hook.
What materials do I need to make a Christmas swag?
You need three kinds of evergreen branches for the backbone, 20- to 22-gauge craft wire, scissors and garden clippers, wide wire-edged ribbon for the bow, and whatever embellishments fit your color scheme such as berries, pinecones, or dried fruit. Fresh cuttings from your yard work, and so does artificial greenery from a craft store.
Can I use artificial greenery for my swag?
Yes, artificial greenery works well and survives the season without browning. Mixing real with synthetic stretches what you have, and the fake version wins if your swag faces direct sun or you want to store it for next December. Nothing manufactured yet copies the soft color variation of real needles, so many makers use both.