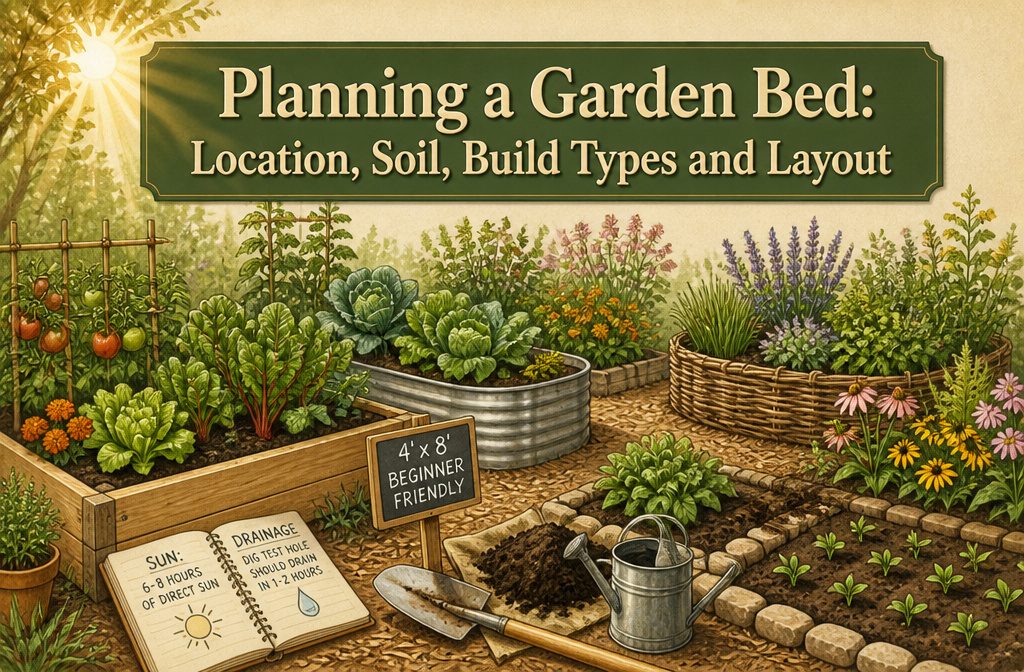
Planning a garden bed means choosing a spot with six to eight hours of direct sun, then testing drainage with a shovel before you build anything.
I learned that the hard way when my first bed turned out to be dappled shade by noon and half a puddle by afternoon. The 4 by 8 foot size that fits untrimmed lumber is the one beginners actually finish.
Choose a Location
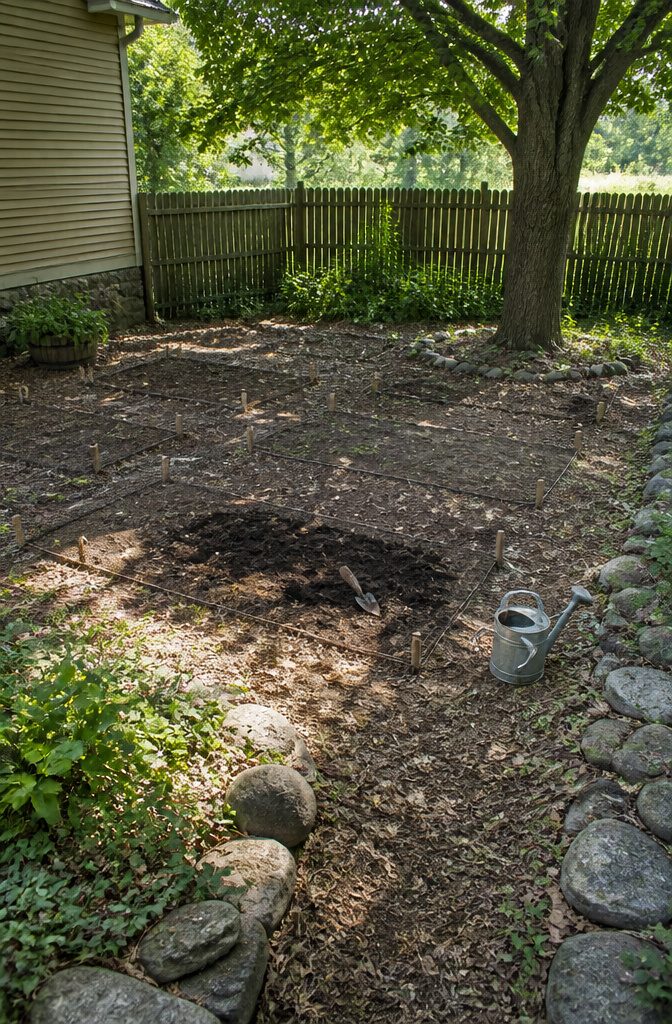
A garden bed needs six to eight hours of direct sun to grow vegetables worth harvesting, and afternoon sun counts more than morning sun because the light is stronger and the air warmer.
I spent one Saturday with a shovel and a notebook before I built my first bed, turning over soil in three spots and watching how shadows moved across each one.
The place that looked brightest at 9 a.m. turned out to be dappled by noon from a neighbor’s maple, so I moved my plan twenty feet west.
Drainage is just as important as light.
That shovel test showed me the difference: in one spot water disappeared in an hour, in another it sat in a puddle for half the afternoon. Soggy soil rots roots, so I ruled that corner out.
Access to water means a hose that reaches or a short walk with a can.
My first bed was too far from the spigot, and I paid for that mistake all July. Now I check the hose length before I check the sun, because vegetables do not forgive skipped watering in August.
Measure and Map the Space
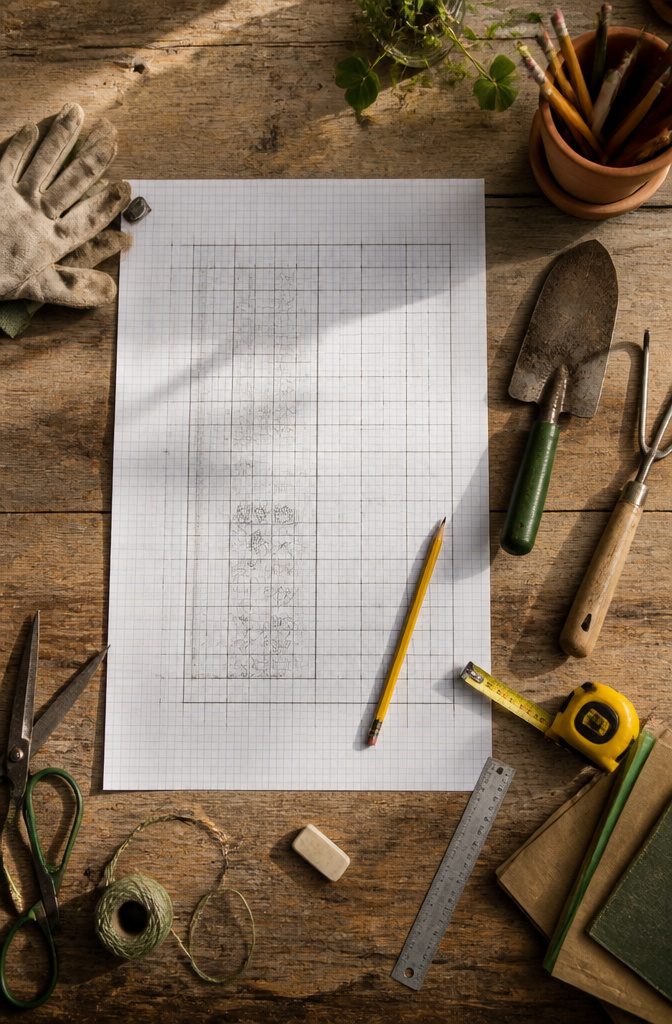
A 4×8 foot bed is the size that actually gets finished by a beginner. That gives you 32 square feet, enough for a few tomatoes, some leafy greens, and a row of herbs without turning your weekends into a maintenance job.
I ignored that advice my first spring and laid out a 10×10 foot plot instead. By July the weeds had claimed the back corner and I was watering half the bed for plants I never got around to installing.
Graph paper still works better than most apps for this stage. One square per foot, a pencil, and you can test three layouts over coffee.
If you prefer a screen, simple garden-planning software lets you drag beds around and see the square footage add up, which helps when the temptation to go bigger hits.
The mistake is not the tool; it is drawing a second bed before the first one has proved it can survive a full season under your care.
Start with the 4×8. Expand next year once you know what 32 square feet actually costs in water, weeding time, and the plants you will realistically put in the ground.
Prepare the Soil
Tilling was the first soil prep method I tried, mostly because my neighbor’s rototiller was free to borrow.
I ran it through the bed the first weekend March felt warm, and two weeks later the surface was carpeted with weed seedlings I had buried at just the right depth to germinate.
That patch took the whole season to manage, and the soil structure ended up more compacted than when I started.
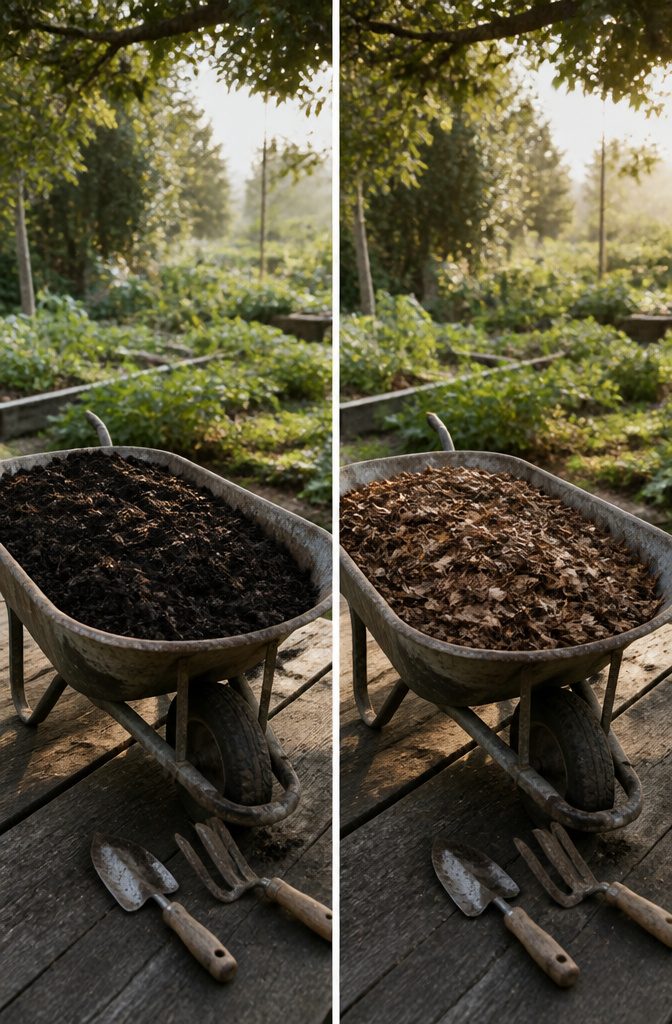
Now I lay down an inch of compost each fall and let the winter do the mixing.
Lee Reich has kept beds productive for over fifteen years with nothing more than that annual topdressing, and Charles Dowding’s no-dig approach works on the same principle: disturb the soil as little as possible and the biology underneath handles the rest.
The compost breaks down in place, earthworms pull it down, and I start spring with fewer weeds and better structure than any March tilling ever gave me.
Solarization is one tactic I have not tested myself. The method involves covering moist soil with clear plastic for several weeks in summer heat, trapping enough warmth to kill weed seeds and some soil-borne pests.
It requires a stretch of hot, sunny weather and some patience, but for a new bed thick with perennial weeds it may beat the alternatives.
Build the Garden Bed
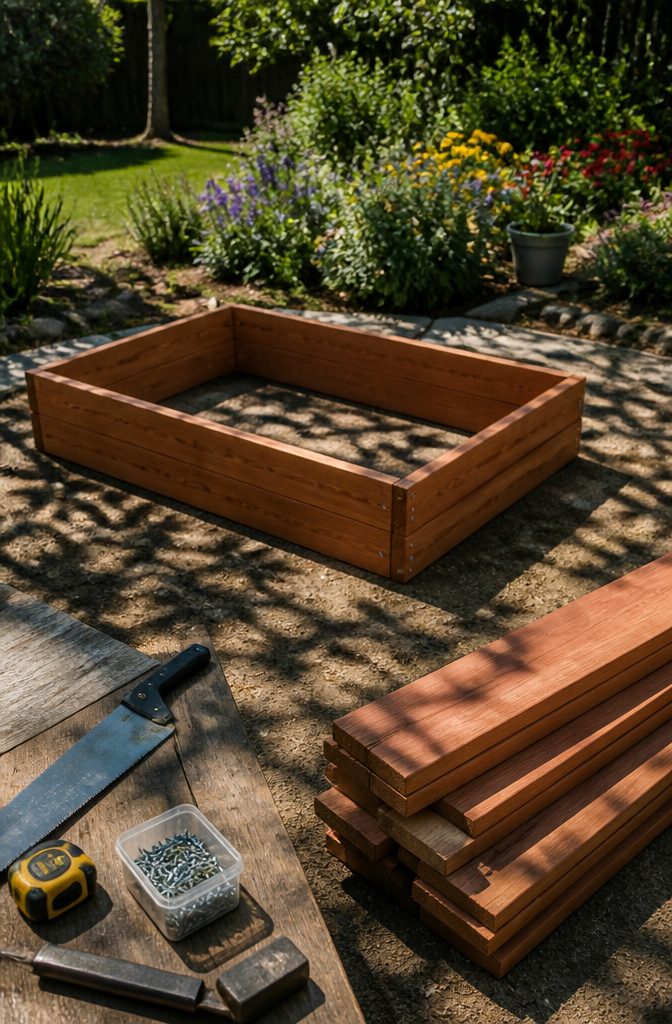
Wood and stone are the two materials that have held up in every garden I have watched long enough to judge.
Redwood on the West Coast, construction grade with knots, will last years and can be stacked three boards high for a finished height of about 16½ inches, which happens to sit at a comfortable perch height for weeding.
Stone costs more and takes longer to fit, but it does not rot and it holds heat that warms soil earlier in spring.
A 4-foot width is the practical limit for a bed you need to reach across. I can manage about 24 inches comfortably from one side, so 4 feet lets me get to the middle from either edge without stepping in.
My first bed was 6 feet across, and by mid-July I had a center strip I could not weed without leaning so far that I crushed the edge plants. That bed got rebuilt the next season.
The standard 4 by 8 feet lines up with lumber sold in 8-foot lengths, so you cut nothing and waste nothing. Paths between beds should run about 3 feet for a wheelbarrow.
Raised beds solve compaction and poor drainage, warm faster in spring, and make rotation simpler.
In-ground beds cost less and suit ground that already drains well. The choice matters less than getting the width right.
Fill with Soil
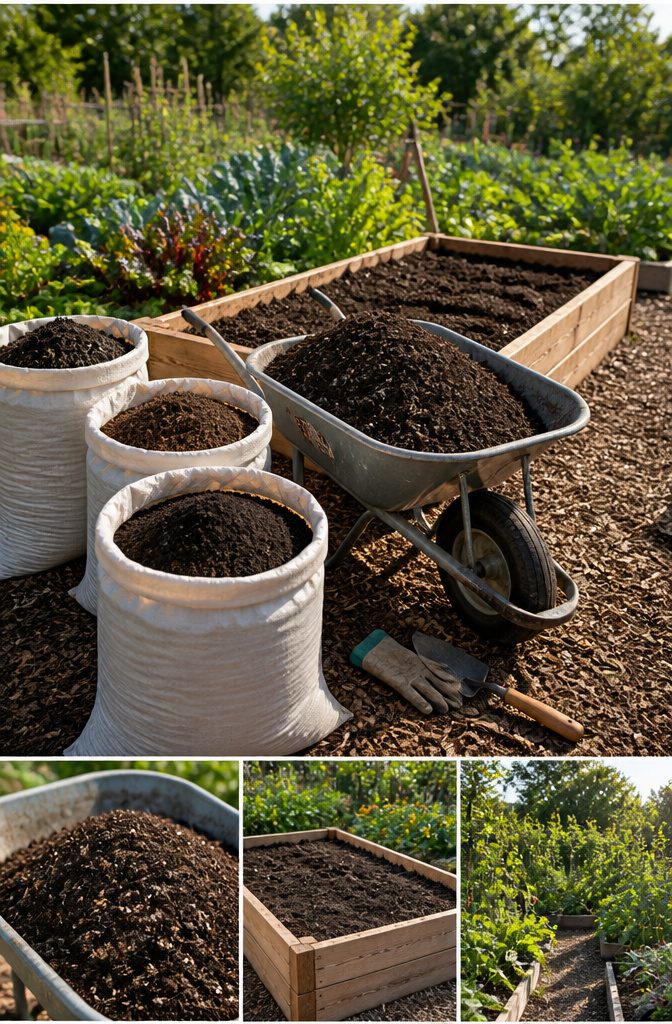
A new bed needs a mix of topsoil, compost, and organic matter to grow anything worth eating. I started with equal thirds, which sounded sensible enough.
The year I pushed compost closer to half the mix, my tomatoes shot up thin and leggy, reaching for nitrogen they already had too much of. Fruit came late and sparse.
Now I order a specific blend from my local yard: roughly half topsoil for structure, a quarter compost for nutrients, and a quarter aged leaf mold or rotted straw for the organic matter that holds moisture without souring.
The supplier knows my order by voice. That ratio has held through three seasons, and the plants stay stocky and productive.
Plant Your Crops
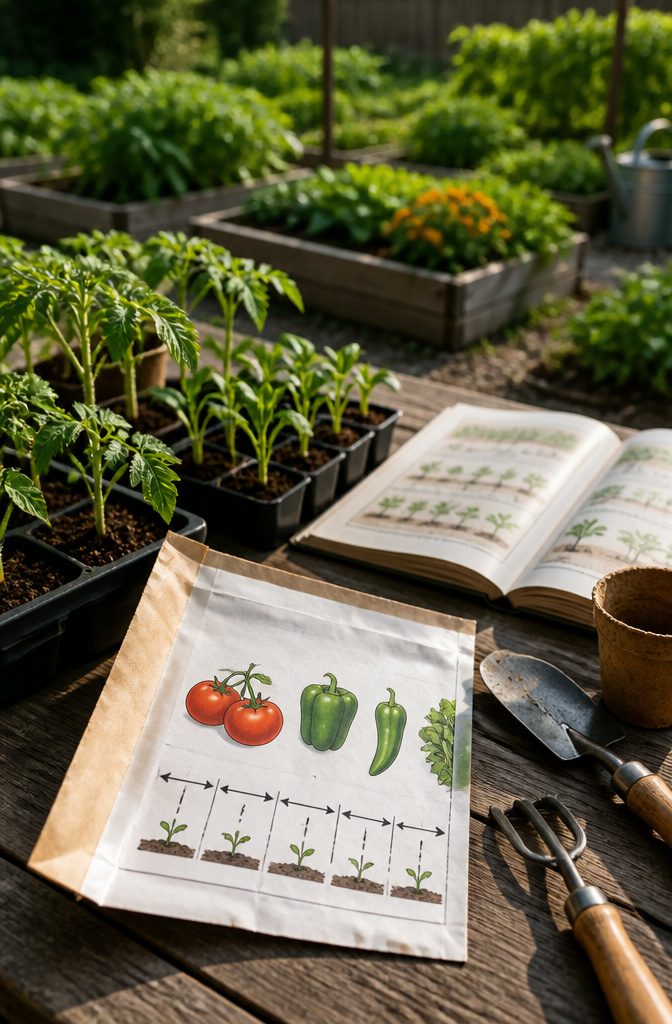
The back of a seed packet is worth more than most garden apps. My first year, I treated those spacing numbers as loose suggestions and packed tomatoes, peppers, and zinnias shoulder to shoulder.
By July the tomatoes had mildew where no air moved, the peppers ripened small and bitter from root competition, and the zinnias flopped over one another in a mess of stems.
Follow the packet spacing exactly, at least until you know what a plant actually needs in your soil.
Tomatoes want room for staking from both sides, which is why rows work well. Peppers and zinnias can go into blocks instead of rows, fitting more plants into the same footprint and shading out weeds as they fill in.
Blocking versus rows is a judgment call based on how you tend the bed, not a rule written in stone.
Raised Beds
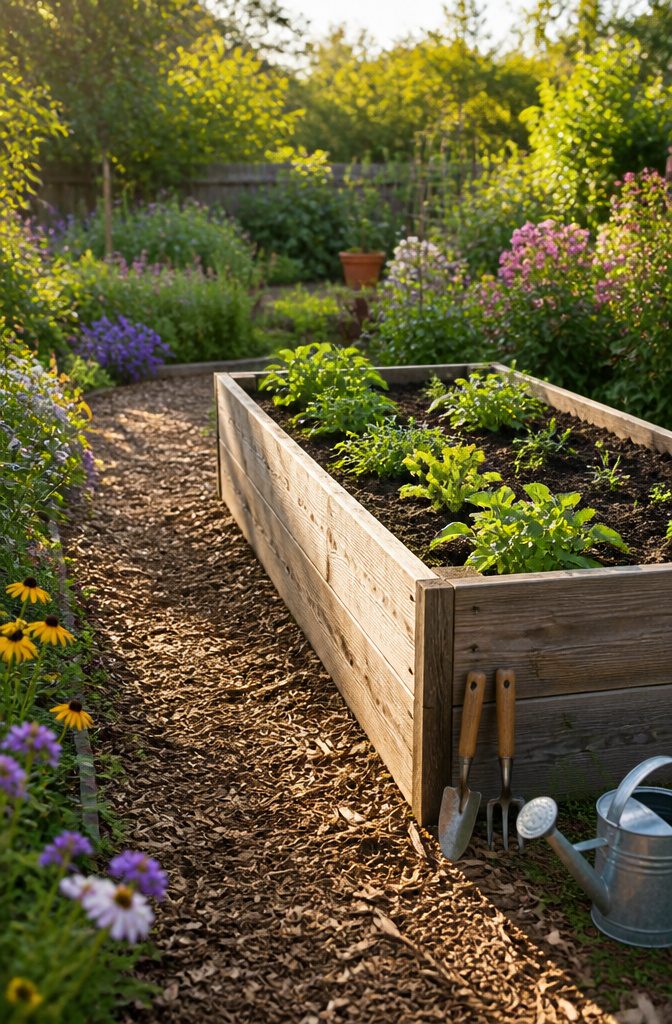
Raised beds solve two problems that stop new gardeners cold: drainage that stays soggy for days and dirt you cannot do anything about.
The elevation lets water run off instead of pooling at root level, and you fill the frame with whatever mix you actually want rather than fighting what is already there.
I built one raised bed and one in-ground bed the same spring, both 4 feet wide so I could reach the middle without stepping in.
The raised bed dried out and warmed up almost two weeks earlier, which mattered in a zone with a short season.
By August the raised bed had produced almost twice the food per square foot. The in-ground bed compacted where I walked, and the early lettuce rotted in a week of rain that the raised bed shrugged off.
Keep beds 3 to 4 feet wide if you want to work from the sides without compressing the soil you just built. The frame does not need to be elaborate; mine was scrap cedar, and the soil inside did the real work.
In-Ground Beds
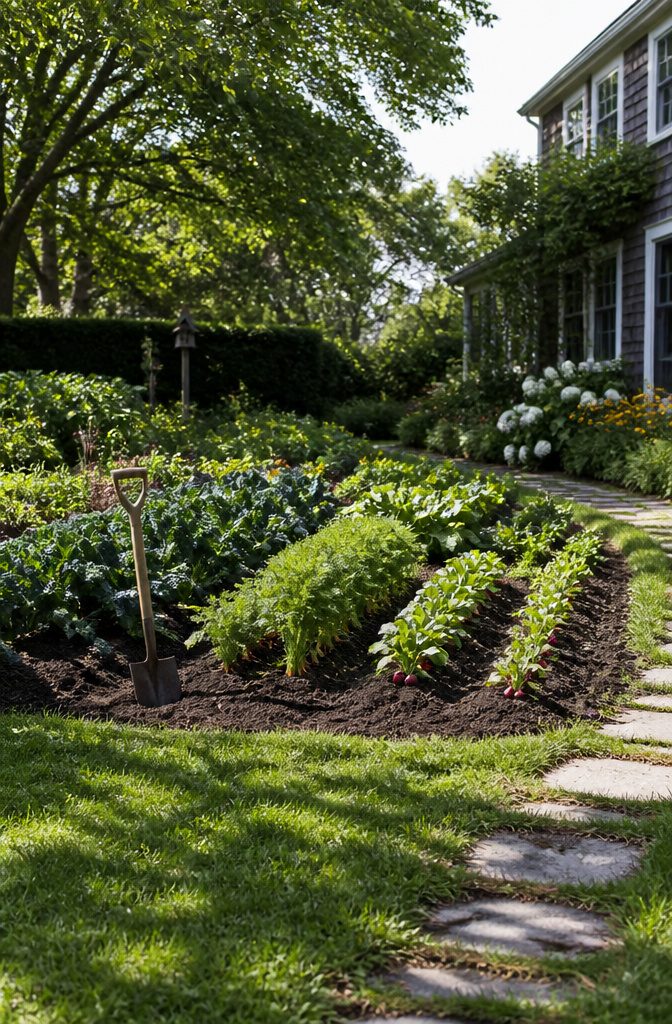
Direct planting into existing soil is the cheapest way to start a garden bed, but it only works when the ground you already have is worth working with.
My backyard vegetable patch went in fine; the soil drained well enough and a season of digging in compost got things growing.
The clay-heavy side yard was a different story. Water sat there for days after rain, and the shovel bounced off ground so packed that roots could not push through.
I spent two years forking in leaf mold and bark chips before that patch produced anything worth eating, which is the real cost of in-ground beds: time, not money.
If your soil is decent and your yard is flat, this is the route to take.
If you are fighting heavy clay, compacted construction fill, or a slope that channels every rainstorm through your planting zone, you will spend seasons building what a raised bed gives you on day one.
Container Gardens
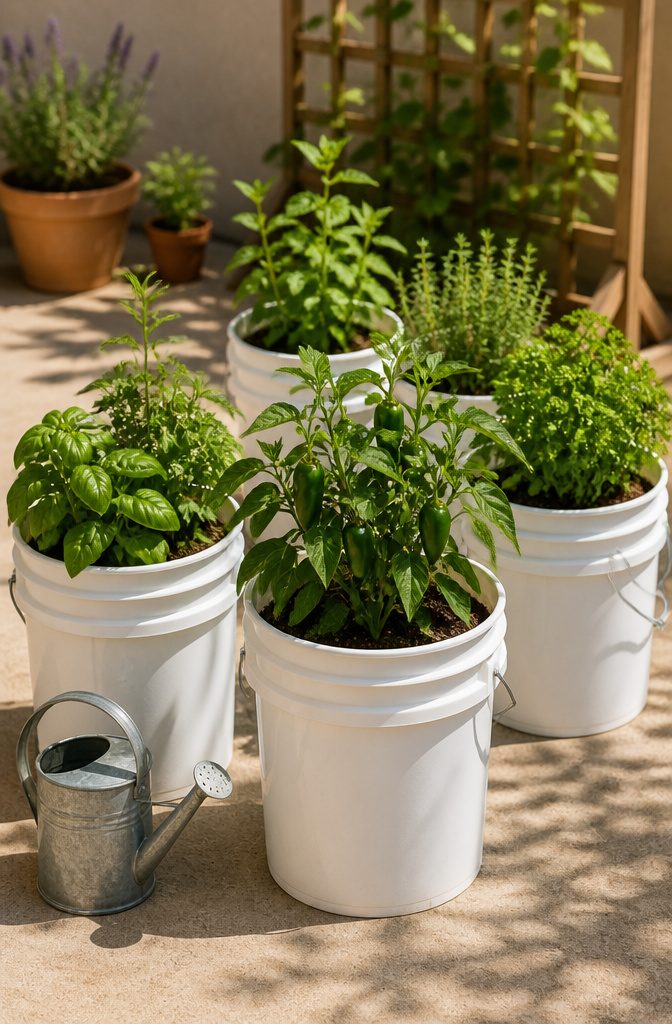
Five-gallon buckets on a concrete patio taught me more about drainage than any raised bed ever did.
I ran a side-by-side test one summer: two identical jalapeño seedlings, one in a bucket with potting mix, one in my backyard clay.
The potted plant needed water every morning by mid-July; the in-ground one got by on twice-weekly soakings. Bucket peppers need daily checks once temperatures pass 85°F, or the soil goes from moist to bone-dry before dinner.
Container growing is not a compromise for small spaces.
It is its own system with its own rules. Potting soil, not garden dirt, is non-negotiable; the mix needs to drain fast enough to prevent rot but hold moisture long enough that you are not chained to a watering can.
Dwarf or compact varieties fit better here, since a full-size tomato will outgrow a 10-inch pot before August.
My bucket jalapeño outproduced the in-ground plant by early September, simply because I could move it to catch the last hours of sun as the angle shifted.
The patio gardener’s advantage is control, not limitation. You choose the soil, the hours of light, even the neighbors your roots never meet.
Hügelkultur
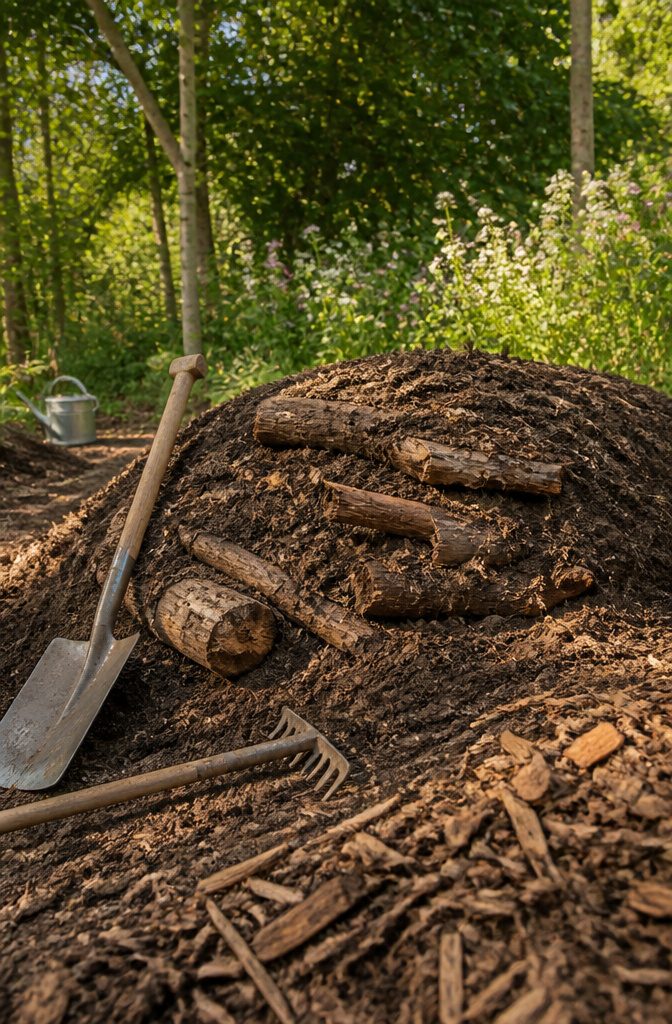
Hügelkultur is the practice of burying decomposing wood under mounded soil to build a raised bed. The rotting logs store moisture and release nutrients as they break down, which in theory means less watering and fertilizing later.
It is an old technique, and the appeal is obvious if you are staring at a pile of fallen branches and wondering what to do with them.
I have not built one myself. Reading through how it works, the method asks you to start with a trench, pile in wood, cover it with soil, and wait for the decay to begin doing the heavy lifting.
The catch is that the pile settles significantly as the wood rots, so you cannot plant anything permanent until the shrinkage finishes. Shallow-rooted annuals are the only safe bet in the first year or two.
My skepticism comes from my own dry summer climate.
Decay needs moisture, and here the wood would likely mummify rather than rot. The sources I read note that shade slows the process even further.
Without reliable rainfall or consistent irrigation on the mound itself, I would end up with a bed of half-preserved logs and a surface that drops six inches by season three.
For my $500–$800 annual garden budget, that is too much uncertainty and too long a wait. Someone with wet summers and a steady supply of prunings might see it differently.
Straw Bale Gardens
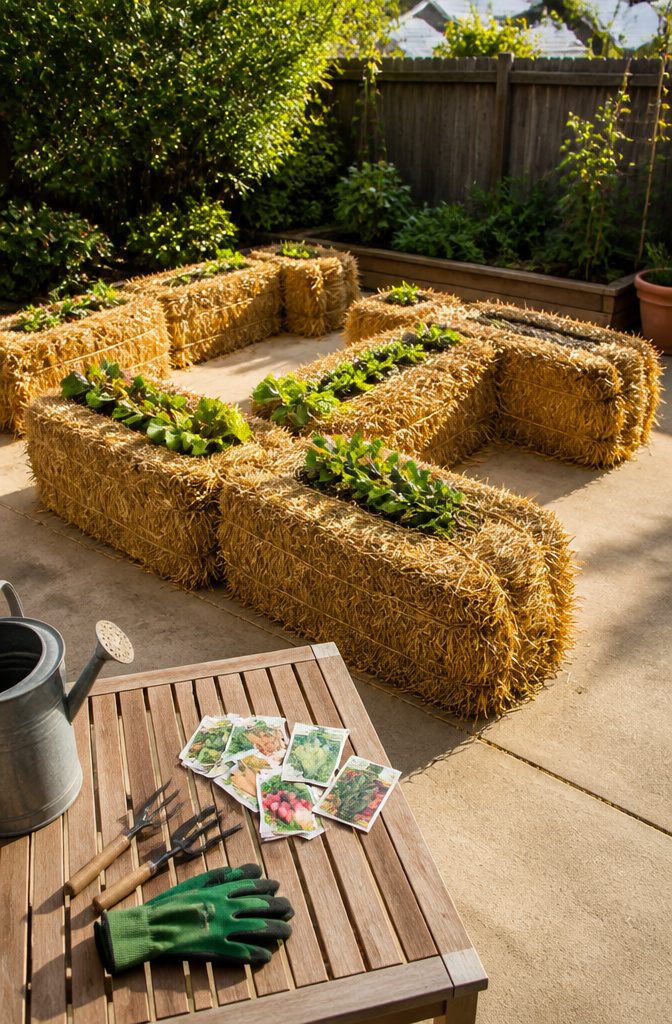
Straw bale gardens are the one method on this list I have not tried myself, so I can only pass along what makes them worth considering.
A line of conditioned bales sits wherever you have sun, no digging required, and at season’s end the whole thing lifts away. For renters or anyone working a patio they do not own, that portability matters.
Craig LeHoullier grows peppers, tomatoes and eggplants in his driveway this way, moving the bales to catch pockets of light. The setup costs less than permanent containers or raised beds, and the straw itself becomes compost by fall.
I have stuck with soil I can amend year after year, but if I were facing a move or a strict lease, bales would be my next experiment.
Soil Preparation Methods Compared
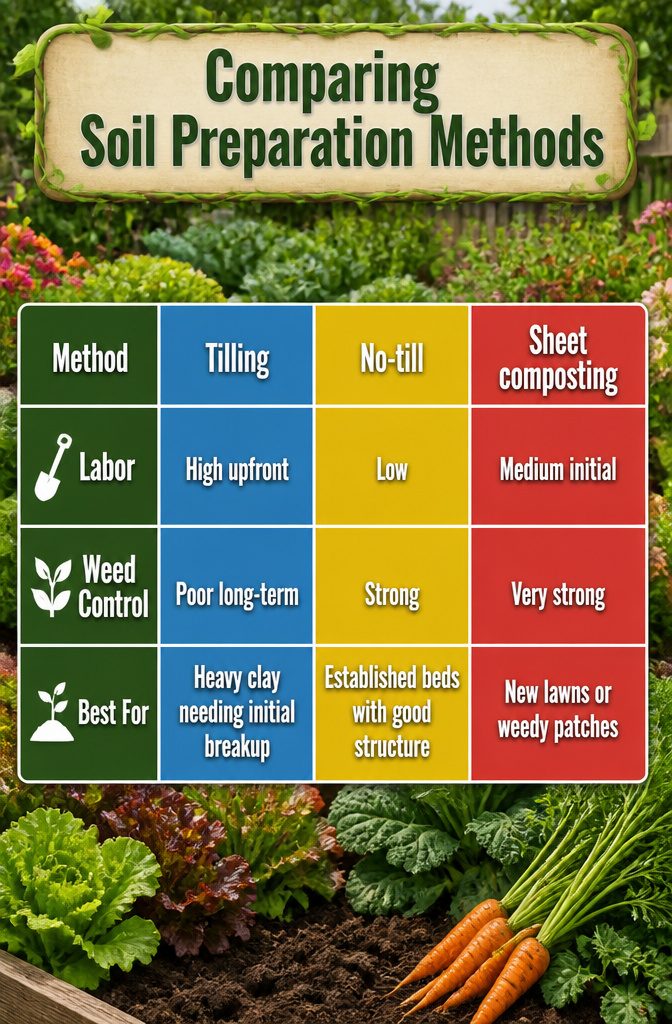
Tilling was how I started every spring for my first three years. The soil looked fluffy and ready, but by June the weeds were always worse than my neighbors’ plots.
What I learned reading up on this is that turning the soil deep brings buried weed seeds to the surface where light triggers them. No-till methods, by contrast, leave those seeds dormant and let the soil structure stay intact.
My own beds now run on a split system: new ground gets smothered with cardboard and compost for a full season before planting, while my established beds get a two-inch compost top-dress each fall and no disturbance beyond a hand fork.
| Method | Labor | Weed Control | Best For |
|---|---|---|---|
| Tilling | High upfront | Poor long-term | Heavy clay needing initial breakup |
| No-till | Low | Strong | Established beds with good structure |
| Sheet composting | Medium initial | Very strong | New lawns or weedy patches |
The compost-only route my second season was too slow: plants sat yellow for weeks in nutrient-poor soil.
Tilling plus amendments worked faster but cost me June through August fighting weeds. The no-till compromise, adding compost in fall and planting through it in spring, has been the only approach that keeps both problems quiet.
Plant Spacing in Small Beds
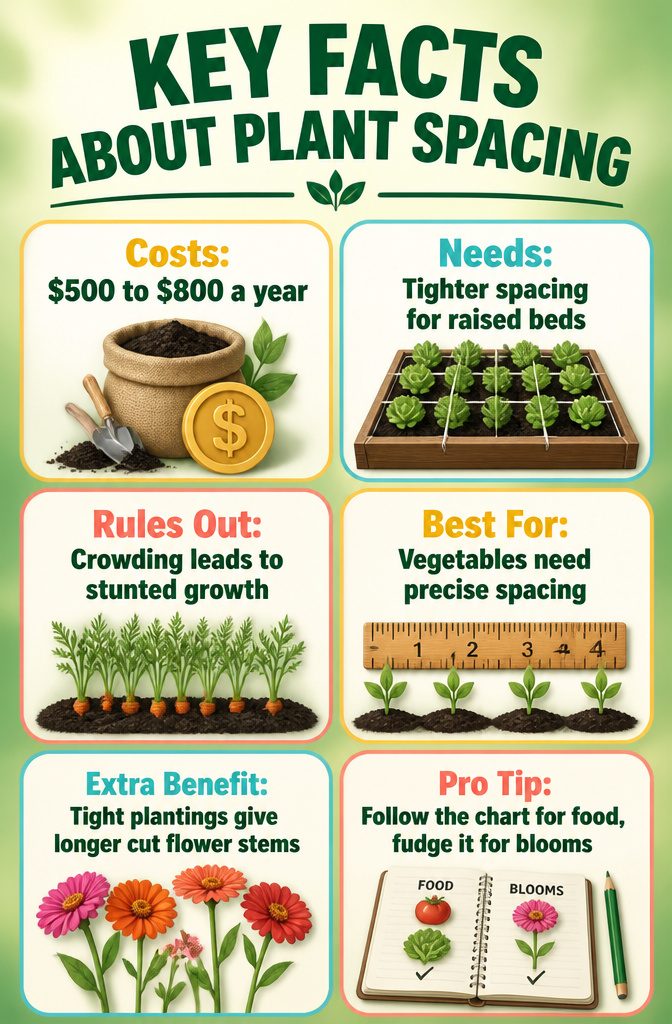
Seed packets still sit at the center of how I figure out spacing, though I’ve learned to read them with one eyebrow raised.
The distances printed there assume row gardening in open ground with soil deep enough for roots to wander.
In a raised bed with eight to ten inches of fill, those roots hit the bottom fast, so crowding costs more than it would in native soil.
Two carrots an inch apart in loose field dirt might manage; two carrots an inch apart in a shallow box fight for the same thin layer of nutrients and both stay stunted.
I keep a square-foot gardening spacing chart laminated on the wall of my shed, taped there after my first season of treating that packet text as gospel and ending up with leggy beets and a tomato that never fruited because its neighbor shaded it out.
The chart gives me the tighter spacing that raised beds can handle: sixteen carrots per square foot, nine bush beans, one tomato caged in its own two feet.
It is not a theory. It is what I check with dirt on my knees before I open a seed strip.
The arithmetic matters more when your soil budget is finite. At $500 to $800 a year, a bag of replacement mix to top off a bed where plants failed to thrive is a real subtraction from something else.
Precise spacing is how I stretch that fill. Closer planting works for some things, lettuce and radishes especially, but only when I thin on schedule and eat the thinnings.
Skip that step and the whole square foot collapses into a tangle that dries out unevenly and invites the fungal problems I spent last July fighting with neem and regret.
For cut flowers I bend the rules further than I would for food.
Tight planting forces longer stems as the plants reach past each other for light, a trick I picked up after watching a row of zinnias I spaced by the book stay short and brushy while a crowded volunteer patch shot up elegant lengths.
Vegetables rarely reward that gamble. I follow the chart for food, fudge it for blooms, and mark the difference in my notebook so I don’t confuse the two come March.
What I Plant as a Beginner
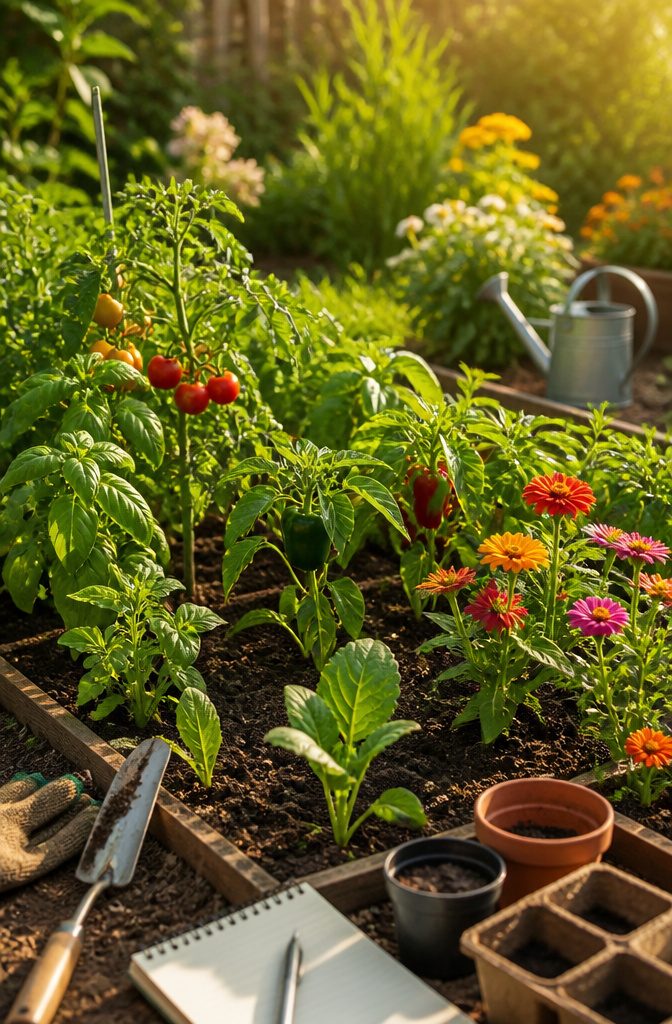
My first season, I planted tomatoes, peppers, zinnias, and a patch of leaf lettuce.
The tomatoes and peppers filled the raised bed I built against the garage, the zinnias went in a row along the front to hide the pine-needle mulch, and the lettuce filled whatever gaps were left.
Two plants died: the peppers baked in a late May heat wave because I had not thought to shade them, and half the lettuce bolted by mid-June when the afternoon sun shifted and I had not noticed how fast that corner warmed.
The mistake I grew too much of was zucchini. One plant would have been plenty; I put in four and spent August sneaking bags onto neighbors’ porches.
Limit yourself to five to ten new species a season.
Every plant has slightly different needs for water, timing, and support, and trying to master them all at once is how first-year beds end in overwhelm. Tomatoes, peppers, zinnias, and leafy greens are forgiving enough to learn on.
Choose the ones your household actually eats, or the flowers you actually want to cut. The rest can wait until year two.
Layout and Pathways
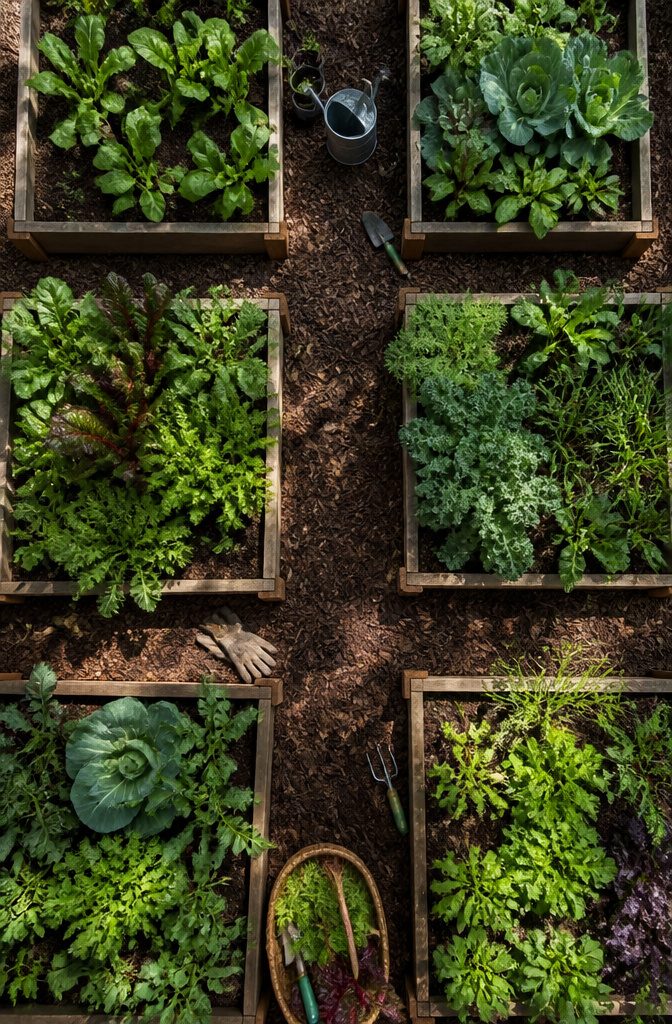
The shape of a bed matters as much as its soil.
I started out planting in neat rows, the kind I remembered from childhood picture books, and spent a season watching lettuce bolt in the gaps while cucumber vines tangled through the walkways.
Switching to block planting, where you sow in a solid rectangle instead of a line, let me fit more plants into the same footprint and made a simple trellis for those vines actually worth building.
Then there was the mud.
My first paths were 18 inches across, scraped out with a hoe and left bare. By June they were compacted ruts that held water for days after rain.
I could not kneel at the bed edge without my boots sliding into the muck, and I ended up stepping into the planted area more than once just to stay upright.
The next spring I widened them to 24 inches, laid down a loose layer of wood chips, and the difference was immediate. Two feet gives enough room to crouch or set down a harvest basket without your shoulder brushing tomatoes.
That width also solves the reach problem. A comfortable arm span is about two feet, so a bed four feet across means you can tend the center from either side without ever putting your weight on the soil.
Compacted ground is dead ground; roots stop where your boot pressed. Plan the path before you plant the first seed, or you will plan it with your feet later, and the plants pay for it.
Frequently Asked Questions
How do I prepare the soil for a garden bed?
Lay down an inch of compost each fall and let winter do the mixing, rather than tilling.
Tilling buries weed seeds at the perfect depth to germinate and damages soil structure over time. For new beds thick with perennial weeds, solarization with clear plastic during summer heat can kill weed seeds and some soil-borne pests.
What is the best size for a raised garden bed?
A 4×8 foot bed is the practical starting size for beginners, giving you 32 square feet without turning weekends into a maintenance job.
Keep the width at 4 feet or less so you can reach the middle from either side without stepping in and compacting the soil. This size also lines up with standard 8-foot lumber, so you cut nothing and waste nothing.
What plants should I start with in my garden?
Limit yourself to five to ten new species a season and choose forgiving plants like tomatoes, peppers, zinnias, and leafy greens.
Every plant has different needs for water, timing, and support, and trying to master too many at once leads to overwhelm. Pick the ones your household actually eats or the flowers you actually want to cut.