
A worm bin is a contained box of red wiggler worms that turns kitchen scraps into dense, fertile castings you can harvest every four to six months. The catch is that the bin fails fast without ventilation holes drilled along the sides and bottom; my first setup went sour in a week when I skipped that step, and the worms clustered at the top gasping for air. A 10-gallon opaque plastic tote, a 1/16-inch drill bit, and shredded newspaper are enough to start.
What You Need
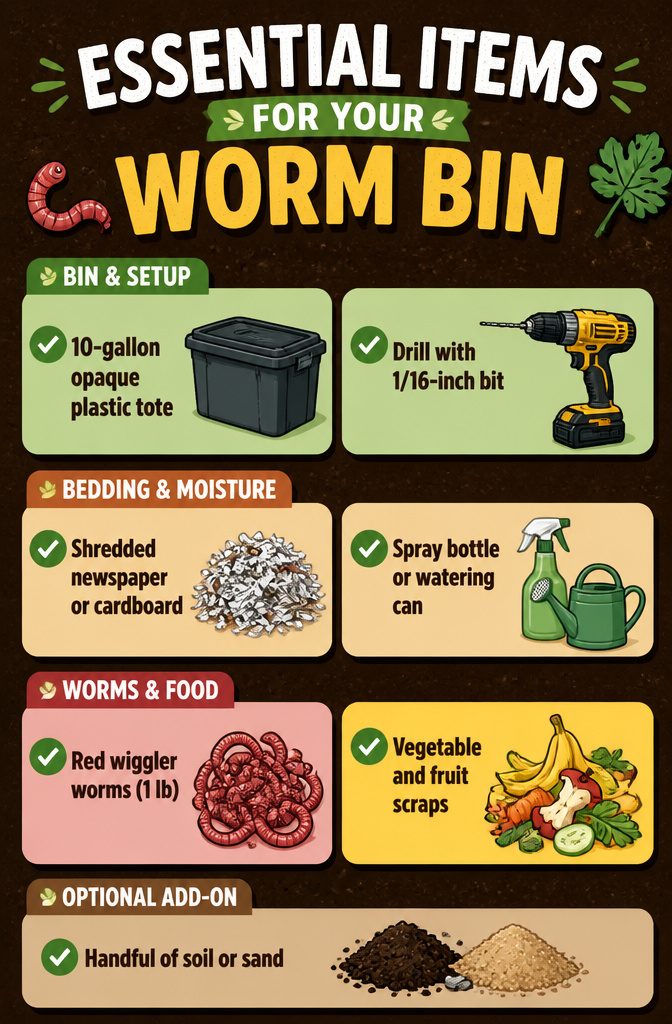
A 10-gallon opaque plastic tote works best for a starter bin, since red wigglers stay in the top few inches and clear sides stress them out. An 18-gallon size is fine too if you produce more kitchen scraps. You will need a drill with a 1/16-inch bit for ventilation and drainage holes, and some builders add a piece of fine mesh screen cut to fit inside so worms do not wander through the bottom holes.
For bedding, shredded newspaper or cardboard fills the bin about half to three-quarters full; black-and-white newsprint, junk mail, and office paper all work, though I skip anything glossy. Dry leaves are another option if you have them. A spray bottle or watering can keeps the bedding moist like a wrung-out sponge, not soggy.
Red wiggler worms run about half a pound to one pound to start; a pound will eat roughly half a pound of food scraps per day once they settle in. Speaking of food, collect vegetable and fruit scraps, coffee grounds, tea bags, and plain bread or pasta. Skip meat, dairy, oils, citrus, and anything heavily salted or spiced. A handful of soil or sand adds grit for the worms’ gizzards, but it is optional if your scraps include some garden dirt.
Drill the Holes
My first worm bin sat in a plastic storage tub with no holes drilled anywhere, and within a week the bedding turned sour and the worms clustered at the top gasping for air. That mistake taught me what the bin needs: ventilation holes along the sides and drainage holes through the bottom, each serving a different purpose.
Side holes let oxygen circulate so the worms can breathe and the aerobic bacteria do their work. Without them, the bin goes anaerobic, smells like rotten eggs, and the worms die. Bottom holes let excess liquid escape so the bedding stays moist but never waterlogged. Worms drown in standing water, and even a careful hand with the watering can struggles to hit that balance exactly right.
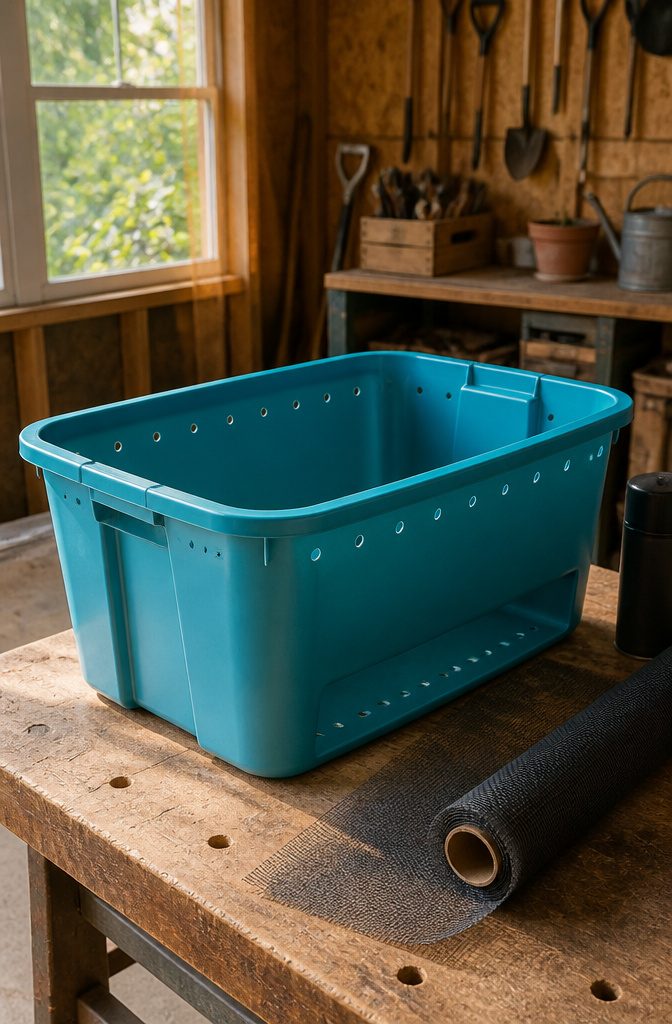
For the sides, an eighth-inch or quarter-inch bit works fine. Space them about an inch below the rim, roughly ten or twelve around the perimeter, so air reaches the top layer where the worms feed. For the bottom, the quarter-inch bit is better; drain four to six holes so leachate can seep out into a catch tray or the secondary bin beneath. If your bin nests inside another, keep those side holes exposed above the lip so airflow continues.
Glue a scrap of vinyl window screen over each hole from the inside. Metal rusts in the damp environment, but the synthetic mesh keeps worms from wandering and fruit flies from entering. After drilling, run your finger across each hole to flick away plastic burrs; a quick swipe with sandpaper finishes the job.
Make the Bedding
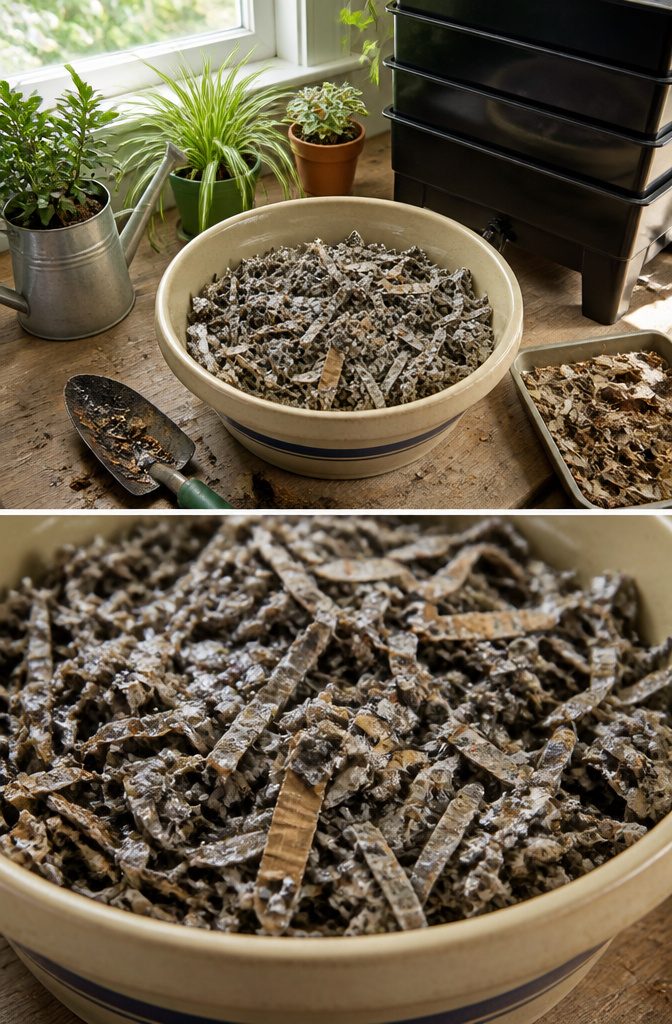
Shredded newspaper and cardboard form the bulk of your worm bin’s bedding, and getting the moisture right matters more than the exact material you start with. Tear or cut the paper into strips, then soak it for about 24 hours rather than just spritzing the surface. That full soak lets the fibers absorb water evenly, which a quick spray never manages. Afterward, wring the bedding out until it feels like a damp sponge — moist through, but not dripping.
If you’re building this bin without existing compost or aged manure to borrow from, the bedding alone leaves your worms in a pretty sterile box. Mixing in a handful of garden soil, some dead leaves, and a pinch of sand or crushed limestone gives the bin the texture and mineral variety worms encounter in the ground. It is not strictly required, yet starting from scratch without that diversity leaves more room for the balance to tilt wrong. The paper still serves as the main structure; these additions just help the worms settle in faster.
Add the Worms
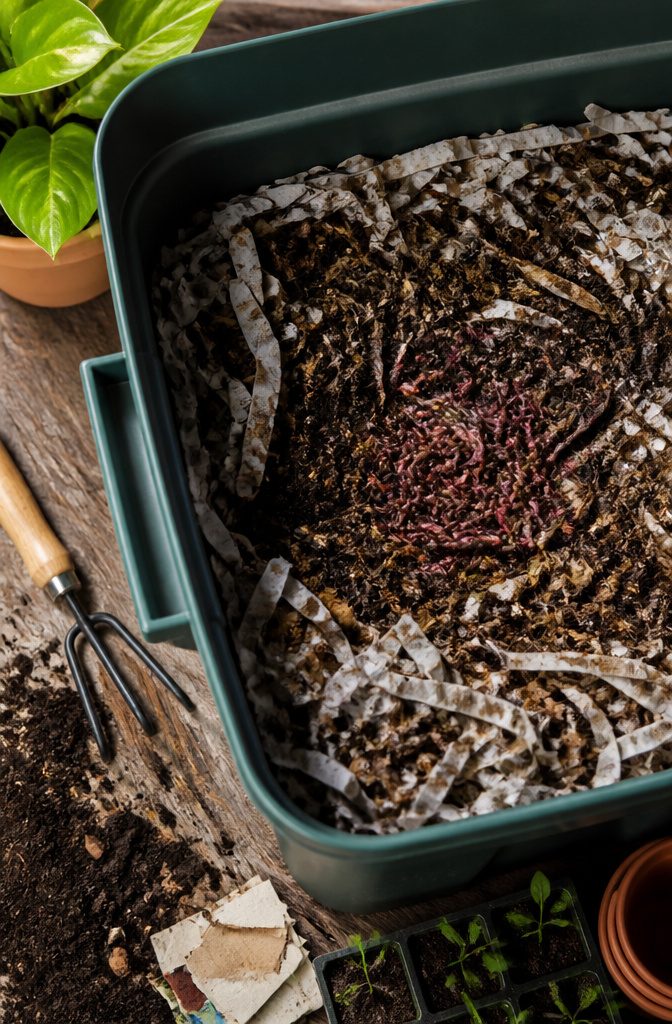
Red wigglers are the species you want, not the earthworms you might spot after rain. I found mine through a specialist online shop after striking out at two local bait stores, though availability varies by region.
For a new bin, start with half a pound to one pound of worms. That amount lines up with roughly half a pound of kitchen scraps per day once they settle in, and their population doubles about every 90 days if the bin stays healthy. One source sizes it differently: two pounds of worms to process a full pound of food waste daily, which would need around four cubic feet of bin space. I went smaller for my patio setup and adjusted my expectations accordingly.
When the box arrives, the worms need a gentle hand. Place them in the middle of the bedding, not on top where dry air hits them. They want the cool, moist interior. I dug a shallow pocket in the newspaper strips, tipped the worms in, and covered them with another loose handful of damp bedding. No feeding that first day; let them find their bearings in the dark.
Feed Your Worms
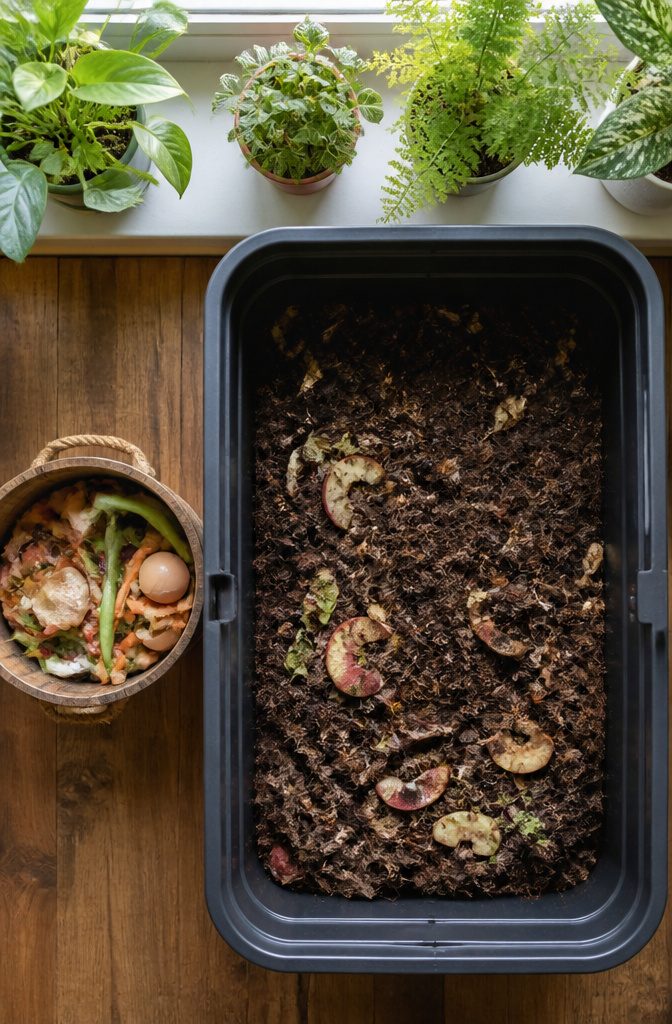
Burying scraps under the bedding is what keeps a worm bin from smelling like a compost pile and keeps fruit flies from moving in. I lift the paper layer, drop the food in, and cover it back up so nothing sits exposed. The worms come up through the bedding to find it.
What goes in is straightforward: vegetable peels, fruit trimmings, coffee grounds and filters, tea leaves, crushed eggshells, bread, cereal, soft paper. One pound of worms will eat through two to four pounds of food per week, so I start there and watch how fast it disappears. If scraps are still sitting after several days, I hold off on feeding until they catch up.
What stays out matters just as much. Meat, dairy, oily foods, and anything salty will rot before the worms touch it and throw the whole bin off. I also skip citrus rinds, onions, and garlic; some worms will tolerate them eventually, but they break down slowly and can sour the bin. Stick to fresh produce trimmings and the worms stay busy and the bin stays clean.
Keep Conditions Right
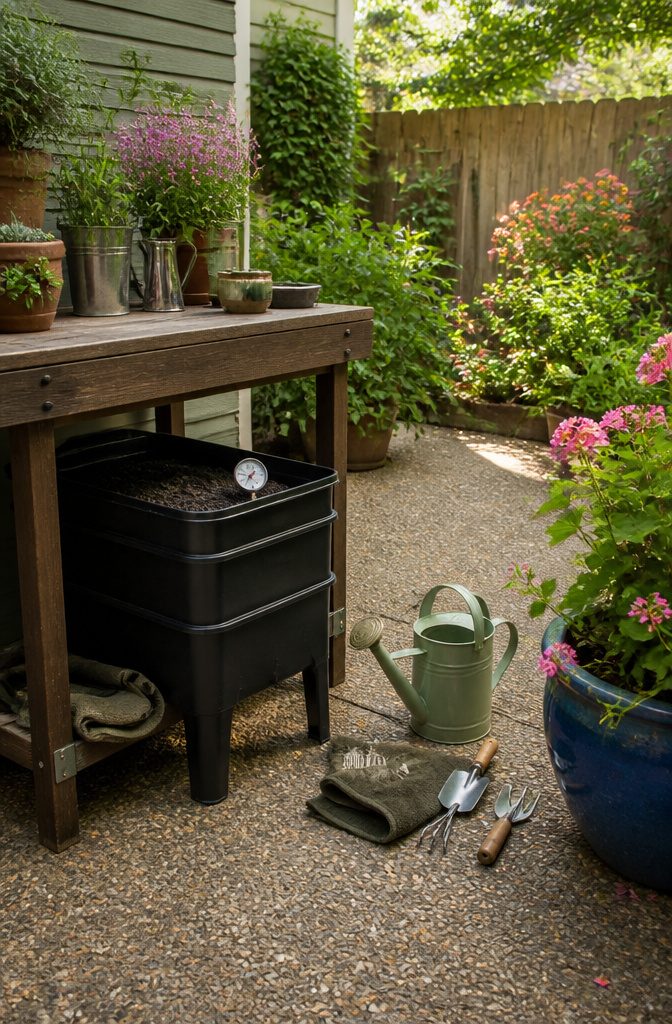
Moisture in a worm bin should feel like a damp sponge when you squeeze a handful of bedding. Not wet enough to drip, not dry enough to crumble. I check mine every week or two by digging in a few inches, grabbing a clump, and giving it a squeeze. If it streams water, I mix in dry shredded paper or cardboard. If it falls apart, I spritz with a spray bottle or add damp bedding.
Keep the temperature between 55 and 80°F. Red wigglers slow down below 55 and can die above 80. My first summer, I left a bin on a concrete patio in July sun and cooked most of the colony by afternoon. Now I keep bins in the shade against a north wall, or indoors in the laundry room when August hits triple digits. A cheap thermometer stuck into the center of the bedding beats guessing.
Feeding frequency depends on how fast they work through what you already gave them. One pound of worms handles about half a pound of scraps per day when conditions are good. I lift the top layer of bedding to check: if the last feeding is mostly gone, I add more. If scraps are still recognizable after a week, I hold off. Overfeeding leads to acidic, smelly bins where worms head for the exits. A handful of crushed eggshells every month or two keeps pH from dropping too low.
Harvest the Castings
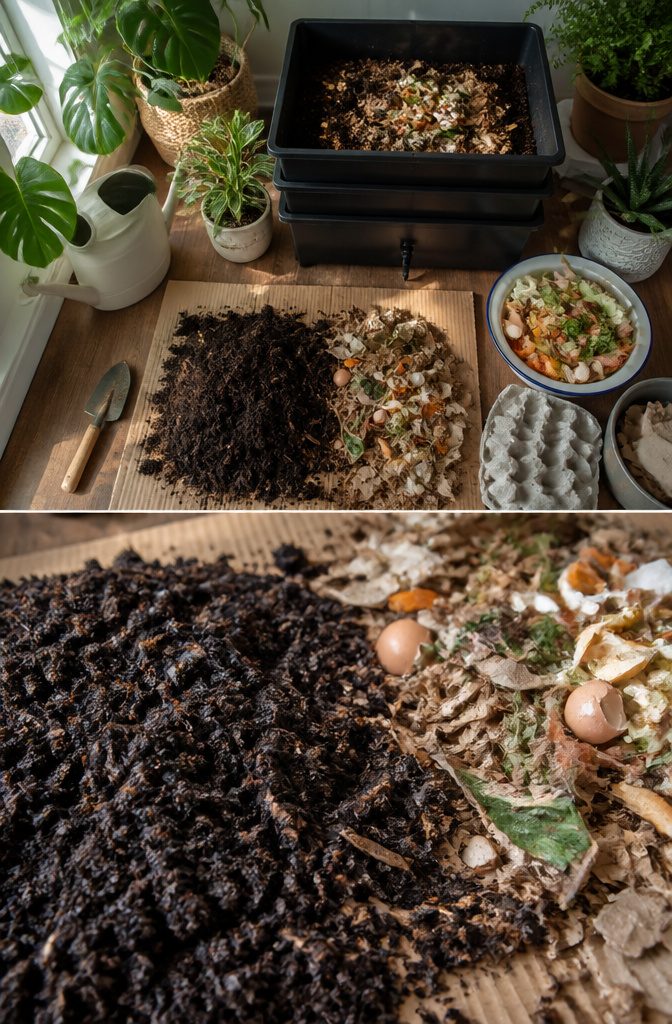
Four to six months after starting the bin, the bedding will be mostly gone and what remains is dark, crumbly castings. That is the sign to harvest.
I use the migration method because it lets the worms do the separating. I push the finished material to one side, fill the empty half with fresh bedding and food scraps, then wait a week or two. The worms move toward the new food on their own. Once they have migrated, I lift out the castings from the other side and refill that space.
For faster results, dumping the bin onto cardboard or a tarp works too. The worms burrow down to escape light; I skim castings from the top, wait a few minutes, and skim again. I keep the pile shaded the whole time, since worms die quickly in direct sun.
Why a Worm Bin Works on a Patio
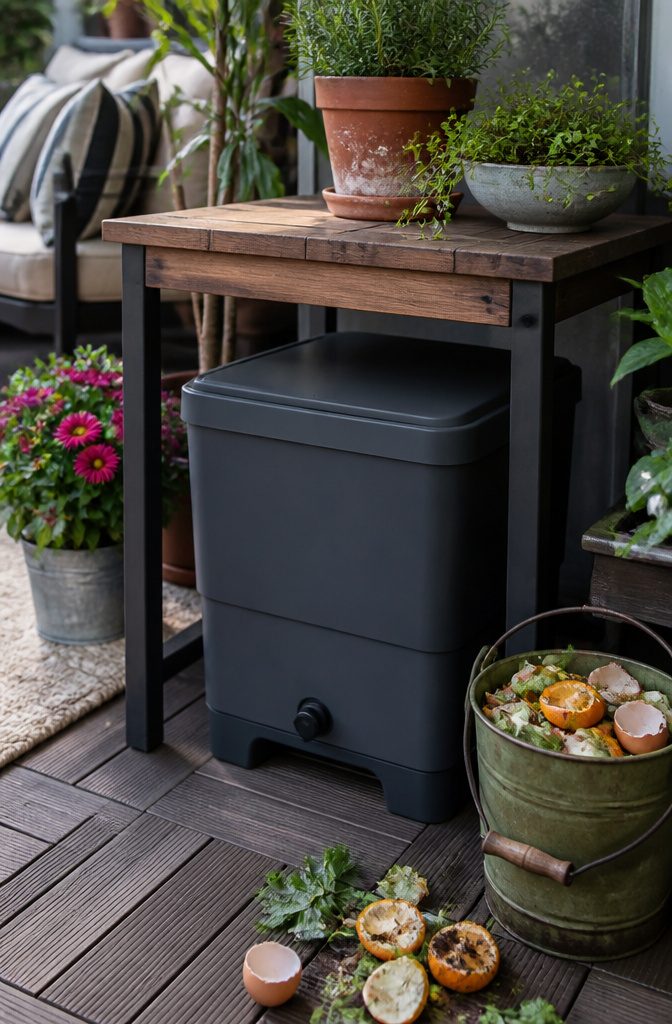
A worm bin turns a pound of food scraps weekly into castings, the dark crumbly stuff worms leave behind that feeds both patio tomatoes and houseplants through winter. That same bin, tucked under a small table, asks for no more floor space than the recycling bin it replaces.
I started vermicomposting after realizing my balcony generated too many scraps for the municipal green bin and too few for a full compost pile. The worms work in a 10-gallon opaque storage container, no yard required, no turning, no smell if the bedding stays damp. Red wigglers, the species sold for bins, prefer the 55 to 75 degree F range that most patios hit from March through November; in colder zones the bin moves indoors to a closet or under a sink and keeps producing while outdoor compost sleeps.
What convinced me, reading through a dozen setups, was the forgiveness. Sources describe bins neglected for weeks where the worm population dipped but recovered. The castings cost nothing but the initial worms and a spray bottle of water, and they replace bagged amendments I used to haul up the stairs. For a gardener working maybe six by ten feet of container space, the math is simple: less waste out, fewer inputs in, and a closed loop that fits the budget.
Worm Care Basics
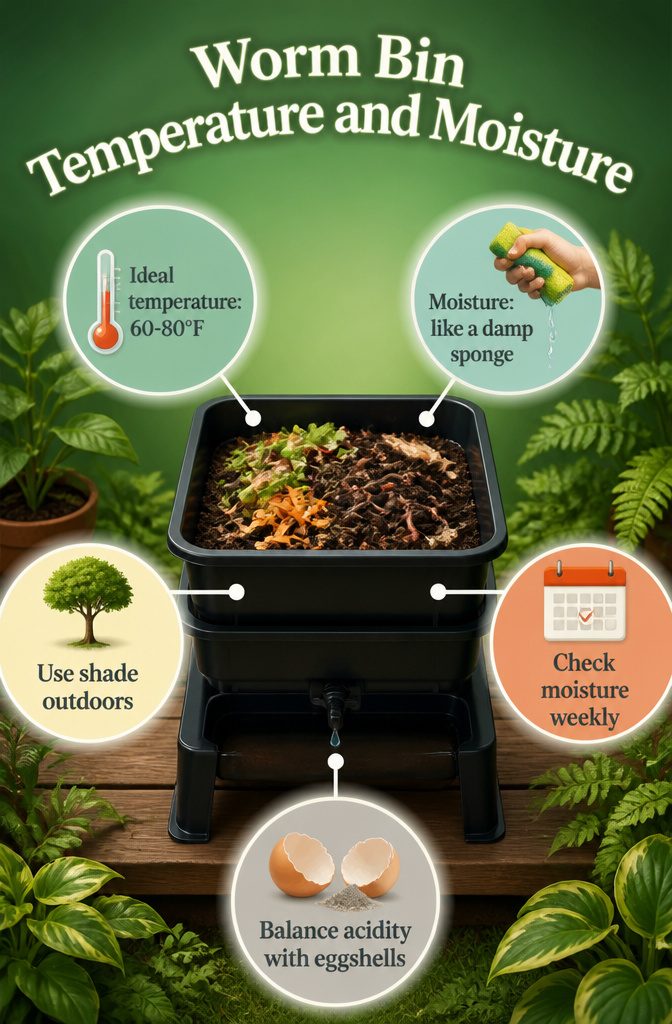
A worm bin runs best between 60 and 80 degrees F, and keeping it there is simpler than I expected when I started. My first bin lived under the kitchen sink through summer and winter, and the worms never seemed to mind the steady indoor temperatures. If you are storing yours outside, shade is non-negotiable; direct sun can bake the contents even on mild days, and I would bring the bin inside once nights drop below that range.
Moisture matters just as much. The bedding should feel like a damp sponge when you squeeze a handful, with no water running out. Most fruits and vegetables are 80 to 90 percent water, so the food itself contributes plenty of liquid. I check by hand every week or two and mist with a spray bottle only when the bedding starts to feel dry rather than damp. If the bin gets soggy, cut back on wet scraps and add dry shredded paper to absorb the excess.
Acidity stays in balance on its own unless you overfeed. When the bin tilts too acidic, crushed eggshells or a little rock dust will pull it back toward neutral. I have not needed to do this often; feeding modestly and burying scraps under bedding prevents most problems before they start.
What to Feed and What to Skip
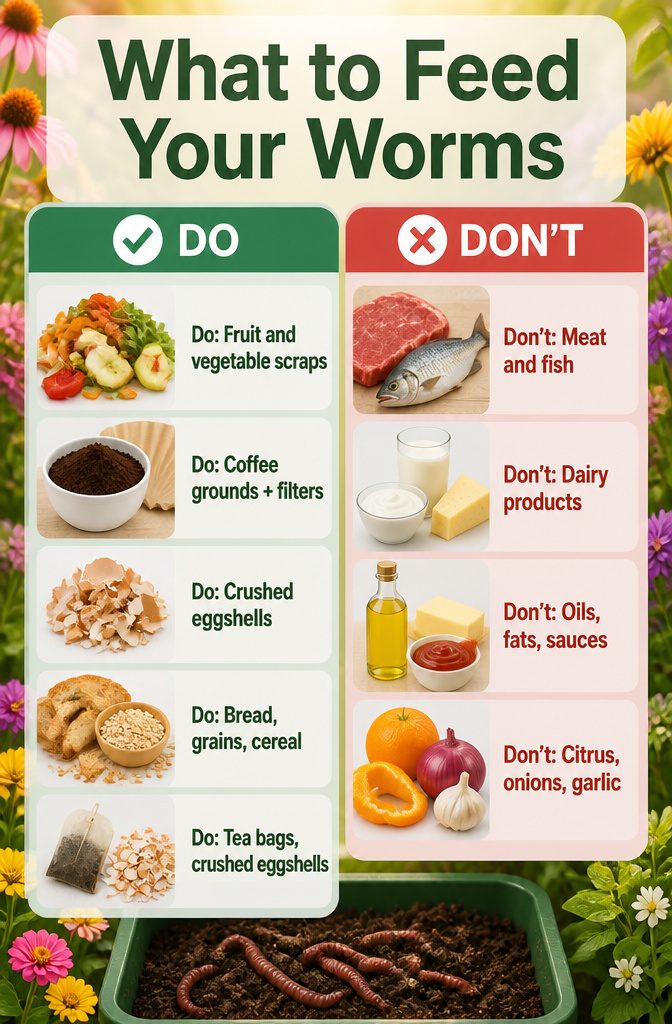
Worms eat what a garbage disposal would take, and nothing more. Vegetable scraps, fruit trimmings, coffee grounds with their filters, tea bags, bread crusts, and plain grains all break down fast. Crushed eggshells help too, especially if you add acidic coffee grounds regularly.
Some foods sit longer or cause trouble. Citrus peels, onions, garlic, and strong herbs repel worms with their oils. Meat, dairy, bones, fish, fats, and oils rot before the worms reach them and draw pests. Sauces and seasonings belong in the trash, not the bin.
| What works | How to use it | What to skip | Why it fails |
|---|---|---|---|
| Fruit and vegetable scraps | Chop to 1-inch pieces; bury under bedding | Meat and fish | Attracts pests, rots too fast |
| Coffee grounds + filters | Add eggshells to balance pH | Dairy products | Sours and smells |
| Bread, grains, cereal | Small amounts, torn up | Oils, fats, sauces | Coats bedding, blocks air |
| Tea bags, crushed eggshells | Scatter with food scraps | Citrus, onions, garlic | Oils repel worms |
I started with a handful every couple days, then settled on about two cups per week once the population grew. Stop feeding if the bin smells or you see flies. Add dry bedding and wait a week before the next round.
Trouble I Have Hit
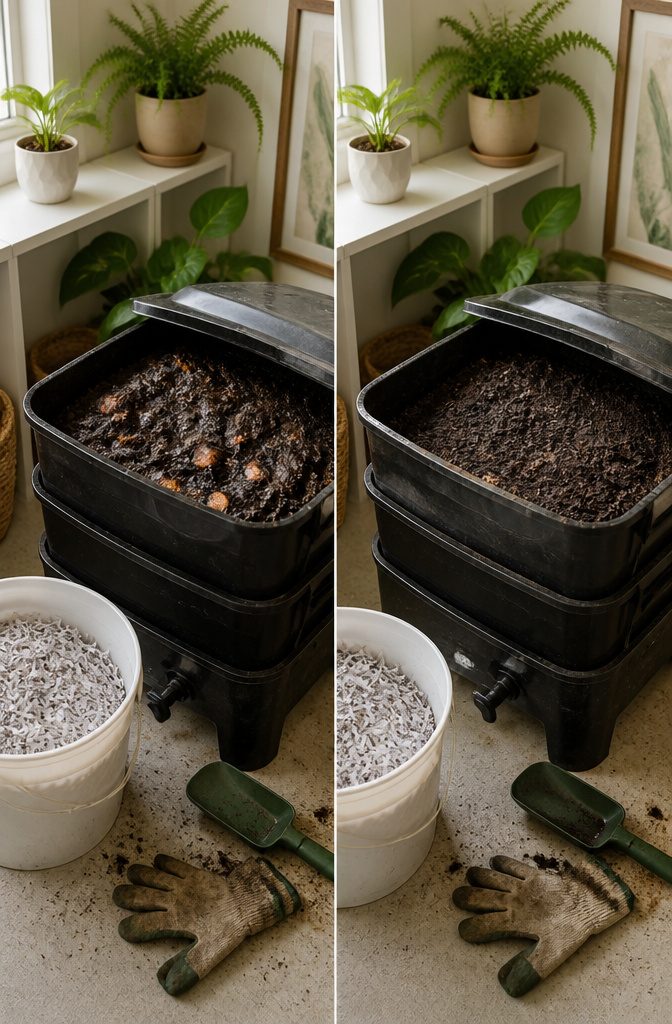
The first time my bin smelled like a dumpster in July, I had buried a whole mango under two inches of bedding and called it done. The worms did not call it done. By day four the reek hit me three feet from the back door. Stop feeding immediately and add dry bedding until the moisture feels like a wrung-out sponge, not wet laundry. That is the fix, and it works faster than you’d think.
Fruit flies arrived the same summer because I left cantaloupe rinds peeking out of the top layer. A two-inch cap of damp bedding over every feeding, thick enough that no scrap shows through, ends that problem in about a week. I now keep a bucket of shredded paper beside the bin and never skip this step.
Too-wet bins need air as much as they need dryness. Fluffing the bedding with your hands, boring as it sounds, adds channels for oxygen the way poking holes in a baked potato does. I also checked my drainage holes; one had clogged with castings and was holding a half-inch of standing water.
Acidic food is the last odor cause I found the hard way. Coffee grounds and orange peels had dropped my bin toward a smell sharp enough to sting. Cutting back to a handful of either per week, not per feeding, kept the balance steady without any pH strips or tests.
Ants or other insects creeping in through bottom holes usually mean your compost tea is pooling underneath. Plug those holes with a bit of cloth or mesh and watch moisture more carefully; dry bedding added weekly absorbs what the worms have not yet processed.
Frequently Asked Questions
What can I feed my worms?
Stick to vegetable and fruit scraps, coffee grounds and filters, tea bags, plain bread or pasta, and crushed eggshells. Avoid meat, dairy, oils, heavily salted or spiced foods, citrus, onions, and garlic, since those either rot before the worms reach them or repel worms with their oils. A pound of worms eats roughly two to four pounds of food per week once they settle in.
How do I maintain my worm bin?
Keep the bedding moist like a wrung-out sponge and the temperature between 55 and 80°F, checking both every week or two. Feed only when the last batch is mostly gone, and bury scraps under two inches of bedding to prevent smells and fruit flies. Add a handful of crushed eggshells every month or two if the bin tilts too acidic.
How do I harvest worm castings?
Use the migration method by pushing finished material to one side, filling the empty half with fresh bedding and food, and waiting one to two weeks for the worms to move over. Alternatively, dump the bin onto cardboard in shade and skim castings from the top every few minutes as worms burrow down to escape light. Harvesting usually happens four to six months after starting the bin.