
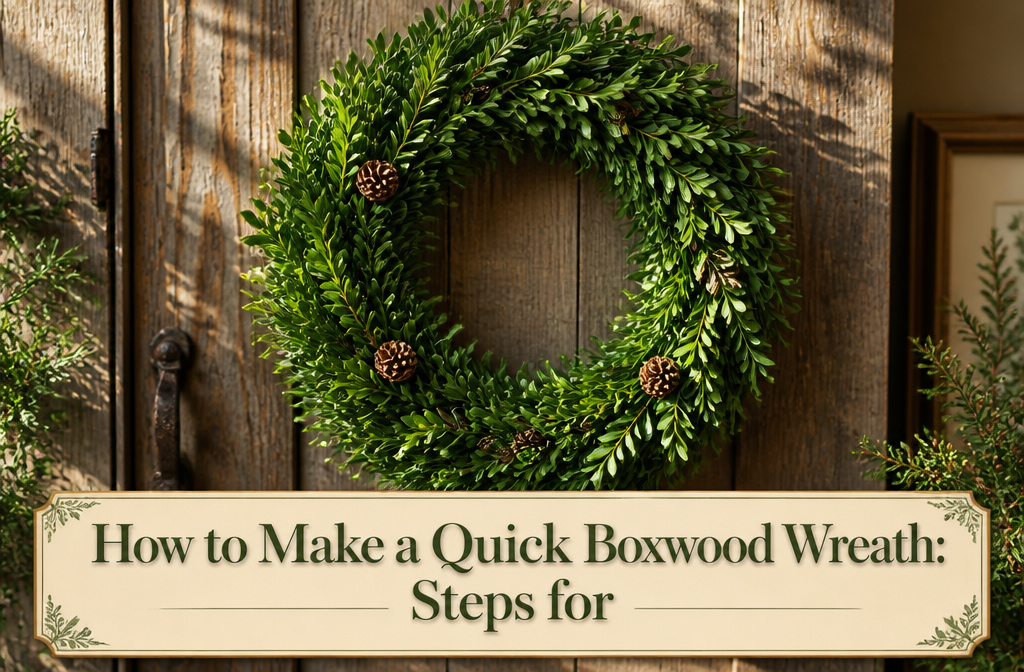
You can build a full boxwood wreath in under an hour with free clippings and a grapevine form from any craft store. The mistake most people make is wiring the tips instead of the stems, which leaves you with a green porcupine instead of a rounded shape. The fix is simple: layer each new bunch so the cut ends stay hidden, and work around the circle with the stems pointing down.
1. Gather Your Boxwood Clippings
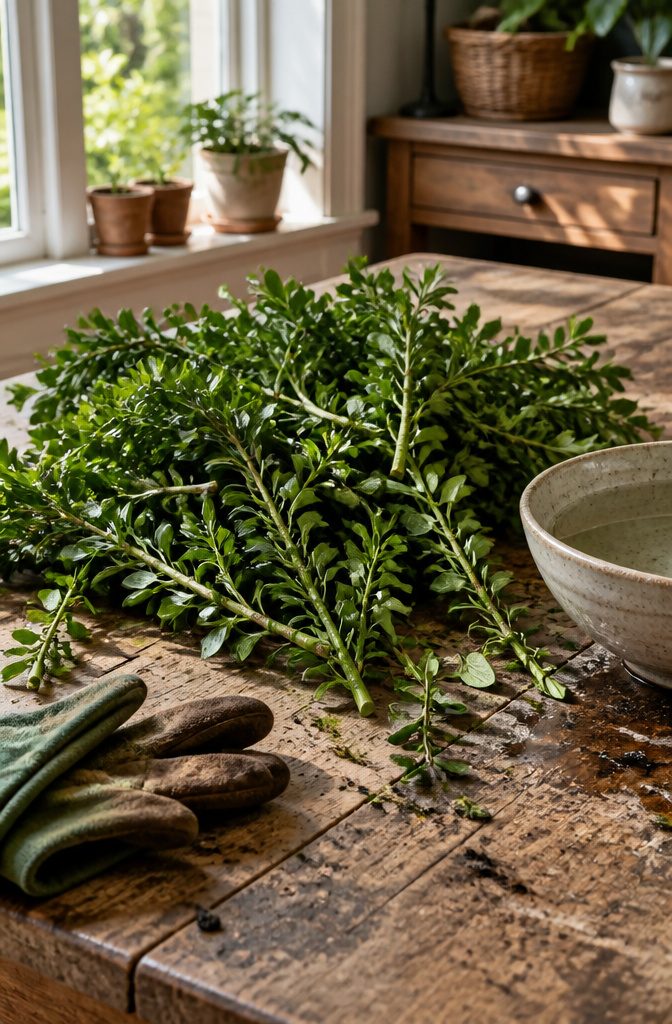
Late morning, after the dew burns off but before the heat of the day, boxwood stems cut cleanest. I aim for 8 to 12 inches of fresh growth, the lower end if I’m working a smaller wreath form, the longer stems for anything over 14 inches across. The year’s new wood, still pliable and bright green, holds leaves tightly and bends without snapping.
Healthy stems show dense foliage from tip to base, no bare patches or yellowing. I clip just above a leaf node when I can; the shrub fills back in faster, and I get that small stem section the wire needs to grip. A few springs per branch makes the work go quicker than individual leaves, and the bulk builds faster than you’d think.
Wear gloves. Boxwood sap irritates some hands, and the outside branches carry the usual hitchhikers. A quick rinse in cool water knocks off most of the debris without wilting the cuttings. Gather more than looks necessary; a dense wreath eats through the pile, and running back out mid-assembly wastes the rhythm.
2. Choose and Prep Your Wreath Form
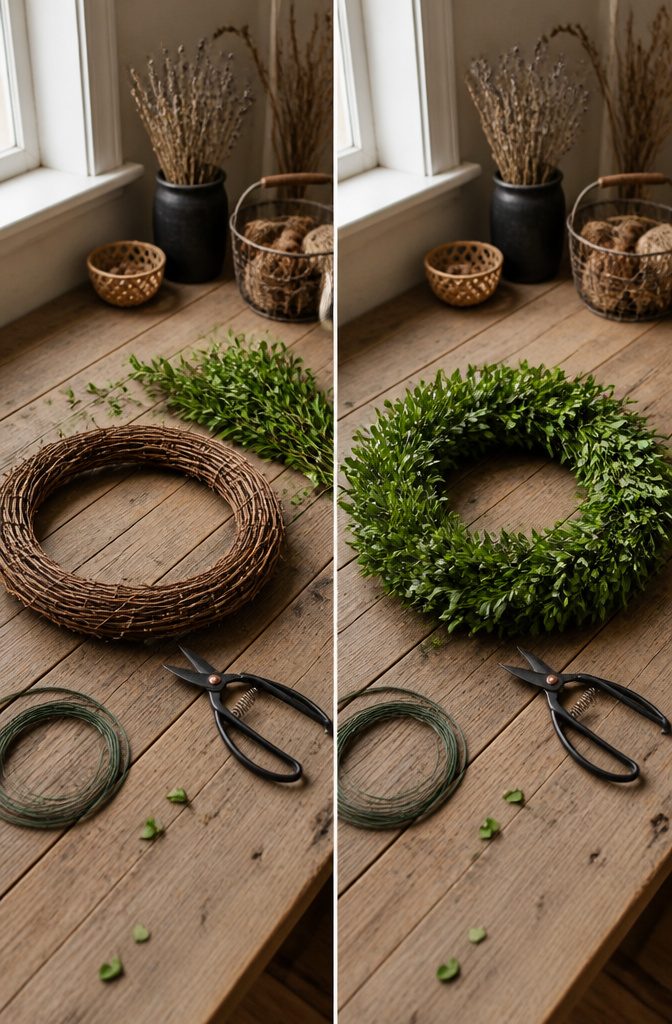
Grapevine wreath forms run about 12 inches across and that size is what most tutorials assume you are holding. The gaps between the twisted vines give you natural pockets to slip boxwood stems into, which means less fussing with wire for every single bunch. A wire frame works too, and some makers build their own by wrapping 22-gauge floral wire around something round like an oatmeal canister. If you go that route, you will need extra wire to bind the clippings since the frame itself has nowhere to tuck stems.
Prepping either base takes only a minute. With grapevine, check that no loose bark is flaking off where you need a grip; brush it away so your bunches sit flat. A wire frame should feel rigid enough that it does not flex once greens go on, because a sagging wreath is hard to rescue later. I have made both and grapevine is the forgiving choice when you want a quick boxwood wreath rather than a project that stretches past an hour.
3. Attach Clippings With Floral Wire or Twine
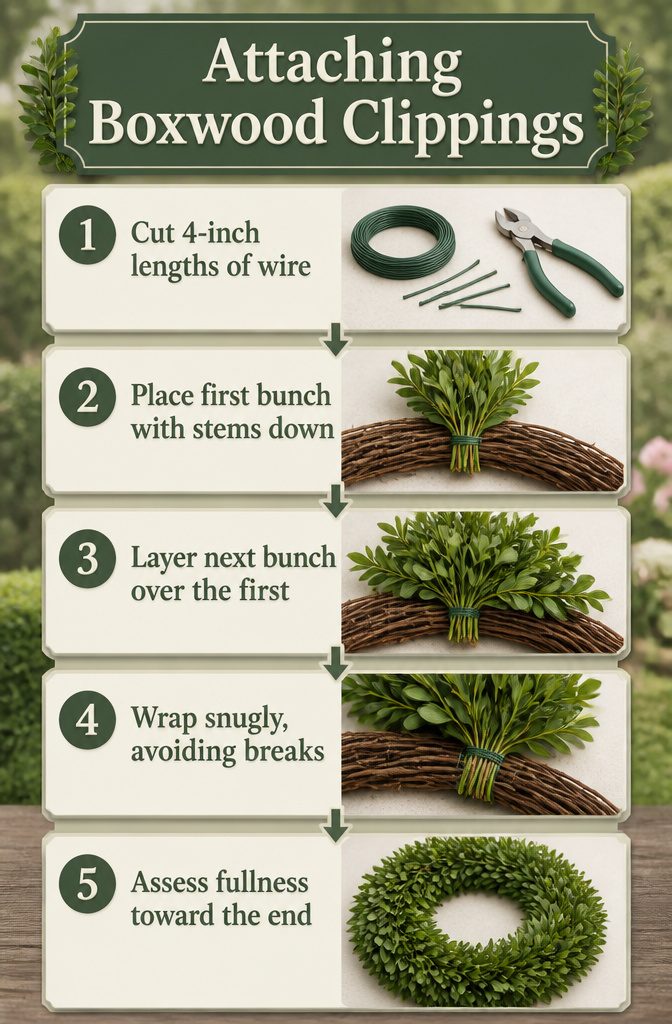
22-gauge floral wire is what I reach for, cut into 4-inch lengths before I start, though twine works if that is what you have on hand. The first bunch, about five clippings or one fuller bunch, goes against the form with the stems pointing down and the greenery fanning up. I secure it about a third of the way from the bottom of the stems, not up at the tips, so the wire bites into woodier tissue and holds.
The next bunch layers over the first, covering those cut ends completely. That overlap is what builds a wreath that looks full from the edge, not sparse and gappy where the form shows through. I work around the circle the same way, each new bunch hiding the mechanics of the last, the wire or twine snug but not so tight it snaps the stems. On a wire form, those little bumps left from wrapping give extra purchase; on grapevine, I aim for crevices between the twisted vines.
By the last quarter of the circle, the shape is clear and I can judge whether I need fuller bunches or whether thinner ones will even out the silhouette. Layering cut ends under fresh growth, not wiring tips to tips, is what keeps a quick boxwood wreath from looking like a green porcupine.
4. Fill Gaps and Adjust for Fullness
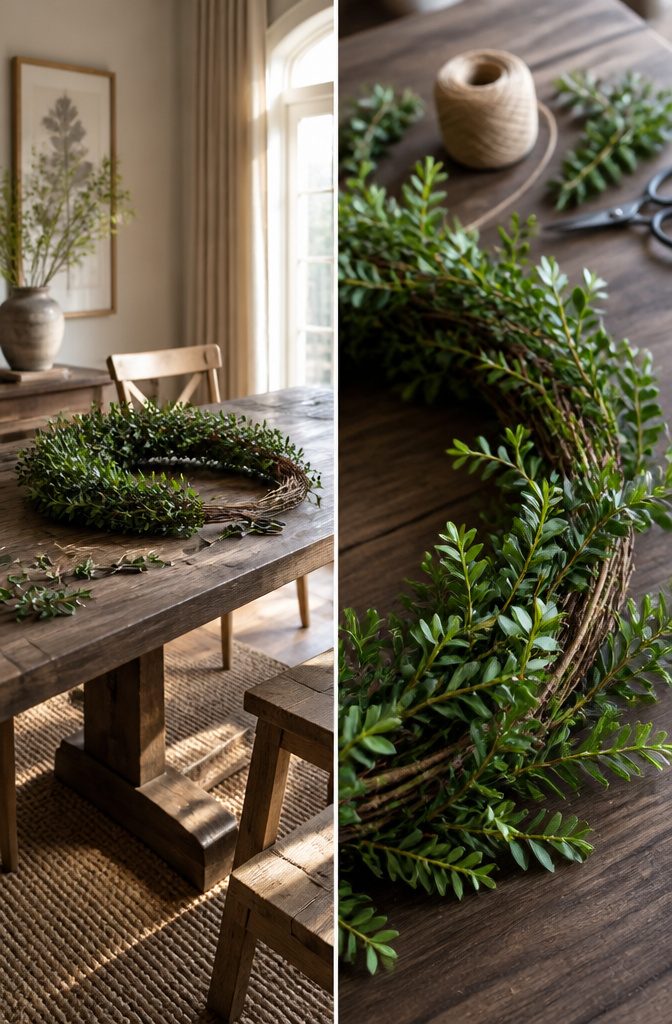
Step back often and look at the wreath from a few feet away. Thin spots show up at a distance that your hands miss up close. I rotate the form a quarter turn each time I check it, because gaps love to hide on the side you are not looking at.
With a grapevine base, you can tuck extra stems deep into the weave where the first pass did not catch. The bare ends should slide in at least an inch so the tension of the vine grips them without glue. A wire form needs the same fill, but you will tie those extra bunches on with twine and overlap them slightly more.
The goal is an even, rounded shape, not a perfect circle. Boxwood grows unevenly, and a wreath that looks too uniform reads fake from the sidewalk. I add the last few stems to soften any flat spots or sharp corners, then give the whole thing one slow spin before I call it done.
5. Trim Stems and Add Ribbon or Bows
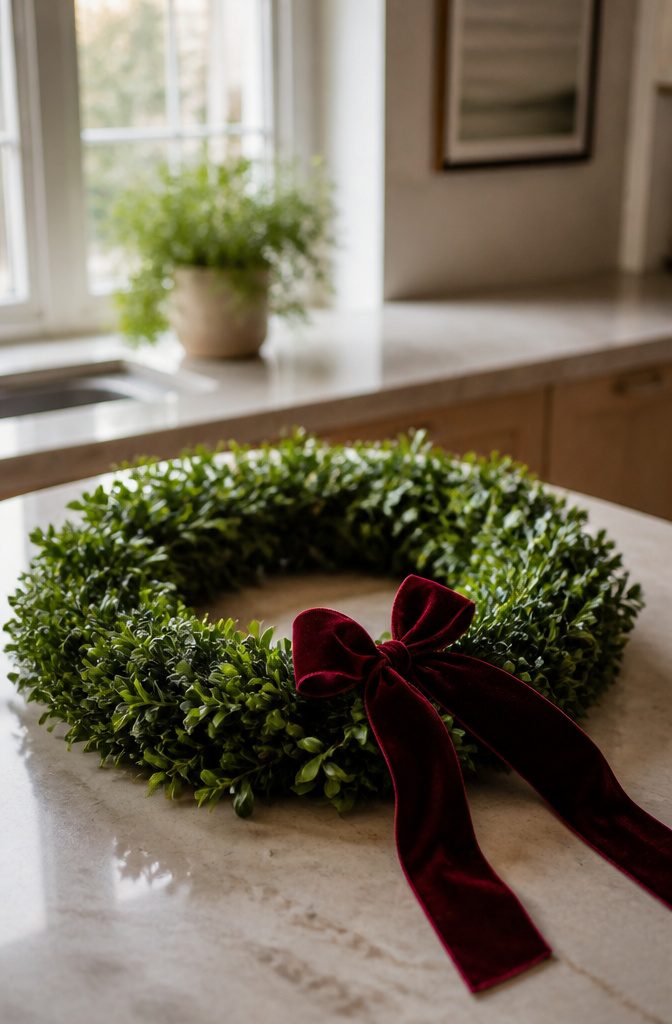
Stand back and look for stems poking out past the silhouette you want. Those need trimming before anything else, because a ribbon or bow draws the eye and the eye will land on every stray twig. I use pruning shears and work around the ring twice: once for obvious spikes, again for the ones I missed. The second pass matters more than the first.
For the hanger, a second length of ribbon works better than relying on the bow itself. Velvet ribbon holds up nicely for this, and I loop it through the top of the wreath with floral wire, weaving slightly so it grips without sliding. The bow stays decorative; the loop does the work.
Trim any long stems that stick out before you add ribbon, or the finished wreath looks lopsided against a door. Once the hanger is secure, the bow goes where you want the eye to rest: top center for a traditional look, or off to one side if you prefer something less formal. That placement is the last decision and the first thing anyone notices.
6. Mist or Soak to Keep It Fresh
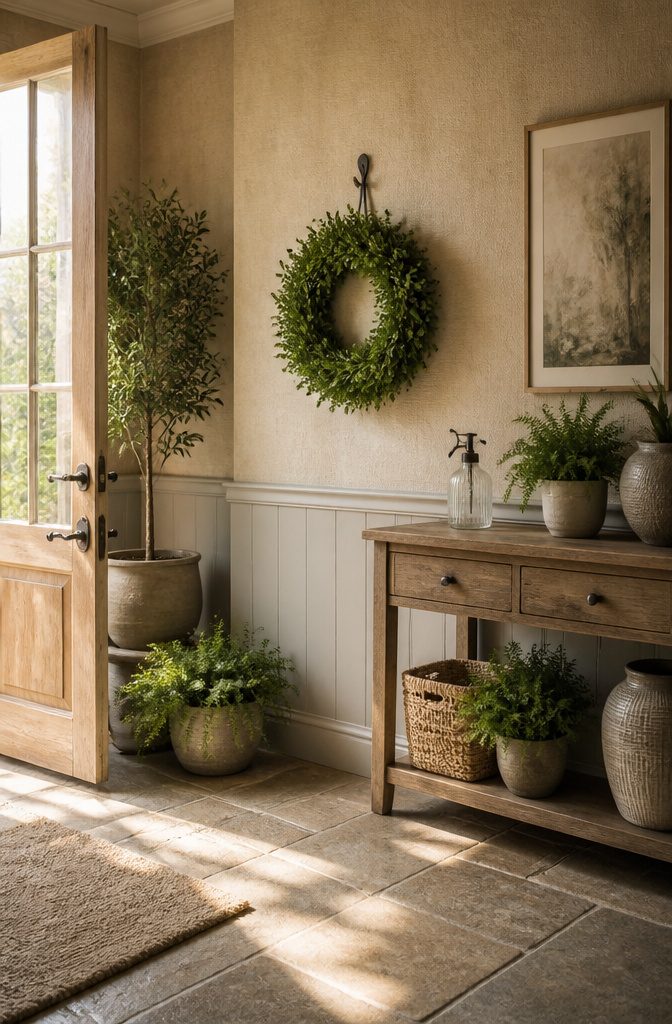
A boxwood wreath without preservative dries fast, so the routine starts the day you hang it. Mist it every other day with plain water, or give the whole wreath a soak in the sink if the leaves start to feel papery. I keep mine out of direct sunlight either way; heat speeds the browning even more than dry air does.
Cool rooms help. In summer, an air-conditioned space beats a hot porch, though winter placement matters too: away from the radiator, not next to it. The sources I read split on indoor versus outdoor life, and my own take is that both work if you stay on top of the water. What fails is neglecting it for a week and hoping the leaves stay supple.
Expect one to four weeks of proper green before the shift sets in. Mine usually hit the two-week mark looking lively, then slowly turn a softer, grayer green as the moisture leaves. The wreath stays displayable longer if you do not mind a little crunch under your fingers.
What You Need to Start
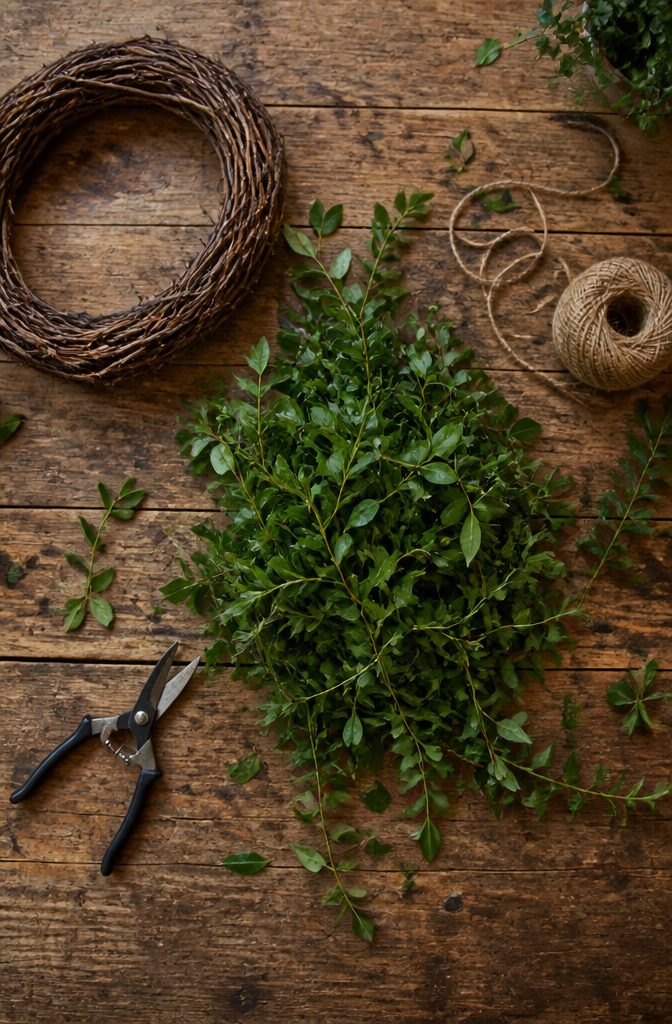
A quick boxwood wreath starts with five things you probably already own or can grab for a few dollars.
- Boxwood clippings, 8–12 inches long. Shorter sprigs fall out; longer ones fight the curve of the form. I clip to shape the shrub anyway, so the pile builds fast.
- Grapevine wreath form or wire. Grapevine gives you something to wedge stems into without much fuss. Wire works too; bend it around an oatmeal can or buy a frame.
- Floral wire or garden twine. Wire holds tight through wind and door-slamming. Twine in six-inch strips is softer on hands and easier to knot in a hurry.
- Pruning shears. Clean cuts matter. Crushed stems wilt faster and drop leaves on your entry mat.
- Ribbon for hanging. Skip the bow if you want, but a loop of ribbon saves the trouble of finding a hook that fits.
How Long a Fresh Wreath Lasts
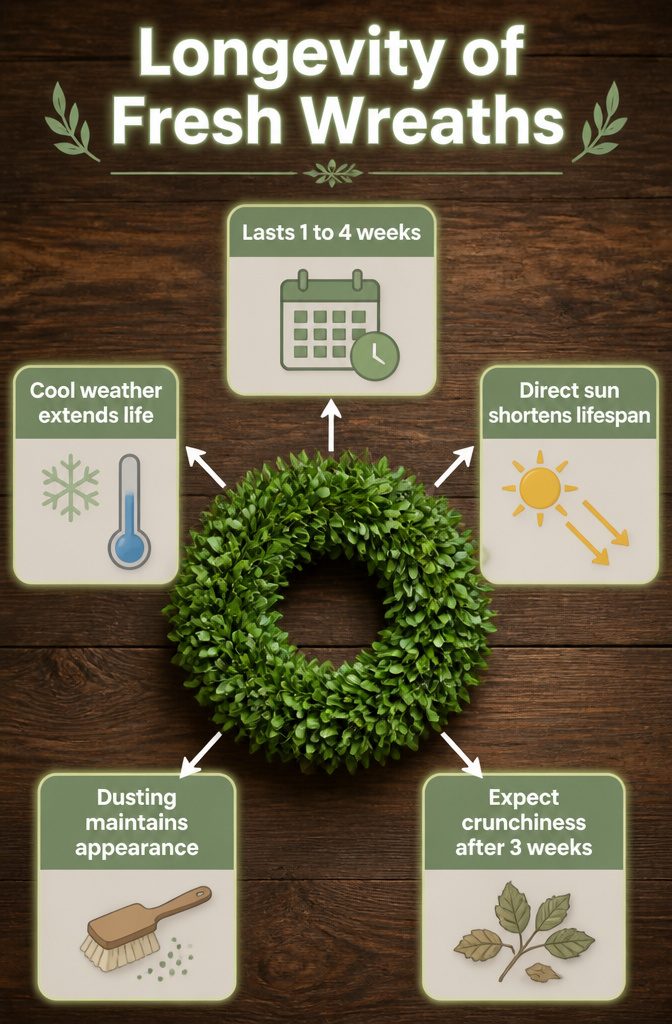
A fresh boxwood wreath lasts one to four weeks, with most of the difference coming down to where you hang it and how much attention you give it. Left outside in cool weather, mine stayed lively for about two weeks before the leaves started turning that softer, grayer green that means drying has begun. Kept inside with dry heat running, the same timeline shrinks; the air pulls moisture faster than the stems can hold it.
Direct sun is the quickest way to shorten the run. A wreath on a south-facing door in December heat will crisp at the edges while a shaded porch version stays pliable. Movement matters too: a spot people brush past sheds leaves faster than a still wall. The stems get no preservative in a homemade wreath, so once the moisture leaves, the leaves turn crunchy and the whole thing becomes more flammable. A light dusting now and then helps it look presentable even as the texture changes.
After three weeks, expect dry and crunchy even if the color still reads green from across the room. It can hang longer if you do not mind the texture, but the living stage has passed.
Where to Hang Your Wreath
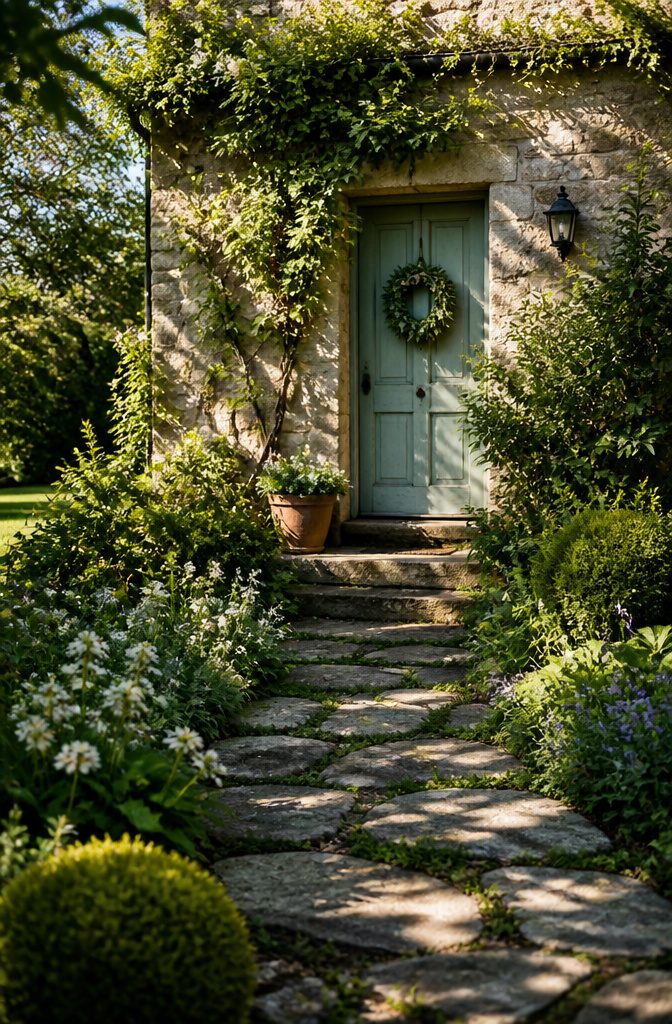
A boxwood wreath can go almost anywhere, but where you hang it decides how long it stays green.
- Front door. This is the classic spot. Morning sun and outdoor humidity keep the leaves from crisping the way indoor heating does.
- Windows. A wreath on an exterior window reads festive from the street and gets better airflow than a sheltered porch. Keep it out of direct afternoon sun or it will brown faster.
- Table centerpiece. Lay the wreath flat, float a candle or a bowl of ornaments in the center. Count on a shorter life here. Indoor air, especially with the AC or heat running, pulls moisture out fast.
- Inside versus outside. Outdoor placement wins for longevity. The sources agree on this: boxwood holds up better in natural humidity than in dry, climate-controlled rooms. In summer, the cool of indoor air conditioning can actually help; in winter, the heated air inside will finish it off sooner. If you do bring it indoors, mist it every other day and keep it away from vents and radiators.
Mini Wreaths and Other Variations
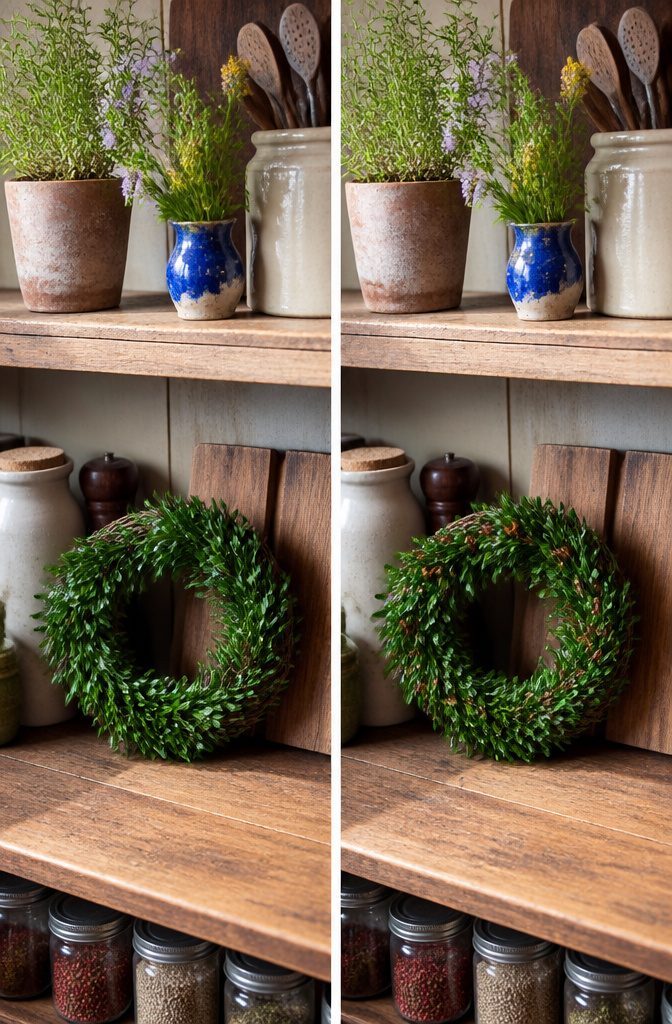
Mini wreaths work well for apartment doors or narrow walls where a full-size wreath crowds the space. The same clipping-and-wiring method scales down neatly to a six-inch grapevine form, and the smaller finished piece dries faster if you are working with fresh boxwood in humid weather.
For seasonal variation, tuck in a few pinecones or clusters of dried berries while you attach the stems. The additions add weight, so wire them in rather than relying on the natural grip of the branches. A mini wreath with red berries reads as December; the same base with nothing but boxwood works straight through March.
If you want the look without the maintenance, artificial boxwood is a longer-lasting alternative. The tradeoff is upfront cost: a faux plant from a retailer like IKEA runs more than free clippings from an overgrown hedge, though it will keep its color indefinitely. I have seen artificial boxwood used for small wreaths that sit above kitchen cabinets or on balcony railings year-round, places where a fresh wreath would bake or freeze inside a week.
Frequently Asked Questions
How long will a fresh boxwood wreath last?
A fresh boxwood wreath lasts one to four weeks, with most staying lively for about two weeks before the leaves turn a softer, grayer green. Outdoor placement in cool, shaded spots stretches the timeline; indoor heat and direct sun shorten it. Regular misting every other day and keeping it away from radiators or vents buys extra days.
What materials do I need to make a boxwood wreath?
You need boxwood clippings 8 to 12 inches long, a grapevine wreath form or wire frame, floral wire or garden twine, pruning shears, and ribbon for hanging. Grapevine forms let you tuck stems into natural gaps with less wiring; wire frames need extra binding but work fine. Clean, sharp shears matter more than any other single tool.
How do you keep a boxwood wreath from drying out?
Mist the wreath every other day with plain water, or soak the whole piece in the sink if the leaves feel papery. Keep it out of direct sunlight and away from heat sources like radiators or vents. Cool, humid air helps most; a shaded porch beats a sunny door or a dry, climate-controlled room.