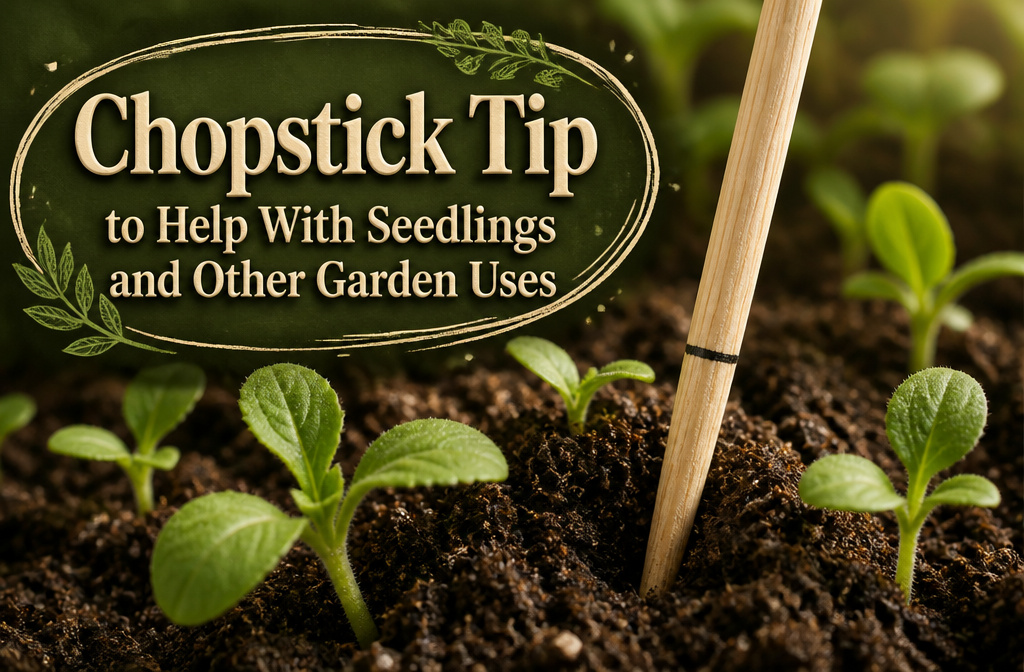
A wooden chopstick pressed into soil makes a precise dibber for seedlings, but only if the wood is plain and unvarnished. Lacquered or plastic chopsticks repel water and fail the same test that makes the wooden ones useful for checking root-zone moisture five to eight seconds after you push them down. I mark one stick at a quarter inch with a pen, and that free takeout pair replaces an $8 store dibber for a season.
Separating Seedlings With a Chopstick
-
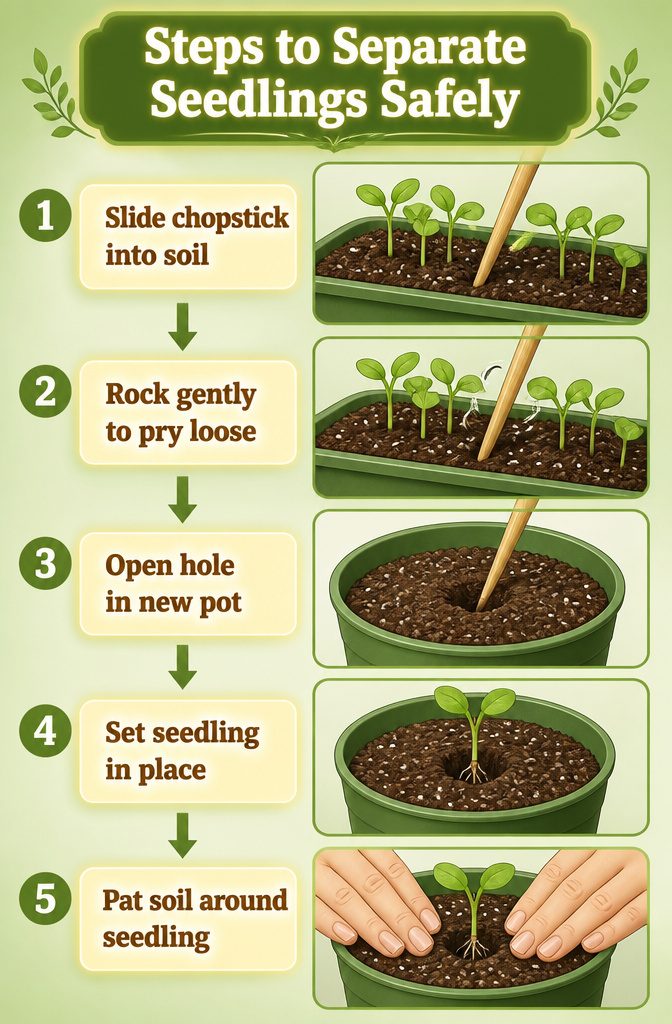
Slide the tip of a wooden chopstick into the soil beside a cluster of seedlings, then rock it gently to pry one loose at a time without tugging the stem.
-
Use that same chopstick to open a hole in a new pot filled with soilless mix, set the seedling in place, and pat the mix around it to hold it steady. Keep the hole at least 1 cm away from the stem so the roots slide in without getting crushed or torn.
Using Chopsticks as a Dibber
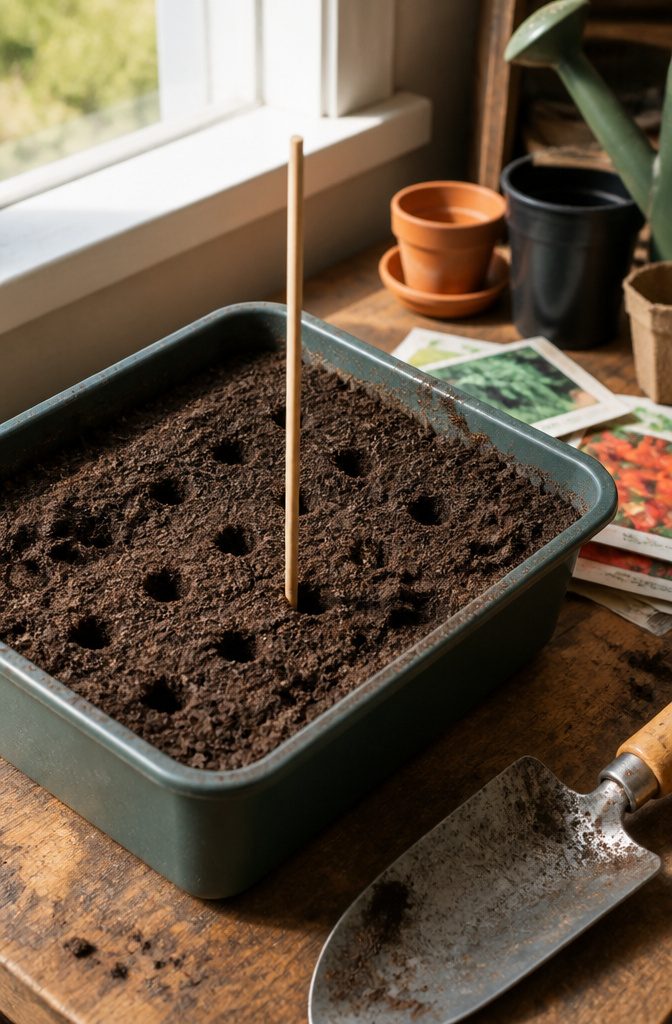
A chopstick makes a surprisingly clean dibber for direct seeding, and this is probably the use that comes up most often when gardeners talk about repurposing takeout utensils. The blunt or pointed end presses into soil to form a narrow hole, and seed depth varies by type: a lettuce seed wants only a quarter inch of cover, while a bean seed might sit an inch down. Either end of the stick works; the blunt end leaves a wider opening for larger seeds, the pointed end pierces heavier or wetter soil without dragging surrounding dirt in.
I mark one chopstick at the depths I plant most often, measured against my thumbnail, and use that as a quick reference rather than pulling out a ruler each time. Wooden chopsticks hold up for a full season of this, though they soften and fray eventually. When that happens, they still work for lighter duty, or they go into the compost.
Chopsticks as Plant Stakes
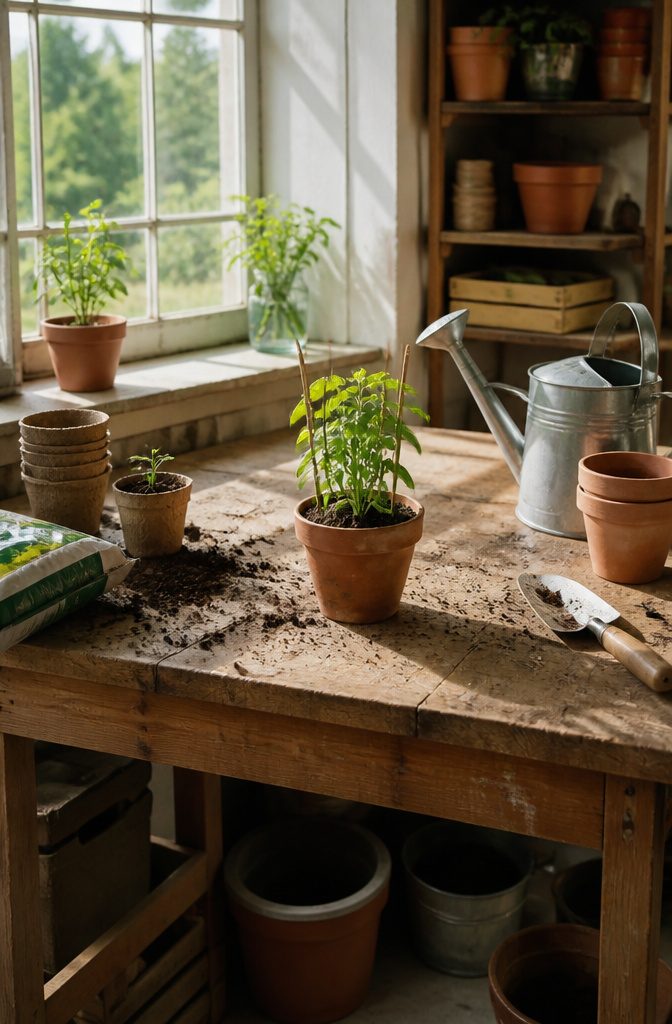
A pair of chopsticks works as a quick brace when a seedling starts tilting toward the window or a young herb flops after watering. I push them into the soil on either side of the stem and let the plant rest between the two sticks, which holds it upright while the roots firm up or while I move the pot to better light. The support is temporary and meant for small plants; a top-heavy tomato or a woody perennial will need something sturdier before long. Chopsticks suit the in-between stage, after a seedling outgrows its tray but before it needs a full cage or stake. The wood is thin enough that it does not crowd the pot, and when the plant straightens out on its own, the sticks lift right out with no root damage.
Testing Soil Moisture With Wood
-
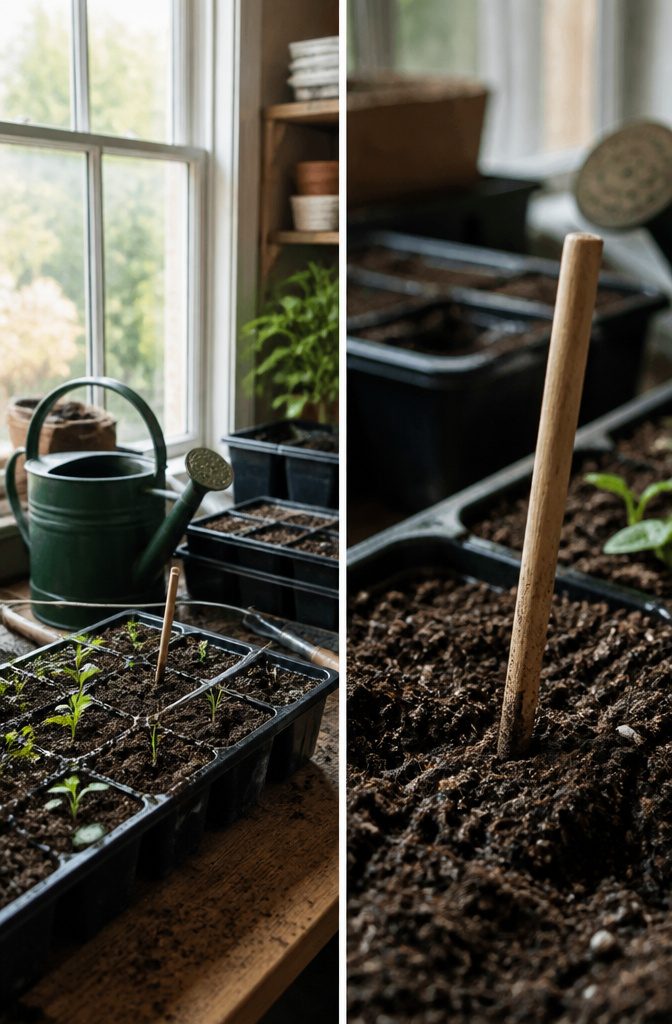
Grab an untreated, unvarnished wooden chopstick, the kind that comes with takeout, not the lacquered reusable ones.
-
Push it straight down near the plant’s base until you hit roughly two-thirds of the pot’s height, the depth where roots actually drink.
-
Wait a full 5–8 seconds before pulling it out. Wood wicks moisture through capillary action, but it needs that window to tell the truth.
-
Lift the stick and look. Soil clinging up to the midpoint, with that cool damp feel against your finger, means the root zone has enough water.
-
If dampness only reaches the bottom third, water soon. If the stick comes up dry or dusty, water now.
-
Surface soil can lie. This method reads the root zone, where the plant lives or dies, not the crust that dries first.
Plant Markers From Takeout
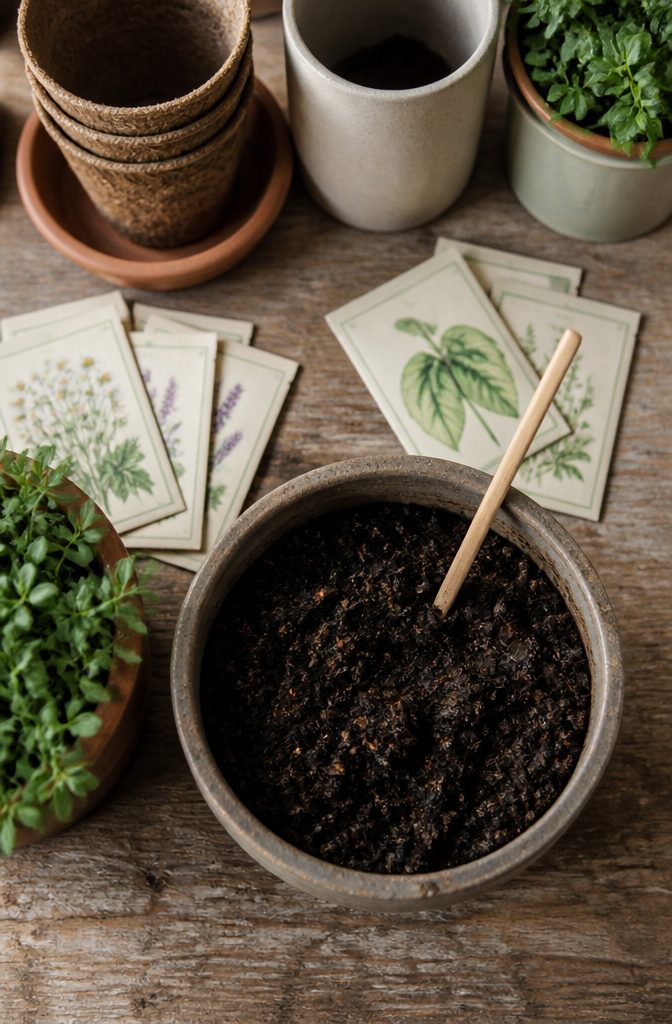
A clean, dry chopstick takes a Sharpie better than most plastic labels, and it costs nothing if you already ordered the kung pao. I write the variety name on one side and the sowing date on the other, then push it into the pot at an angle where I won’t knock it out when watering. For seedlings that need specific care, I’ll tape a corner of the seed packet right to the stick with clear tape; the packet stays readable through a whole season, and I don’t have to remember whether the basil wants full sun or partial.
The wood darkens and swells eventually, but that takes most of a growing season in my experience, longer than the cardboard tags from the nursery. When I run out of chopsticks, I miss them. The flat sides don’t roll off the table while I’m labeling, and they’re thin enough to sit flush against a seedling without blocking light. A handful washed and dried at the back of a drawer is the labeling system I actually use, not the one I keep meaning to buy.
Cleaning Tools and Boots
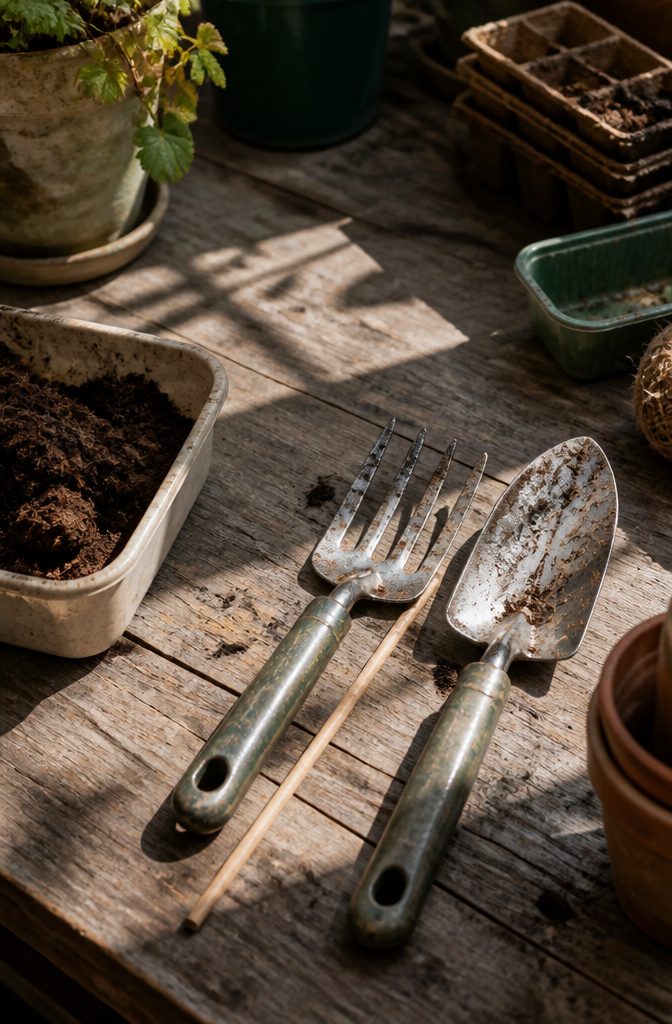
After a morning of transplanting seedlings, my trowel and hand fork usually carry a stubborn ring of dried soil right where the blade meets the handle. A chopstick scrapes that out cleanly. The flat length works for broad surfaces, and the tapered end digs into corners and rivets that a rag cannot reach. The same tool handles the mud that cakes in boot soles. Run the narrow edge through the grooves and the tread opens up again without the damage a metal scraper can leave.
Wooden chopsticks work best here because they are stiff enough to pry but soft enough not to gouge finish or rubber. Mine come from the takeout drawer, so the cost is already sunk. When they finally snap, they go straight to the compost. Mesh produce bags hung in the shed keep the cleaned tools dry after, which matters more than I used to think. Rust starts in the spots I missed.
Why Wood Type Matters
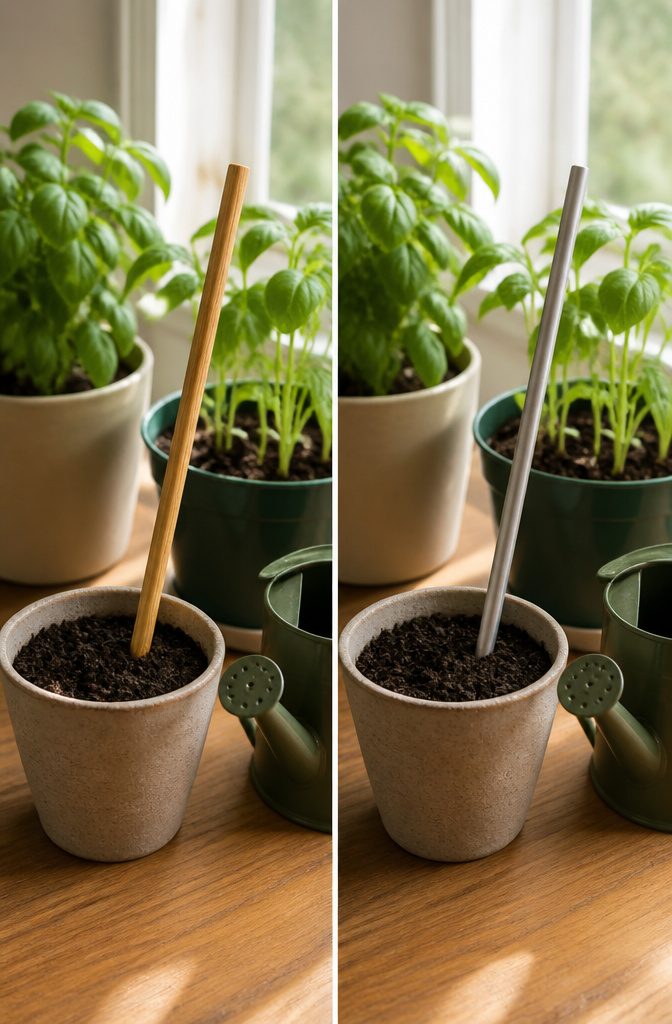
Untreated, unvarnished wooden chopsticks are the only ones that work for moisture testing. Lacquer, paint, or any coating seals the grain and blocks the wicking action that makes the test possible. Plastic chopsticks fail for the same reason: they draw no water at all, so pulling one out tells you nothing about whether the soil below the surface is damp or dry.
Bamboo fiber composites also resist wicking, so they read as drier than the soil actually is. What you want is plain wood that pulls moisture up the grain and shows it as a darkened line you can see and feel. Hold the chopstick steady for about six seconds; shorter and you under-report the dampness, longer and water spreads sideways through the grain and gives a false saturated reading.
This is where that drawer of takeout chopsticks finally earns its keep. The ones from your last delivery, wiped clean and kept dry, are already the right material. Repurposing them beats buying labeled garden tools for a job that costs nothing and works better with the cheap, plain version anyway. Rotate which chopstick you use weekly, and replace any whose grain has smoothed over or taken a permanent stain; the pores that make the test accurate clog after roughly twenty uses.
Chopsticks Versus Store-Bought Tools
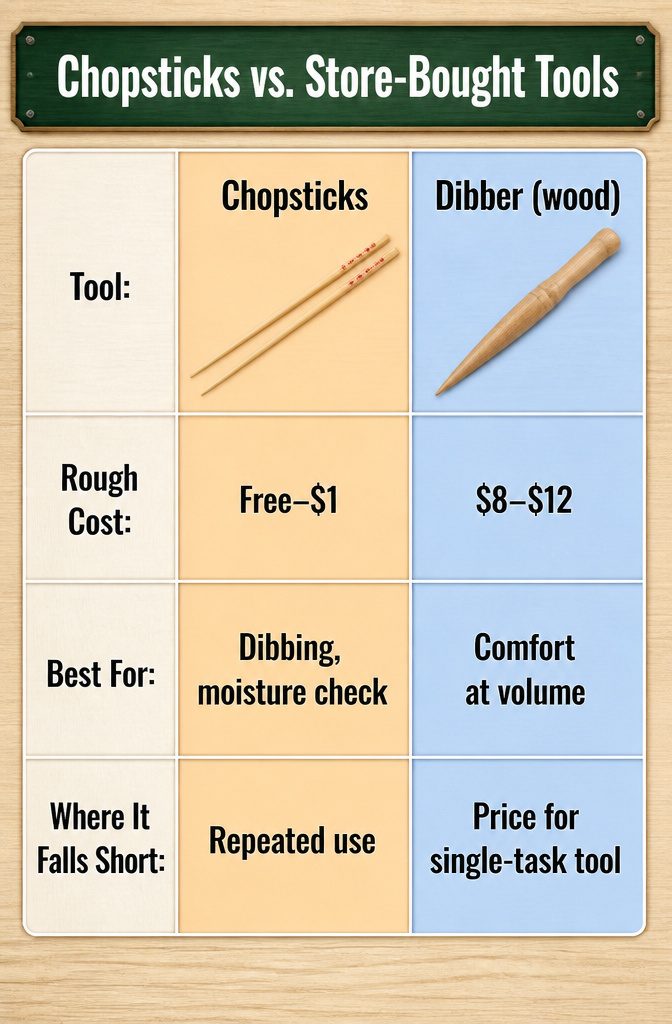
A dedicated dibber runs about $8 to $12 for a simple wooden one, and the metal versions with depth marks climb past $20. Chopsticks do the same job for free if you already have takeout pairs stashed in a drawer, or about a dollar for a bulk pack. The pointed end opens soil cleanly for small seeds, and marking depth on the wood with a pen gives you the same reference point the store-bought tool offers.
Where a specialized tool actually wins is in scale. Planting a full row of beans with a chopstick means your hand cramps by the fiftieth hole; a dibber with a wider grip or a foot pedal saves that. Moisture meters with metal probes read faster than waiting for a wooden chopstick to wick, though they misread in clay or salty soil where wood stays honest. Metal stakes and Velcro plant ties last seasons longer than chopsticks used as temporary stakes or twine anchors, so the chopstick is strictly short-term there.
| Tool | Rough Cost | Best For | Where It Falls Short |
|---|---|---|---|
| Chopsticks | Free–$1 | Dibbing, moisture check, quick stakes | Repeated use, heavy soil, long-term staking |
| Dibber (wood) | $8–$12 | Comfort at volume, consistent depth | Price for a single-task tool |
| Moisture meter | $15–$30 | Speed reading | Clay compaction, salt buildup misreads |
| Metal stakes + ties | $10–$20 | Perennials, seasons of support | Overkill for a single season’s seedlings |
A chopstick is the right call for a balcony gardener working ten seedlings, not for someone planting fifty feet of row.
Finding Good Chopsticks for Garden Work
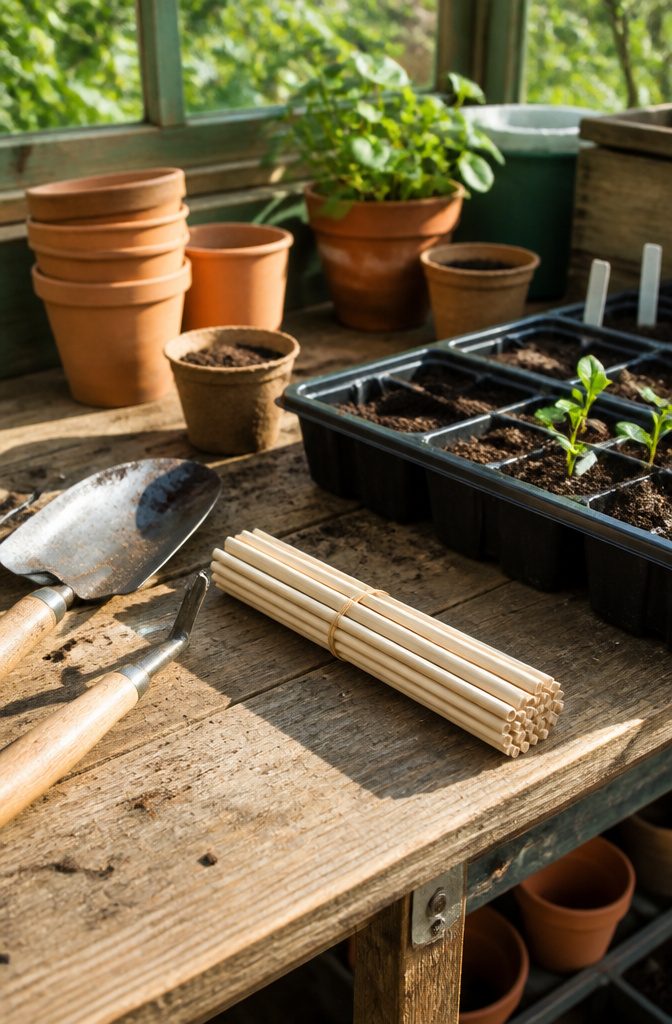
The chopsticks already in your drawer are probably the right ones. I keep a rubber-banded stack of plain wooden takeout pairs on my potting bench, and most gardeners I know do the same. The finish matters more than the source: lacquered or painted chopsticks repel water and can leave residue in soil, so those decorative sets from the restaurant are out. Plain, unvarnished wood is what you want.
Bamboo works if the surface is raw and unsealed. I sanded a few cheap bamboo takeout pairs once after noticing the factory coating beaded water, and they performed fine after that. Metal skewers are a poor substitute; they conduct temperature unevenly and do not wick moisture at all, which matters if you are using the wood to gauge soil dampness.
Replace chopsticks once the grain smooths out or stains set in. Wood pores hold pathogens, so a chopstick used on a diseased plant should not touch another seedling without cleaning. Rotation helps, but when the surface loses its roughness, the tool has done its service.
What I Keep Within Reach
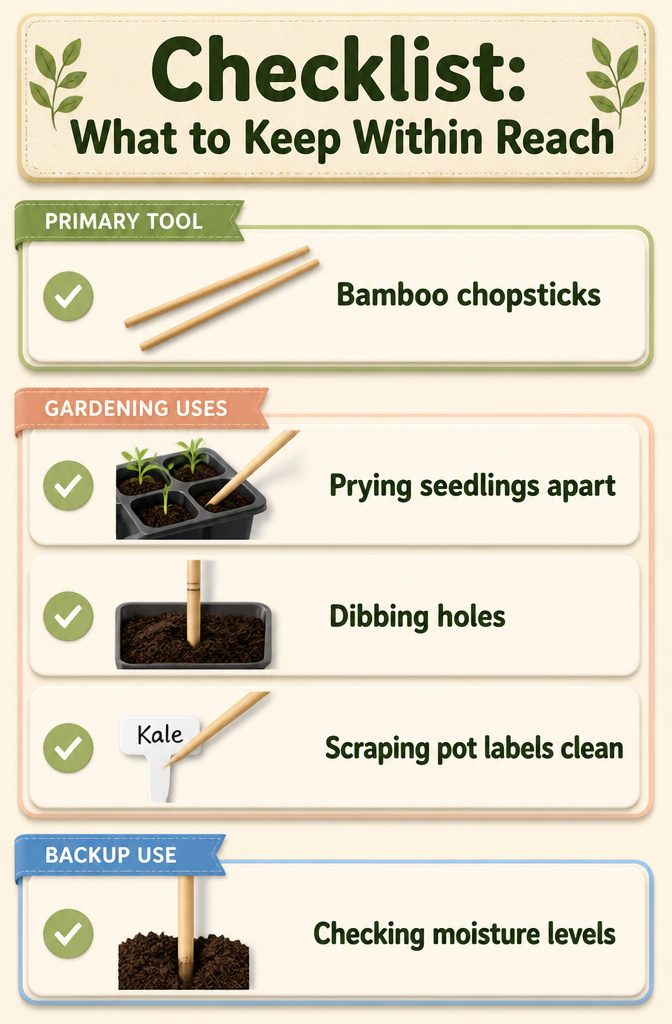
A pair of bamboo chopsticks lives in my back pocket from March through June. The rest of the year they stay in the shed, but seed-starting season makes them daily equipment.
What earns them that spot:
- Prying seedlings apart when roots tangle. The blunt end slips between cells without slicing roots the way a metal tool does.
- Dibbing holes for transplanting. I mark one stick at the quarter-inch depth my brassicas want and use it as a gauge for every hole.
- Scraping pot labels clean for reuse. The edge lifts Sharpie off plastic without scratching it.
What stays occasional:
- Scraping mud from trowel hinges or boot soles. A stick works, but a putty knife is faster.
- Temporary row spacers or string stakes. Only when I forget my actual stakes.
- Moisture testing by sticking wood into soil and checking how far water has wicked up. Clever in theory, but I reach for my finger first.
The distinction is simple: anything involving small living plants gets the chopsticks. Everything else is a backup plan.
Frequently Asked Questions
How do you use chopsticks to separate seedlings?
Slide the tip of a wooden chopstick into the soil beside a cluster of seedlings, then rock it gently to pry one loose at a time without tugging the stem. Use that same chopstick to open a hole in a new pot, set the seedling in place, and pat the mix around it. Keep the hole at least 1 cm away from the stem so the roots slide in without getting crushed or torn.
How can you test soil moisture with chopsticks?
Push an untreated wooden chopstick straight down near the plant’s base until you hit roughly two-thirds of the pot’s height, then wait a full 5 to 8 seconds before pulling it out. If soil clings up to the midpoint and feels cool and damp, the root zone has enough water. If dampness only reaches the bottom third, water soon; if the stick comes up dry or dusty, water immediately.
What are some other uses for chopsticks in gardening?
Chopsticks work as a dibber for direct seeding, with either end pressing into soil to form a narrow hole at the right depth for each seed type. A pair can brace a tilting seedling or young herb until its roots firm up. They make excellent plant markers that take a Sharpie well and can carry a taped seed packet. The flat edge and tapered end also scrape dried soil from tool hinges and boot treads without gouging finish or rubber.