
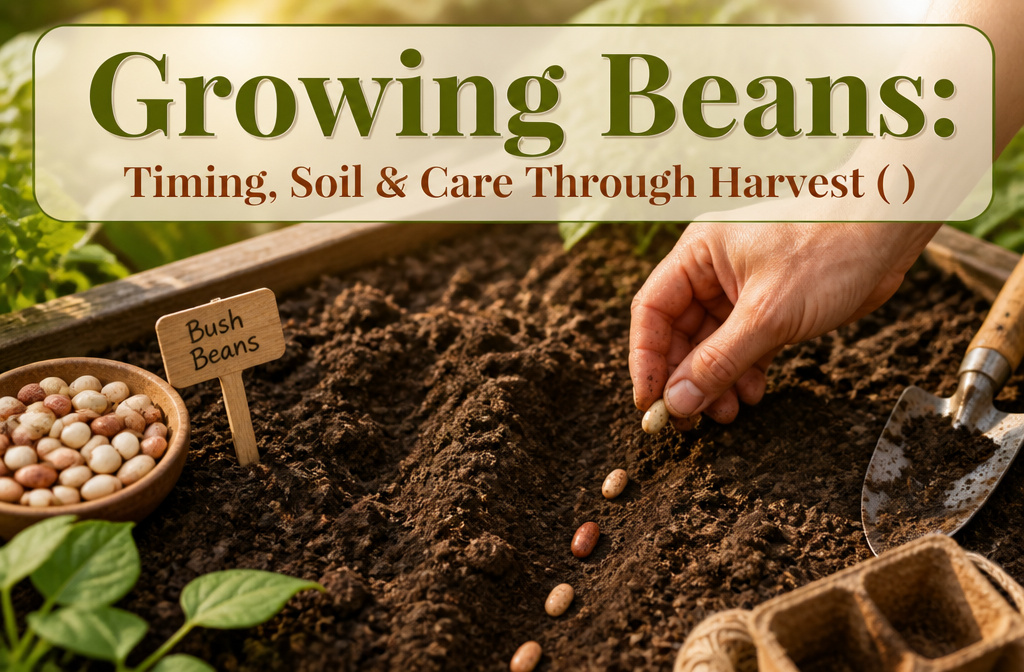
Growing beans is the act of sowing and raising bean plants from seed through harvest, a process that collapses quickly if you plant before the soil actually warms. The common mistake is trusting calendar dates over ground temperature; beans need 60°F minimum to germinate, and cold, wet soil rots the seed before it sprouts. A $15 soil test kit pays for itself the first season you do not have to replant.
When to Plant Beans
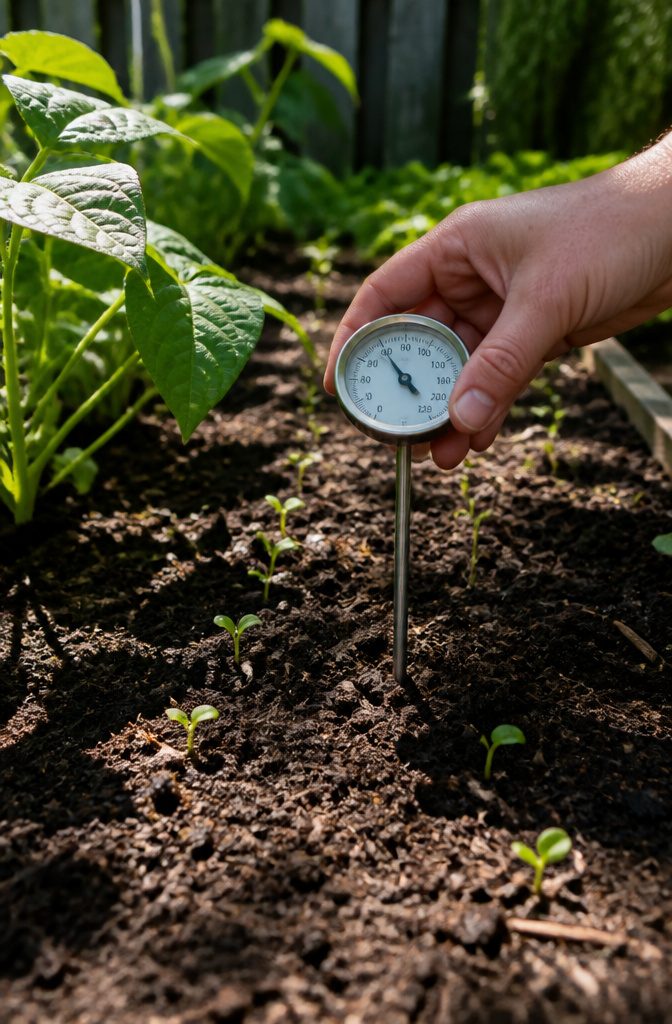
Beans are warm-weather vegetables that need soil temperatures above 60°F for solid germination and steady early growth. The calendar date your neighbor swears by matters less than what the dirt actually reads.
I check mine with a simple soil thermometer pushed four inches down, usually in the morning before sun warms the surface. No thermometer? Stick your bare palm into the soil and hold it there. If it still feels like refrigerator air after thirty seconds, the ground is too cold. When it reads comfortably neutral or warmer, you are in the right zone. The ideal window runs 65–85°F for emergence, which typically happens seven to ten days after planting.
Most seed packets and zone charts suggest starting about one week after your area’s last expected frost. In colder regions, that might land around Memorial Day. The key is waiting until cold snaps have passed and the soil has shed its winter chill. Planting into cold, wet ground buys you rotted seed and a replant.
Soil Beans Actually Grow In
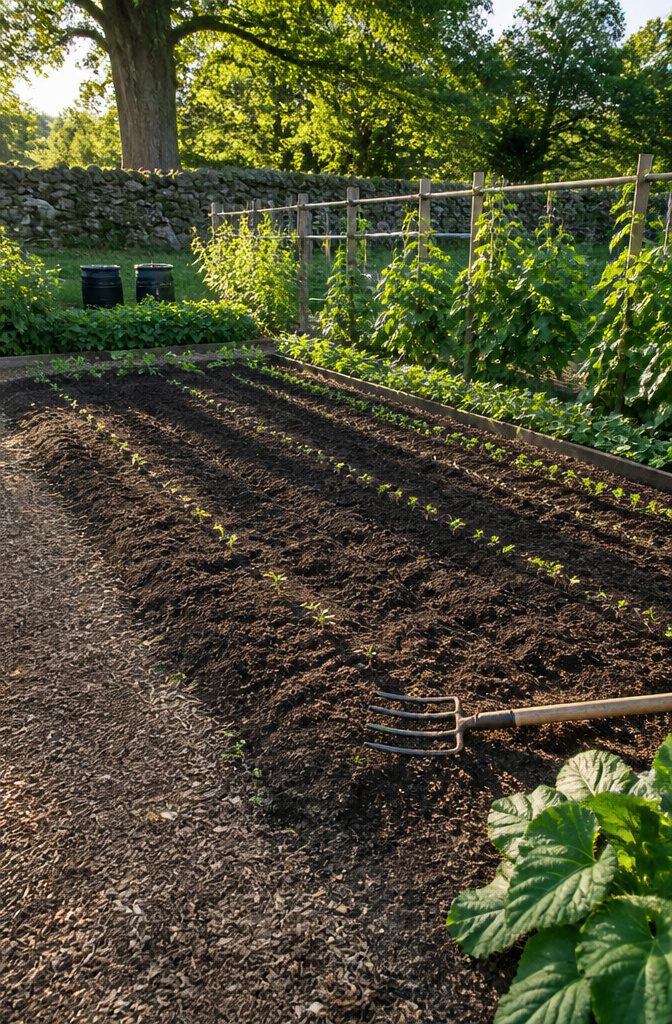
Beans want well-drained, loamy soil with a pH between 6.0 and 7.0. In my first raised bed on the patio, I ignored drainage and watched seedlings rot after a week of rain. Now I start every season by checking what I actually have.
Heavy clay or too-sandy mixes both need organic matter worked in. Compost helps, but keep it thin: no more than one inch of well-composted material per 100 square feet. Beans are light feeders, and overdoing it leads to leafy plants with few pods.
If a soil test comes back outside that 6.0–7.0 window, adjust before planting. Lime raises pH; sulfur lowers it. Container growers have it easier: fresh potting mix starts in range, and a five-gallon bucket or grow bag with drainage holes gives control over what the roots meet. Opaque sides matter too; clear containers cook the roots in summer sun.
The test convinced me. Guessing at soil chemistry wastes a season, and a $15 kit costs less than replacing three varieties of bush beans.
Sowing Seeds Directly
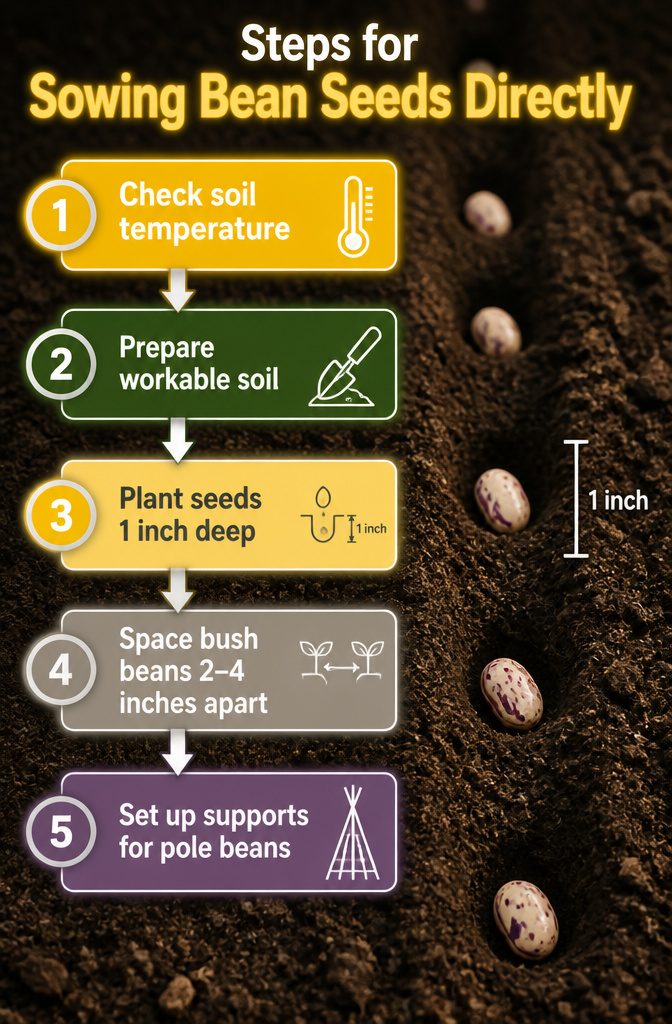
Beans grow best when the soil has warmed to at least 55°F, and the only sensible move is to sow them right where they will stay. I have watched gardeners fuss with peat pots and grow lights, trying to get a jump on the season, but beans simply do not cooperate. Their roots are fragile enough that any disturbance at transplanting time sets them back, and they grow so fast that the head start barely matters anyway.
Direct sowing means pushing each seed about 1 inch deep into workable soil. For bush beans, that works out to 2–4 inches apart in rows spaced 24–30 inches apart, which gives the plants enough air to stay healthy and enough room for you to move between them. Pole beans go at the base of whatever support you have rigged up, whether that is a teepee of 7-foot poles or a section of cattle panel, and you will want that structure in place before you plant so the roots never get jostled later.
The contrast between the two methods is simple. Indoors, you are fighting the plant’s nature. Outdoors, you are working with it.
Watering Through the Season
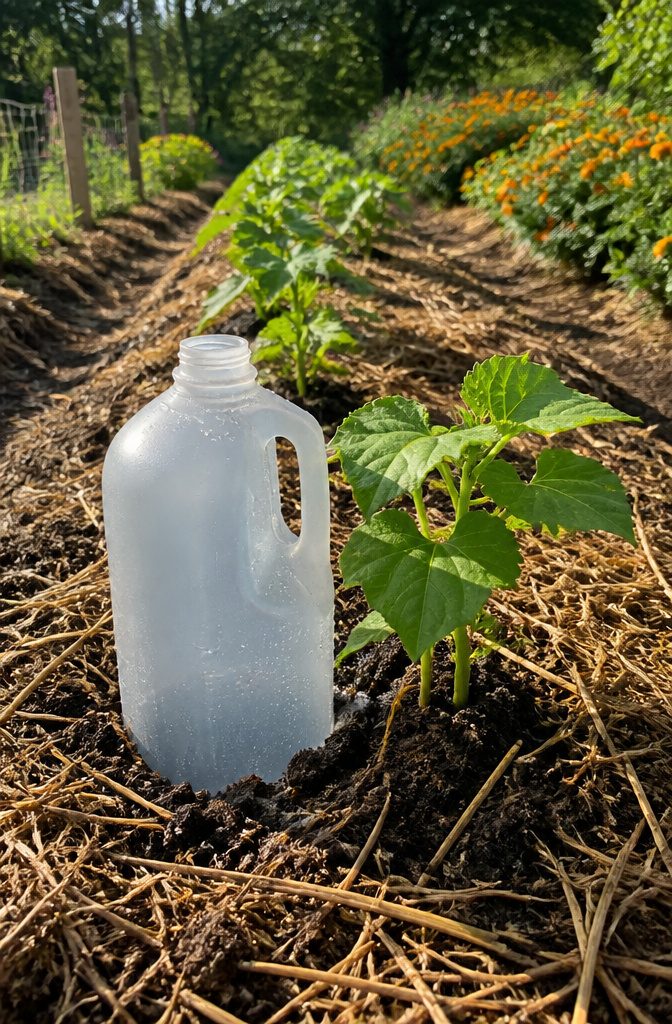
Beans send their roots shallow and wide, which means the soil around them dries fast and they show thirst almost before you notice. One inch of water each week is the figure that keeps them producing, but that inch needs to arrive steady rather than in a single flood. In my small plot, a half-gallon milk jug with its base pierced and sunk beside each plant gives a slow soak that actually reaches the root zone instead of skating off the surface crust.
The weeks when flowers open and pods begin to fatten are the ones that matter most. Dry soil then aborts blossoms or leaves you with thin, stringy pods you would rather compost than eat. I check with a trowel after watering: if the wet soil only goes down an inch or two, the run was too brief and the roots below are still dry. Sandy ground needs more frequent passes than clay; heavy soil holds moisture longer but also risks the rot that comes from keeping roots too wet.
An inch of water will wet a sandy soil to a depth of ten inches, a heavy clay soil to six inches.
That difference in penetration is why a timer or a rule of thumb by minutes fails: know your soil, test with a trowel, and water again only when the top couple of inches have dried.
Weeding Without Damage
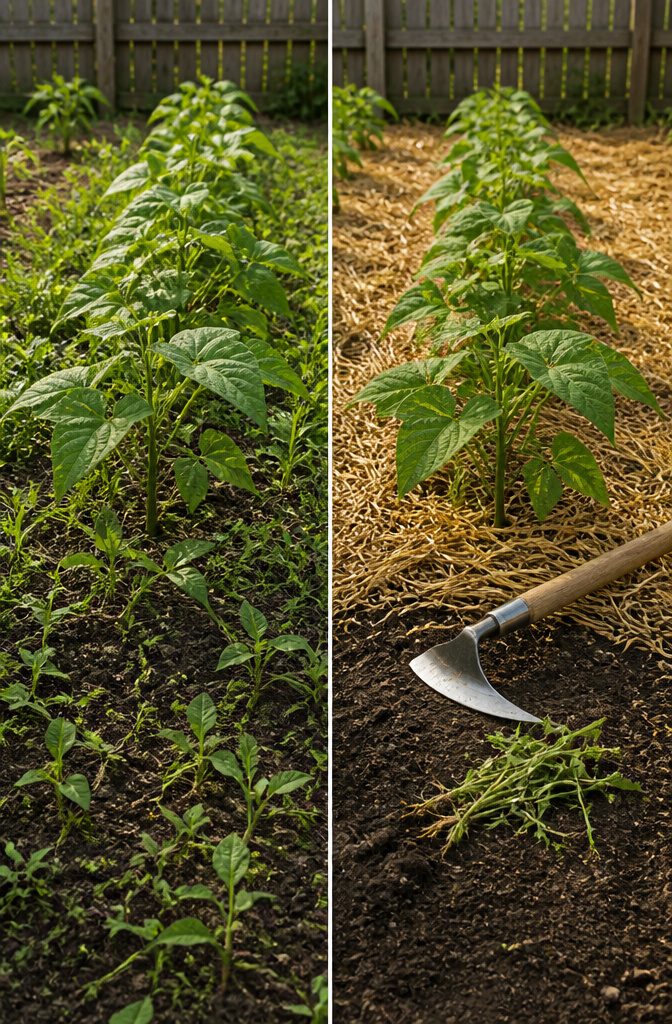
Bean roots sit almost right under the surface, which means a careless pass with a hoe can slice through the network that feeds the whole plant. I learned this the hard way one July morning when I scraped too deep along a row of bush beans and watched the leaves wilt by afternoon. The damage does not show immediately, but disturbed roots stop taking up water and the plant stalls just when it needs energy most for pod set.
Mulch solves two problems at once. A two-to-three-inch layer of straw or shredded leaves blocks light from weed seeds and holds soil moisture where those shallow roots can reach it. I lay it down after seedlings have a few true leaves and the soil has warmed, keeping it a couple inches back from the stems to avoid rot.
For weeding around established plants, a hand hoe like the Nejiri Gama works better than anything with a long handle. Scratch the surface only; even if you do not see a weed, stir the top half-inch to kill thread-stage seedlings before they establish. Pull anything larger by hand, pinching at soil level rather than yanking, which tears roots you meant to leave alone. The beans will reward the patience with fuller pods and less competition for the water you are already rationing.
Harvesting at the Right Stage
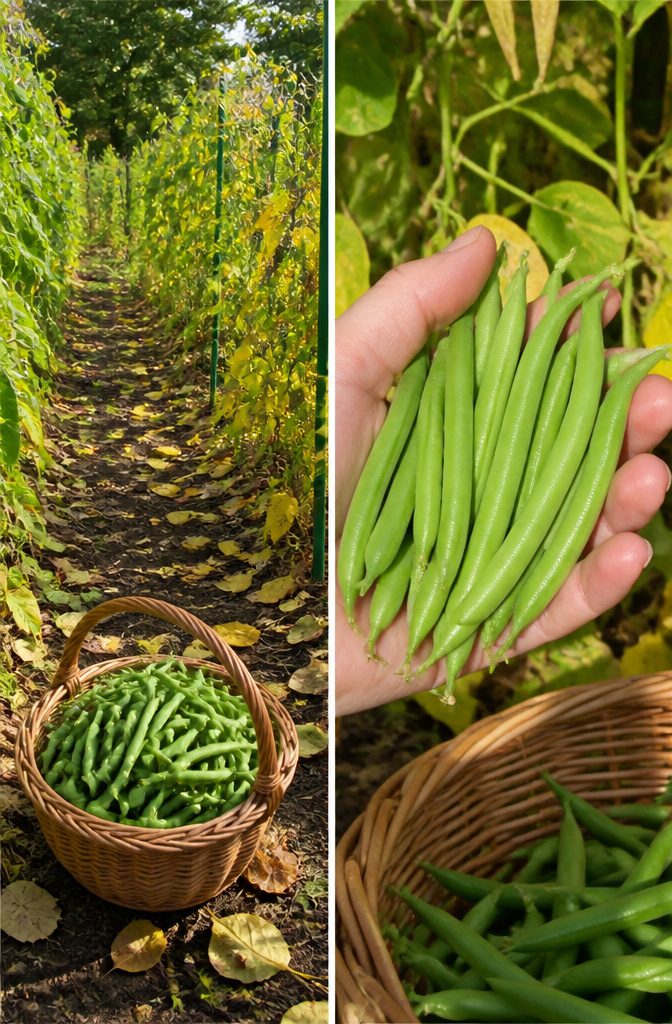
Snap beans hit their best eating window 50–60 days after sowing, when the pods still feel tender and the seeds inside are so small they do not bulge the skin. A clean snap in half is the test; if the pod bends without cracking, it is past prime.
Dry beans stay on the plant until the pods turn brittle and the leaves yellow. You can pull whole vines to finish drying indoors if weather threatens, or let them stand until the pods split on their own.
Regular picking matters more than most gardeners expect. A snap bean left to mature sends the plant a clear signal that its work is done, and flowering slows or stops. Check plants every two or three days in peak season; the pods hide under leaves and oversize quickly. The more you pick, the more the plant produces, so the harvest window stretches across weeks rather than ending in one flush.
Bush, Pole, Snap, Shell and Dry
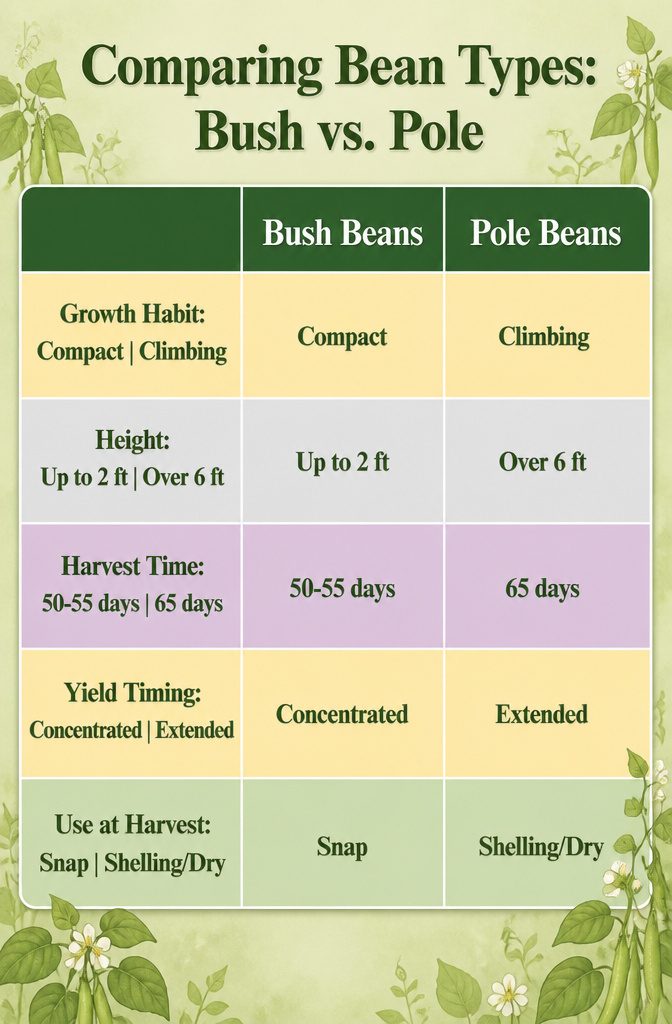
Beans sort into two overlapping systems that matter when you are standing in front of seed racks trying to spend your money right. Growth habit decides how the plant occupies space: bush types stay compact, topping out around two feet and needing no trellis, while pole beans climb six feet or more and require stakes, wire, or a friendly stand of corn to hold them. Bush plants pay out faster, usually in fifty to fifty-five days, but they dump most of their harvest in a concentrated two or three weeks. Pole beans make you wait closer to sixty-five days, then keep producing for a month or longer if you stay after them.
The second system is use at harvest. Snap beans are picked young and tender, eaten pod and all before the seeds inside swell. Shelling beans come later, when the seeds are plump but the pod has turned leathery, not yet brittle. Dry beans stay on the plant until the pod itself is papery and the beans inside rattle, hard enough to store through winter. A single variety can sometimes serve two stages, picked young for snaps and left for shellies if you miss a few rows, but each has a window, and the plant does not wait.
What Goes Wrong and What Helps
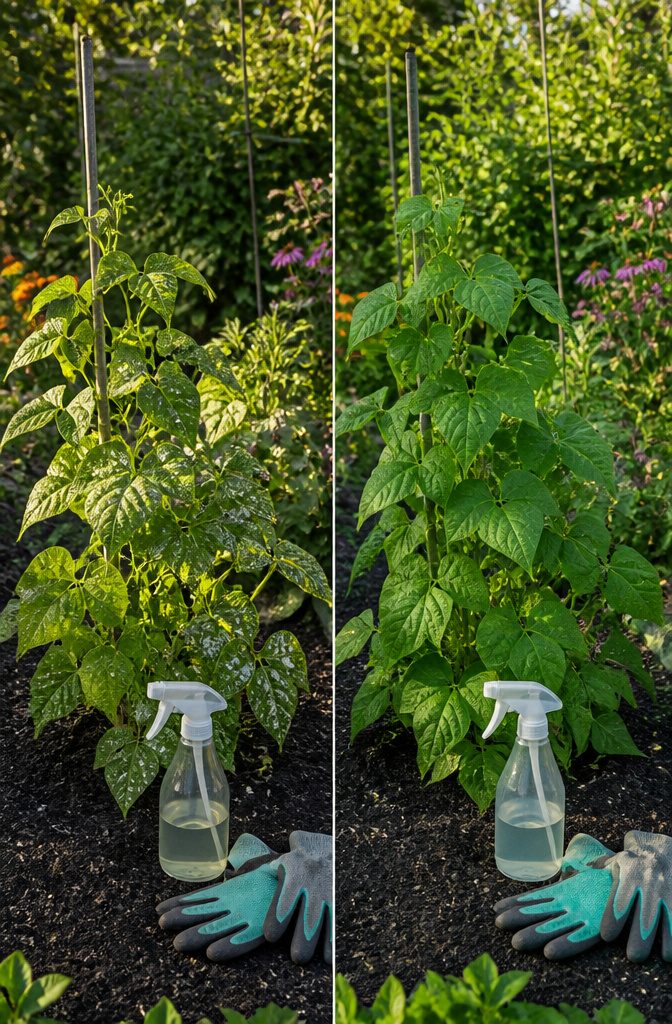
Aphids showed up on my snap beans two Julys ago, clustered along the tender new growth like pale green grains of rice. I knocked them off with a hard spray from the hose every morning for three days, and that was the end of it. For a heavier infestation, a 1 to 2 percent solution of dish soap and water wiped on the leaves every two to three days for two weeks works, though I have not needed to go that far.
Bean beetles and leafhoppers are where most gardeners lose patience. Mexican bean beetles leave that distinctive lacy, skeletonized foliage; the adults look like larger, spotted versions of the beneficial lady beetles they are sometimes mistaken for. Hand-picking into soapy water is tedious but effective on small plantings, and row covers put in place early keep the adults from reaching the leaves at all. Leafhoppers are harder: they are mobile, they curl and dry the leaves, and a strong water spray only knocks off the nymphs.
Powdery mildew arrives as white spots on the upper leaf surfaces, spreading to a flour-like coating that can yellow and kill the foliage. Full sun and good air circulation are your first defenses; once it appears, a spray of 1 teaspoon baking soda dissolved in 1 quart of water can slow it. I have pulled plants entirely when the mildew covered more than half the leaf surface, because at that point you are fighting the plant’s own decline more than the fungus.
Most sources repeat the same general advice: rotate your beans to a different garden area each year, avoid working among wet foliage, and destroy infected plant material. The detailed organic protocols, the specific timing of when to intervene versus when to pull, you largely have to work out from observation. My rule is that a plant still pushing new growth gets another chance; one stalled and yellowing with more than half its leaves affected comes out.
Three Sisters and Other Neighbors
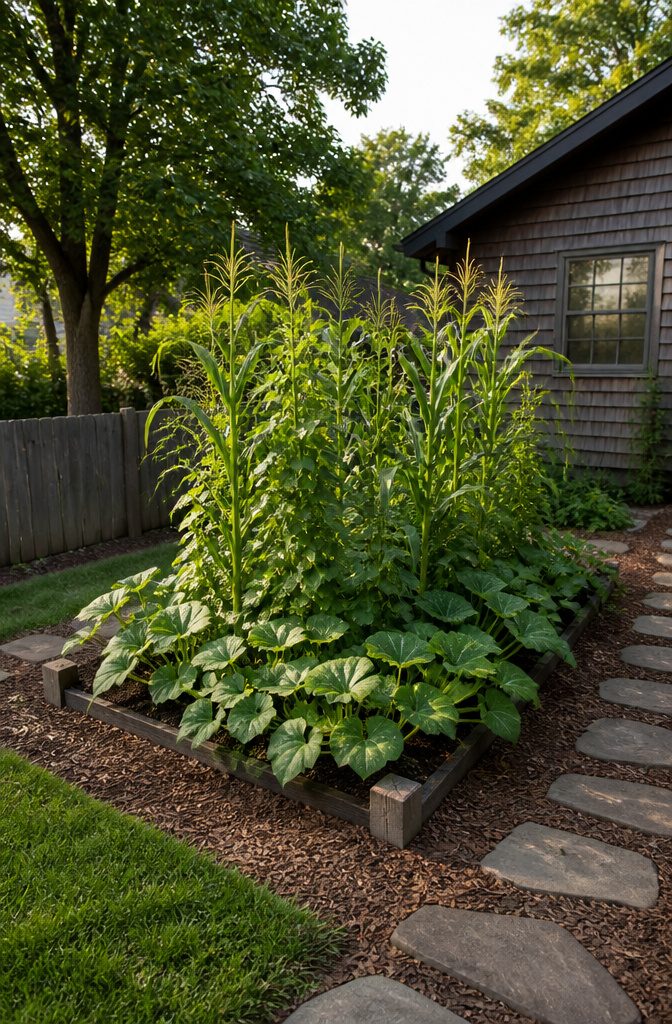
The Three Sisters method pairs beans with corn and squash in a single planting, and the logic holds up. Beans pull nitrogen from the air through bacteria on their roots, then feed it back into the soil where heavy feeders like corn and squash can use it. The corn, meanwhile, grows tall enough to serve as a living trellis for pole beans, sturdy enough to handle the weight if you choose the right variety. Sources mention tall dent corns such as Tennessee Red Cob, Pungo Creek Butcher, and Hickory King for this purpose.
Squash spreads low and wide, shading out weeds that would otherwise compete with all three crops. The system works, but only if you have the square footage to let each plant do its job. Corn planted too densely will shade beans instead of supporting them, and squash needs room to run without smothering its neighbors. Not every bean variety tolerates the partial shade inside a corn stand; sources note that only some are shade-tolerant, though most grow fine along the outer rows where light is better.
I have not tried this in my own small beds, where bush beans and a simple trellis make more sense. For gardeners with the space, though, it remains a practical way to stack functions: support, nitrogen, and ground cover from one interplanted bed.
Saving Seeds for Next Season
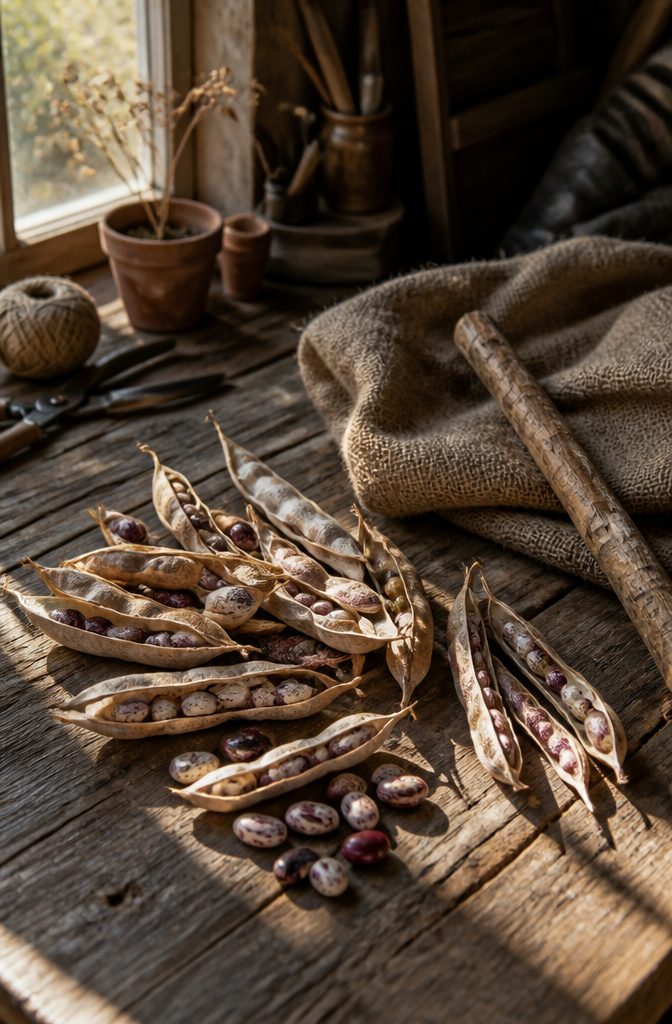
Saving bean seeds starts with leaving a few pods on the plant long after you’ve stopped picking for the table. The beans inside need to mature fully, then dry down until the pod itself turns brittle and the seeds rattle when you shake it. Last year I got impatient and pulled some too early; they molded in the paper bag instead of drying, and I ended up buying fresh seed anyway.
Once the pods are truly dry, strip them from the plants and shell the beans out by hand. For anything more than a handful, a burlap sack and a stick does the threshing faster, then winnow on a breezy day by pouring from container to container and letting the wind carry off the chaff. Store the cleaned seeds in airtight jars or bags, kept dark and dry.
If you want to keep a variety genetically pure, space different types 10 to 20 feet apart at minimum. That distance handles most home garden cross-pollination risk, since beans are largely self-pollinating. Push to 100 feet or more only if you’re dead serious about genetic preservation, a project most first-year growers can safely postpone.
Frequently Asked Questions
When should I plant beans?
Plant beans when soil temperatures stay above 60°F, typically about one week after your last expected frost. Use a soil thermometer pushed four inches down to check; the ideal germination range is 65–85°F. Cold, wet ground causes seeds to rot rather than sprout.
How do I care for bean plants?
Keep soil evenly moist with about one inch of water weekly, applied slowly so it reaches the shallow roots rather than running off. Spread two to three inches of straw or shredded leaf mulch after seedlings establish to suppress weeds and hold moisture. Check plants every two or three days during peak pod production and pick promptly to keep plants flowering.
How do I know when to harvest beans?
Pick snap beans when pods feel tender and snap cleanly in half, usually 50–60 days after sowing, before the seeds inside swell enough to bulge the skin. For dry beans, leave pods on the plant until they turn brittle and the beans rattle inside. Regular picking of snap beans extends the harvest window; letting even one pod mature signals the plant to slow production.