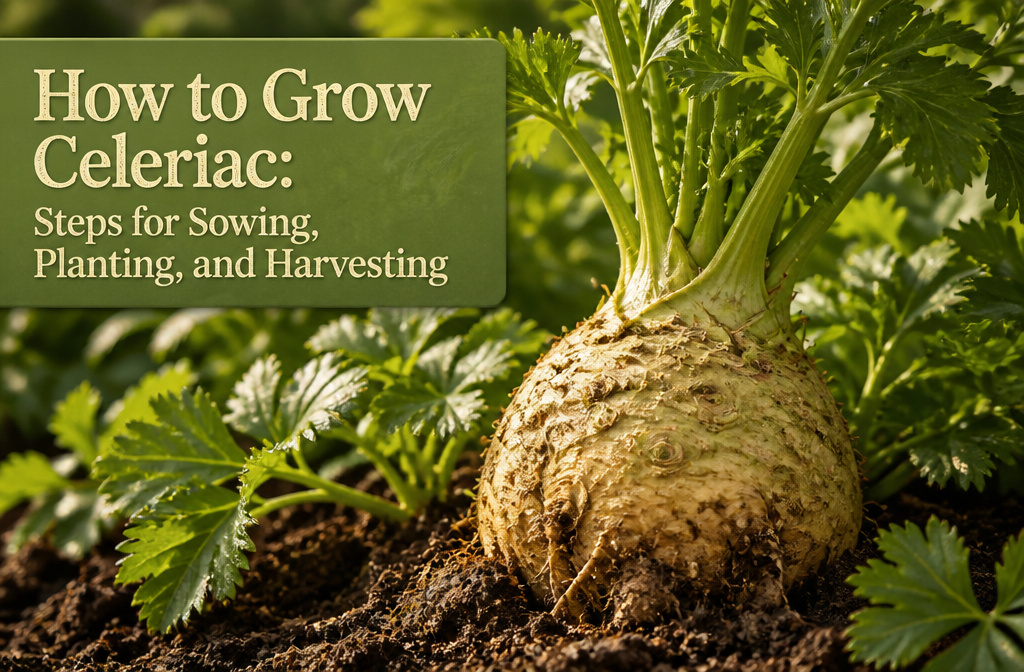
A smooth, storable celeriac root takes roughly four months from seed to harvest, and most of that time is spent managing moisture around shallow roots that turn stringy or hollow the moment they dry out. The mistake that costs people the crop is starting the seeds too late; celeriac needs 10 to 12 weeks indoors before the last frost, and seedlings pushed past that window bolt before the bulb ever swells.
1. Start Seeds Indoors
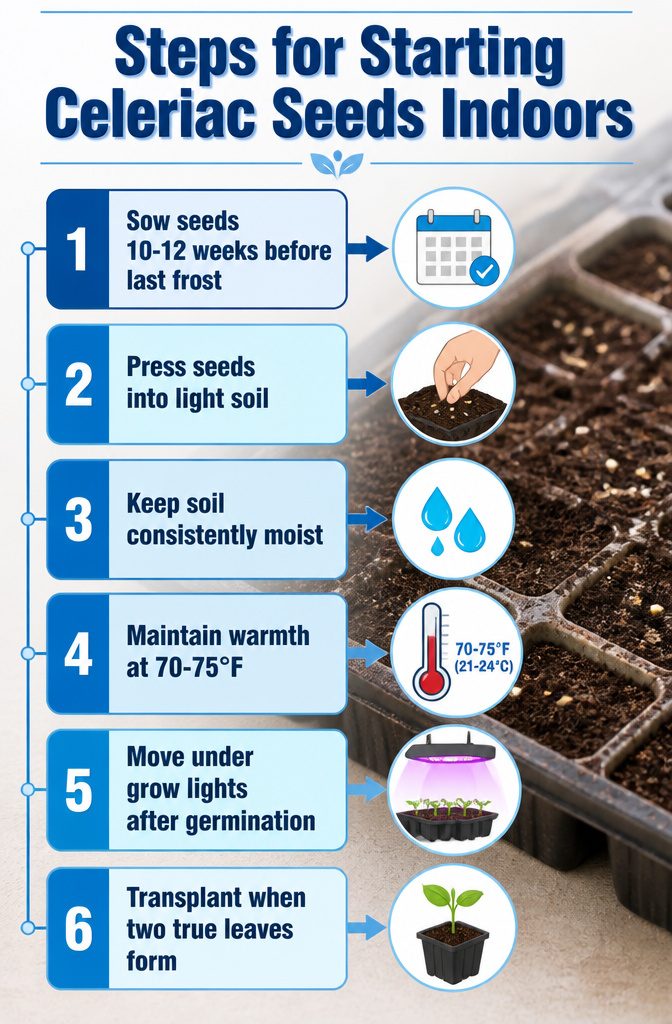
Celeriac seeds need an early start. Sow them 10 to 12 weeks before your last frost date in a seed tray filled with light, sifted potting soil. The seeds are tiny and need light to germinate, so press them into the surface rather than burying them. I have started them too late and watched the plants bolt before the root could swell, and I have started too early and ended up with leggy, root-bound seedlings that never quite recovered. The window matters.
Keep the soil consistently moist and the tray somewhere warm, around 70–75°F (21–24°C). A humidity dome or plastic bag helps. Germination takes 2 to 3 weeks, which feels like forever when you are checking daily. Once the seedlings appear, move them under grow lights quickly and keep the lights low to prevent spindly growth. Reduce the temperature to 60–70°F (16–21°C) after emergence. When two true leaves form, transplant to individual cells or small pots.
2. Transplant Seedlings
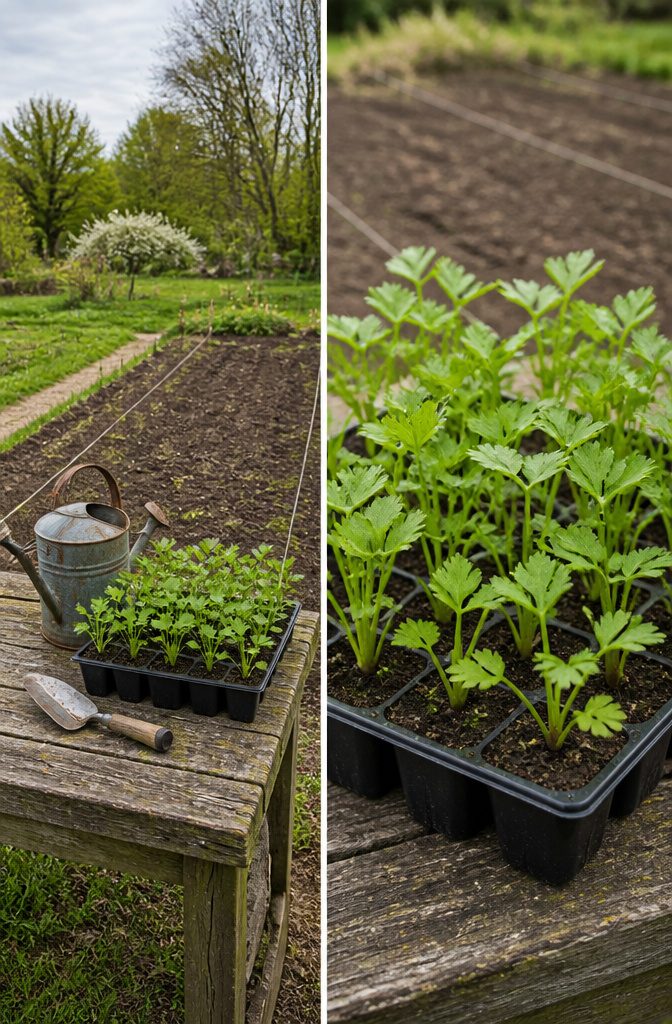
Hardening off takes a week, maybe ten days, and skipping it is not a move that ends well. I move the trays outside for an hour the first day, then stretch that time until the celeriac can handle a full day without wilting. Only then do they go into the ground.
I transplant once the seedlings hit 4–6 inches and the nights stay reliably above 50°F. The spacing question is where sources split, and after trying both ends of the range I now plant 6–12 inches apart in rows 12–30 inches apart. My first year I crowded them at 6 inches with rows 12 apart. The roots came out small and hairy, a problem that cleared up immediately when I gave the next batch more room. Twelve inches between plants and two feet between rows produced the round, smooth bulbs I was after. Root development needs space; the shallow system also means weeding carefully once they are in the ground, since a hoe can damage the bulb before you ever see it.
3. Water Consistently
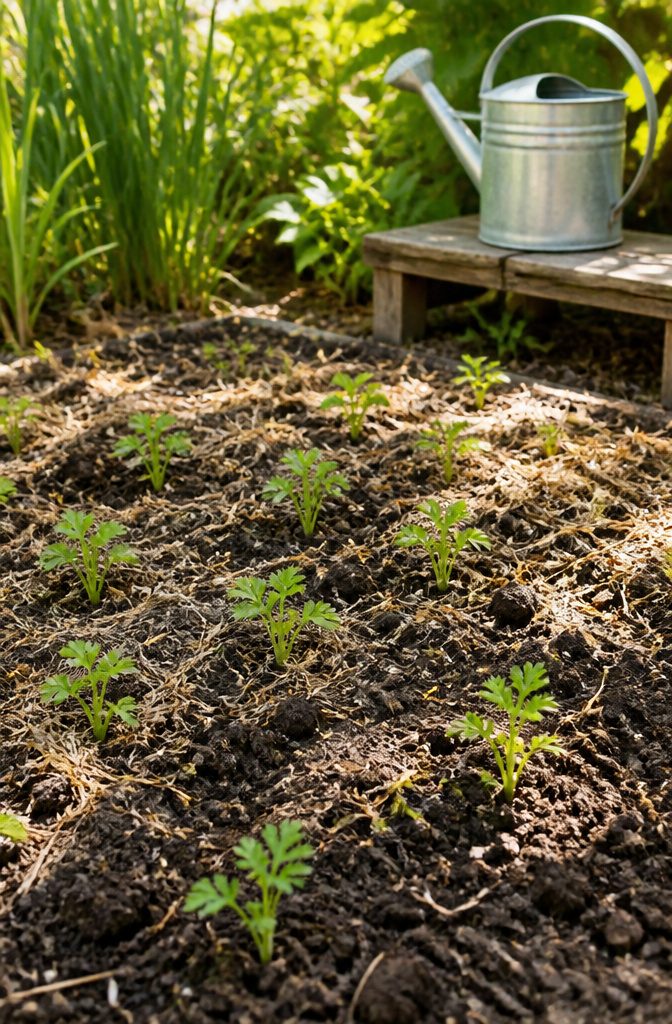
Celeriac wilts slowly, which makes it easy to miss the moment it actually needs water. The soil can look fine on top while the root below is already turning stringy. I water mine every two to three days in July and August, more often when the thermometer stays above 85°F for stretches. The goal is soil that holds moisture like a wrung-out sponge, never muddy but never dusty either.
Two summers back, I let a bed go four days during a dry spell that followed a week of rain. The plants didn’t flag dramatically, so I assumed they were fine. At harvest, those roots had hollow heart, pale cavities running through the center where the flesh should have been solid. The flavor was fine, but slicing away the gaps left barely enough to roast. Dry spells at any point after the root starts swelling will do this; the damage doesn’t show until you cut in.
A 5-5-5 organic fertilizer scattered monthly helps push size, though in rich soil you can skip it. Too much nitrogen and the roots grow hairy, all fine roots and little bulb to eat.
4. Mulch and Hill Soil
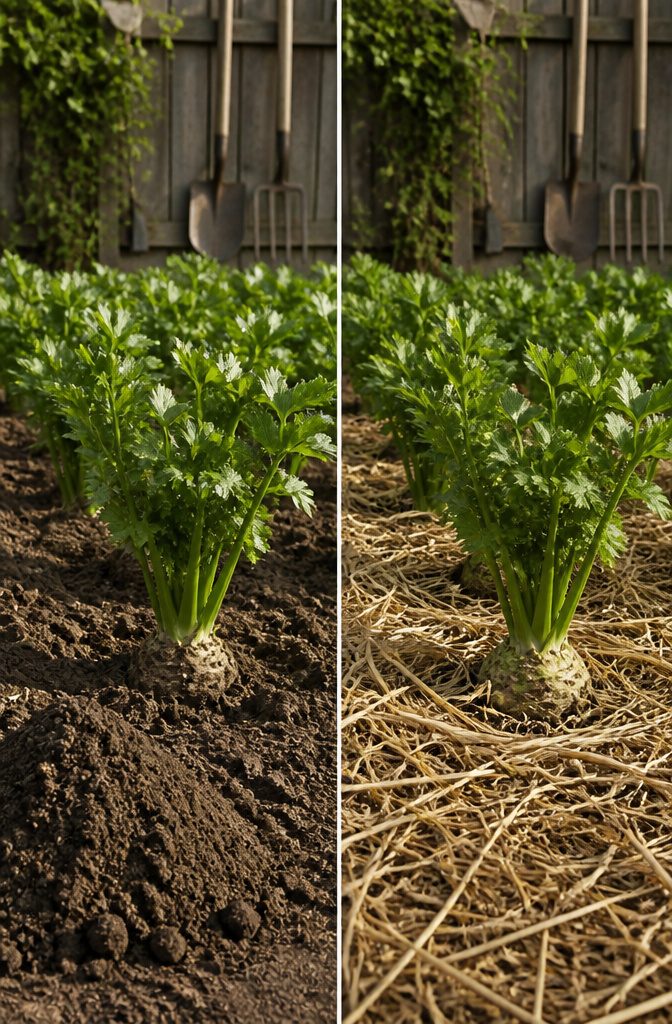
Celeriac roots push upward as they swell, and soil left bare around them turns hard and crusty fast. I lay down straw or dried grass clippings once the plants are established and settled in, thick enough to keep the top few inches damp and cool. Dry spells hit these shallow roots hardest; without that cover, you risk hollow heart, where the inside of the root opens into empty pockets.
The other habit that changed my results was hilling soil up around the swelling bulb as it forms. I scrape loose dirt from the paths and mound it against the base, burying the lower third of the root so the outer skin blanches pale. Some varieties still hold a brownish cast in the flesh even after this, but the marketable skin turns cleaner white. Roots that sit half-exposed above ground can size up larger, yet they look rougher and store with more trimming waste. Hilling trades a little bulk for a root that looks grown, not weathered.
5. Harvest
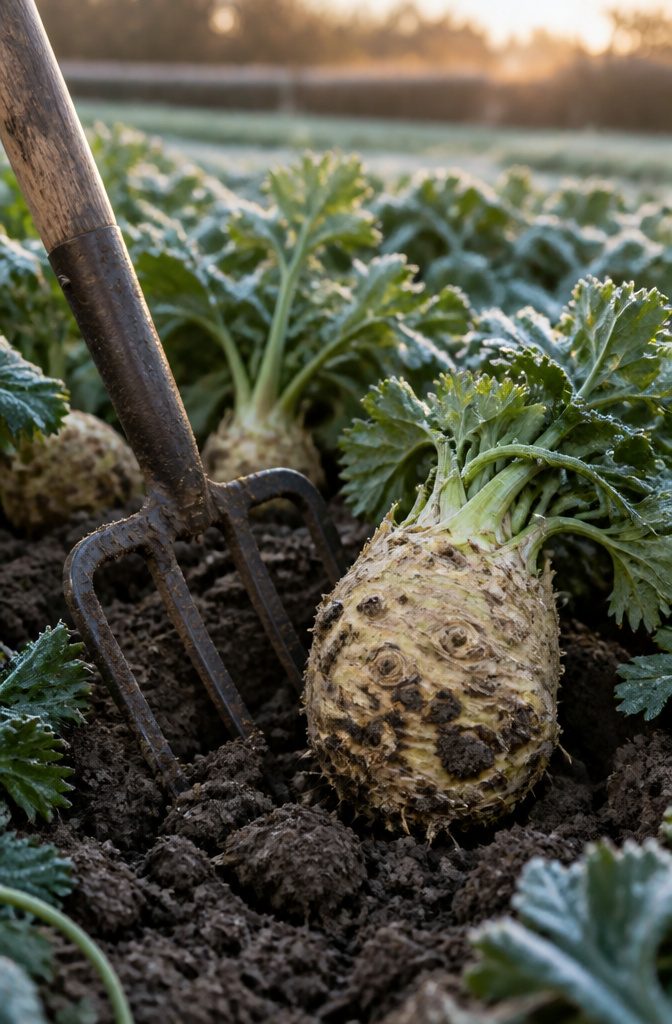
The roots are ready once they swell to 3–5 inches across, a window that usually opens in October and stretches through March. I used to tug at the stems the minute frost touched the garden, impatient to see what I had, and more than one root snapped in half for my hurry. A garden fork slid in a few inches out from the stem lifts the whole thing intact; a shovel, or worse, a hard yank, splits the knobby skin and ruins the storage life.
Leaving them in the ground longer does deepen the flavor, though I have never quite managed to wait past the first few frosts. The cold sweetens the flesh, but a root that tastes good in October still tastes good to me. Once lifted, cut off the stems and the worst of the tangle below, peel away the rough exterior, and the white interior is what the long season was for.
6. Store Properly
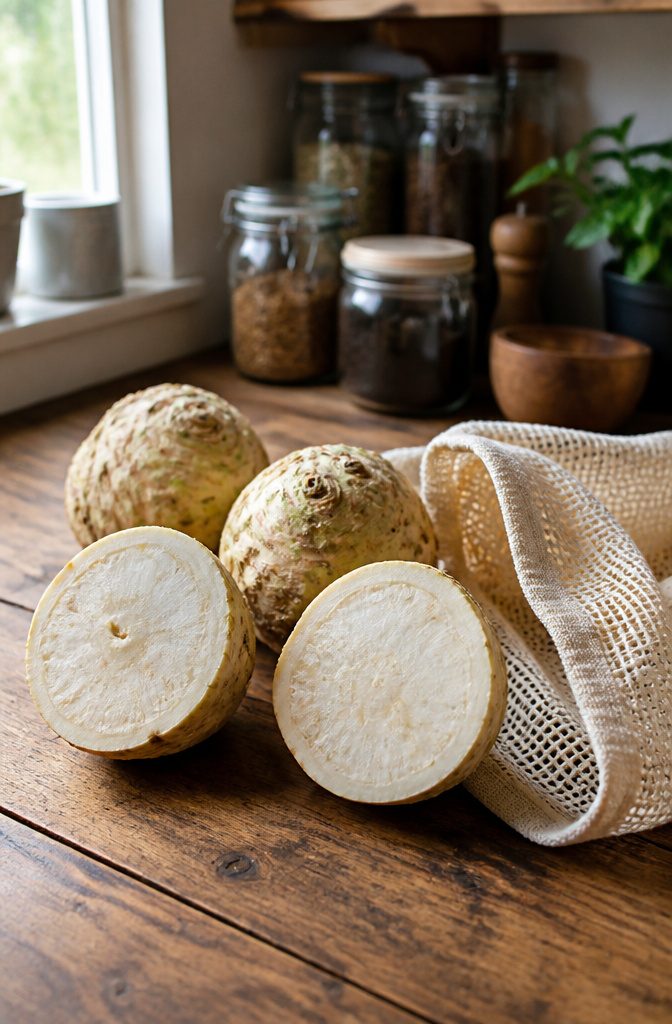
Celeriac stores longer than almost anything else in the garden. Kept loosely in a plastic bag in the refrigerator crisper, the roots hold for 6 to 8 months, which means a single fall harvest can carry you through to spring.
I have tried both cellar and fridge methods, and the refrigerator wins in my house. A basement stays cool but humidity fluctuates too much; the root shrinks or softens by February. The crisper holds steady near 32°F with the high humidity celeriac wants. One season I left stems on out of laziness, and the tops rotted down into the crown. Now I cut off every green stem and trim the knobbiest part of the bottom before bagging. Clean, dry, stemless roots in a perforated grocery bag: that is the combination that gets me to March with firm, usable celeriac.
Celeriac Varieties
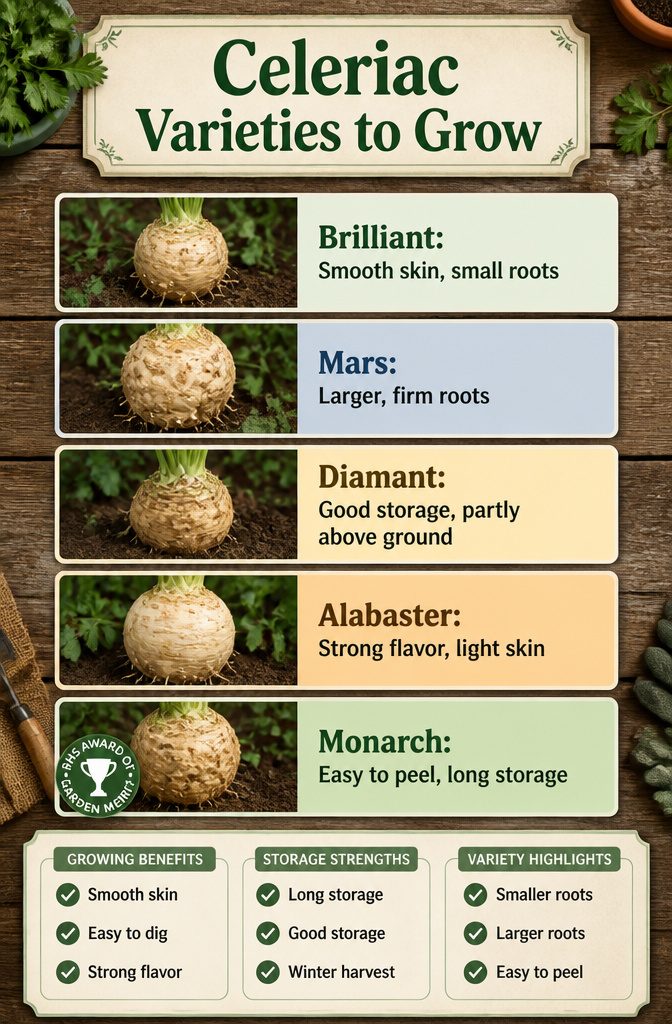
Seed catalogs have trimmed their celeriac lists, so choosing a named variety matters more than it used to. Smooth skin saves actual prep time in the kitchen; storage tolerance stretches the harvest into winter.
- Brilliant runs smaller, soft-ball-sized with relatively smooth skin and nearly fiberless white roots. The smoothness is the reason to grow it.
- Mars bulks larger than Brilliant while staying firm and solid through the season.
- Diamant carries a white interior, sits partly above ground for easier digging, and stores well.
- Alabaster brings strong celery flavor, light smooth skin, and good storage.
- Monarch has easy-to-peel skin and long storage tolerance; it also carries the RHS Award of Garden Merit.
I grew Monarch last season after finding the others dropped from two catalogs I usually order from. It held in the ground through light frosts and peeled cleaner than the knobbier types I had grown before. If you see Brilliant in stock, grab it for the smoother root. If storage is the problem you are solving, Diamant or Alabaster are the ones to track down.
Common Pests
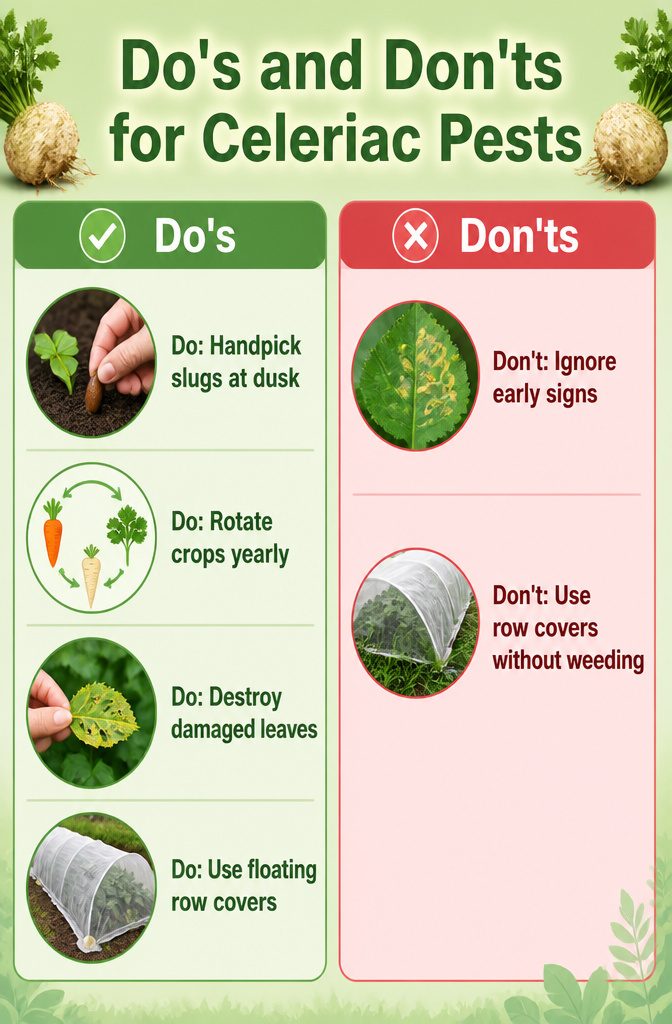
Three pests showed up in my celeriac patch, and each needed a different approach.
- Slugs went after the young seedlings first. Beer traps caught a few, but the real fix was checking the bed at dusk with a flashlight and handpicking the ones I found. I lost two plants before I started that routine.
- Carrot rust fly never actually appeared in my garden, though I rotated my celeriac bed away from carrots, parsley, and parsnips every season to keep soil populations low. That rotation cycle, one to two years between related crops, is the main defense.
- Celery leaf miner arrived as yellow patches and small tunnels in the leaves. Picking off and destroying those damaged leaves kept the numbers down enough that the bulbs still sized up fine. The year I tried floating row covers, the flies never got in at all; the plants grew cleaner leaves, though lifting the cover to weed was a minor hassle.
Growing Conditions
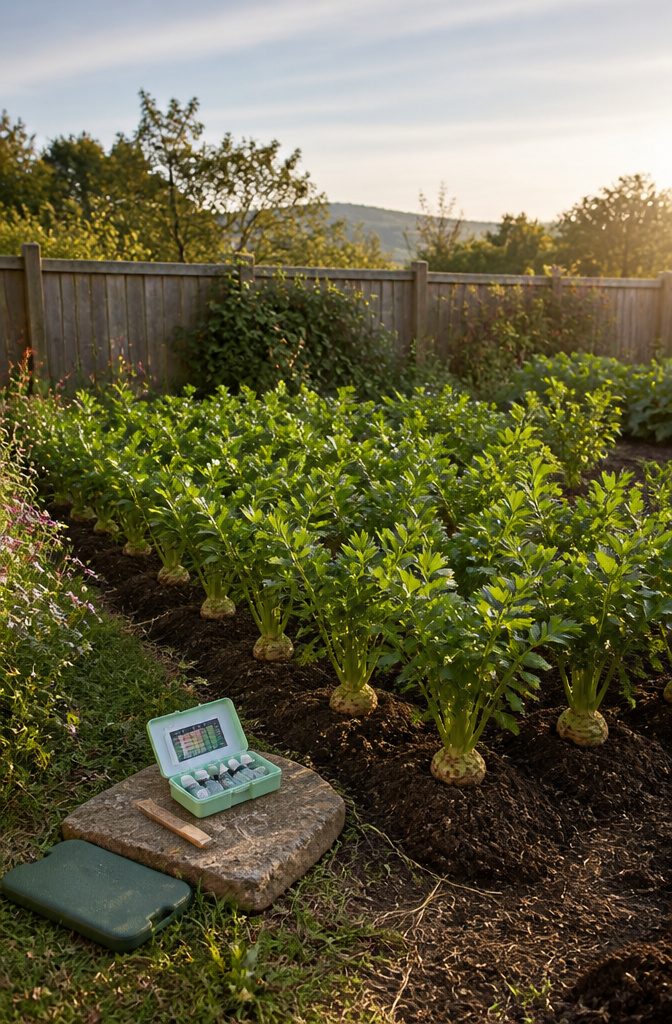
Celeriac wants soil that stays damp but never soggy, with a pH between 6.0 and 7.0 and ideally closer to 6.3–6.6. The beds need plenty of rotted manure or compost worked in deep; this is a hungry crop that pulls a lot of nitrogen, potassium, and phosphorus from the ground. I test my soil every spring with a cheap kit from the hardware store, then add sulfur if the pH is pushing alkaline or a dusting of wood ash if it has swung too acidic. Last season my bed sat at 7.2, so I worked in peat and a little composted pine needle to pull it down.
The roots run shallow, so moisture has to stay even in the top few inches. In my yard, afternoon shade from a neighbor’s fence keeps the soil from baking in July; in hotter zones that partial shade is worth seeking out. Full sun works where summers stay mild, roughly 50–75 degrees while the plants size up. I plant in raised beds for the drainage, then check the soil weekly through the season to keep the chemistry in range.
Frequently Asked Questions
What is celeriac?
Celeriac is a variety of celery grown for its large, knobby, round root rather than its stalks. The root tastes like celery with nutty overtones and is firm and white inside once peeled. It is also called celery root or knob celery, though technically the edible portion is a swollen stem base, not a true root.
How long does it take to grow celeriac?
From transplanting, celeriac takes about 90 to 130 days to reach maturity. You start seeds indoors 10 to 12 weeks before your last frost date, since the plants need a long, cool season to develop full-sized roots. Germination alone takes 2 to 3 weeks, so patience at every stage pays off.
When is the best time to harvest celeriac?
Harvest celeriac from October through March, once the roots swell to 3 to 5 inches across. The flavor deepens after a few frosts, though the roots tolerate cold well enough to stay in the ground for months. Use a garden fork to lift them; pulling or digging with a shovel risks splitting the skin.